Project complete! The LEDs are in place, the code is done, the PCB is built, and everything is installed and running. So what is there left to do? Shoot some videos of everything in action!
In all of these videos, the ambilight is generating colors in real time based on the monitor’s image. The monitor image is as-filmed and is not superimposed.
Videos
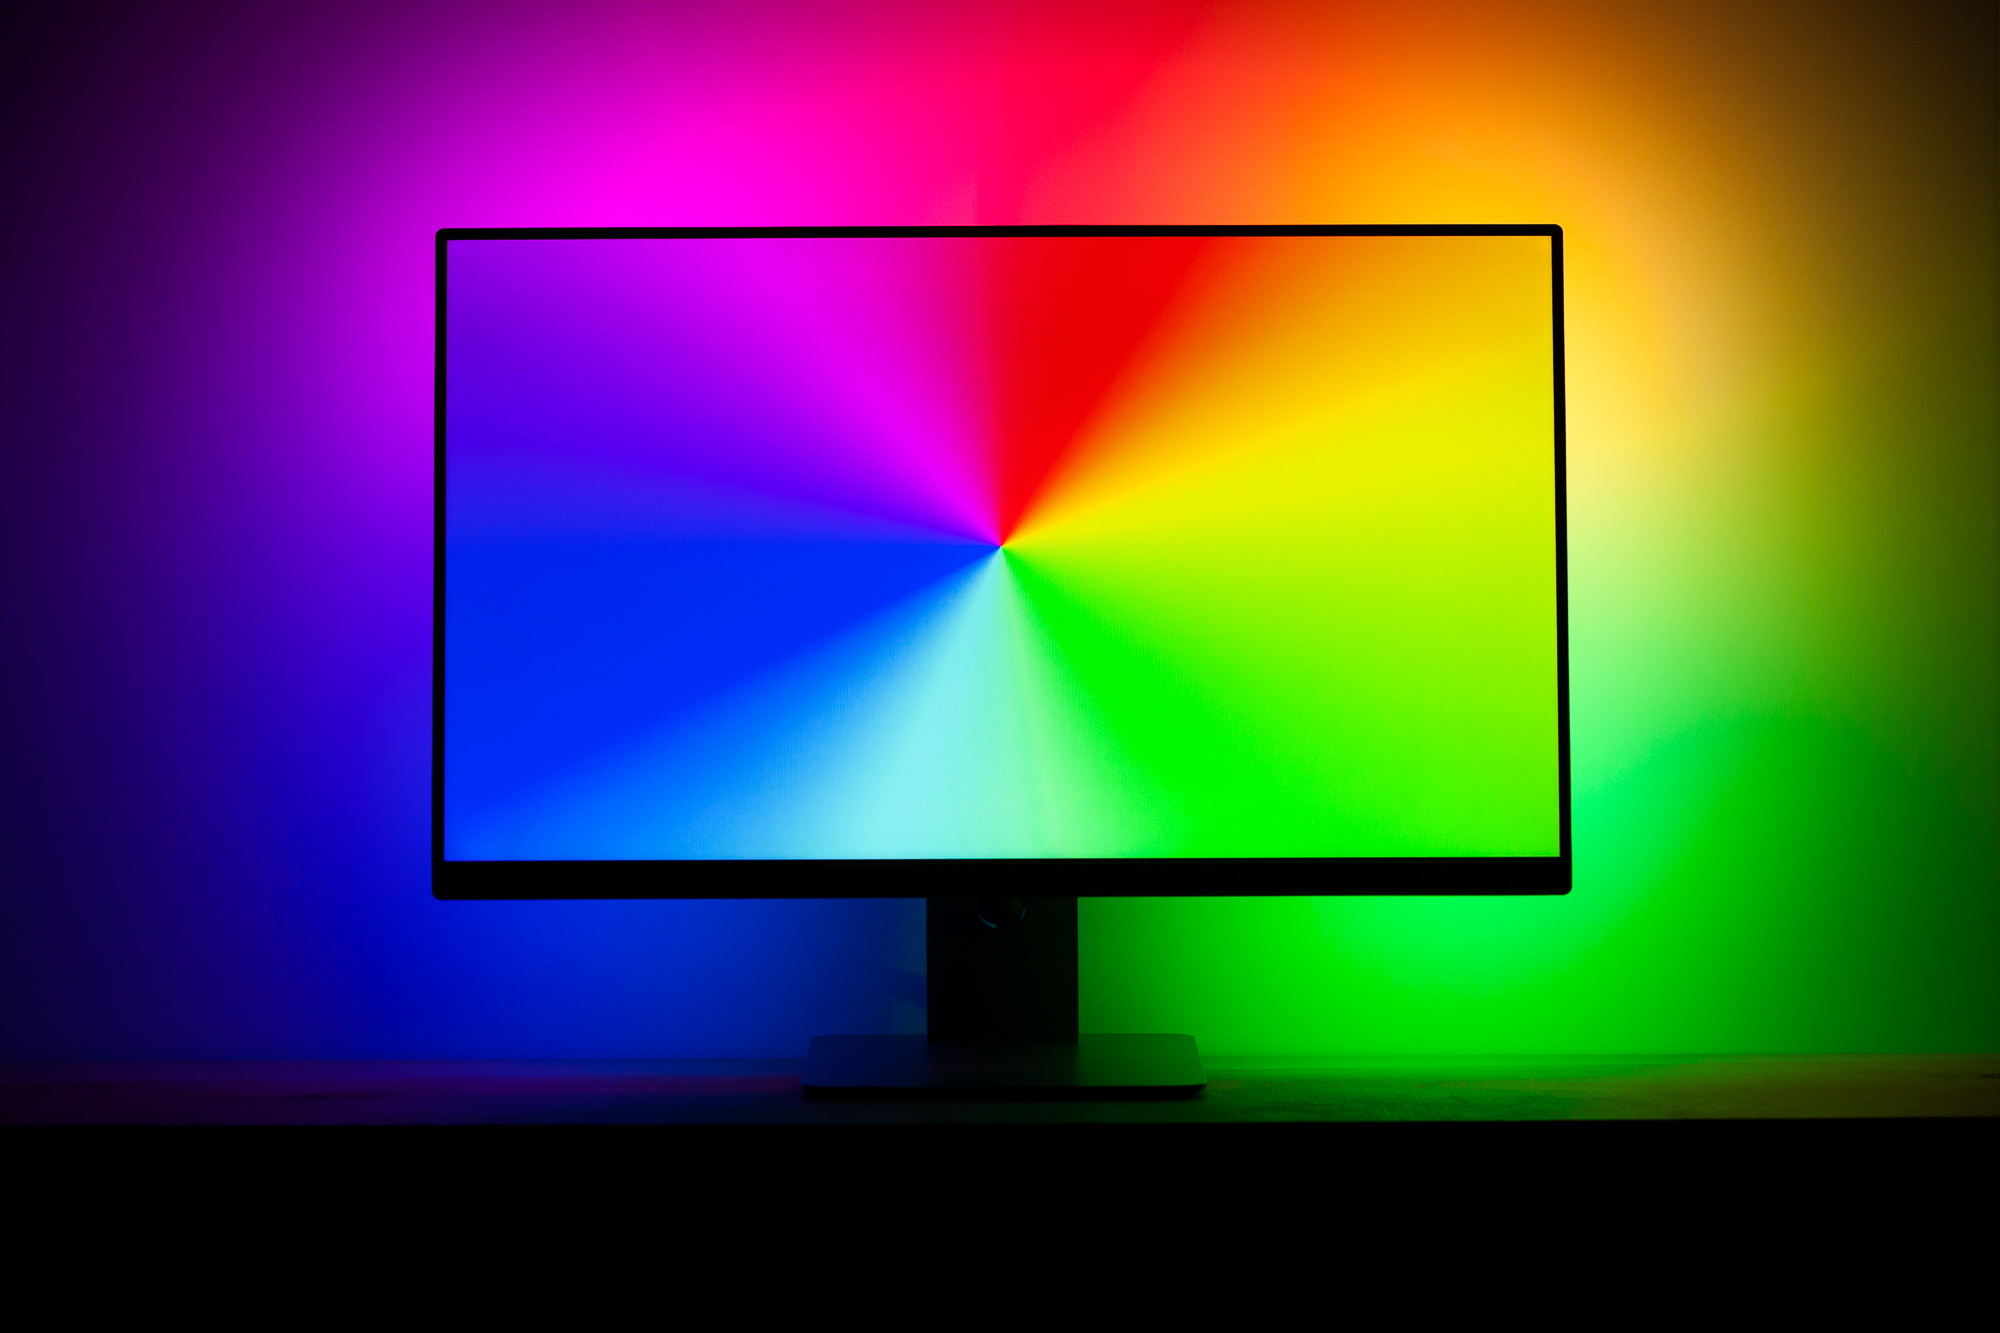
Video #1: Color Test
The first video is a basic color test, demonstrating color matching and motion handling. I couldn’t find a test video I liked, so I decided to make my own!
The video includes sequences of all solid colors, all colors on a two-color polar gradient (180° offset), and all colors simultaneously on a polar gradient. It also begins on white and ends on black.
I’ve uploaded the source video and released it under Creative Commons (Attribution) if you’d like to use it to test your own ambilight. You can find it here.
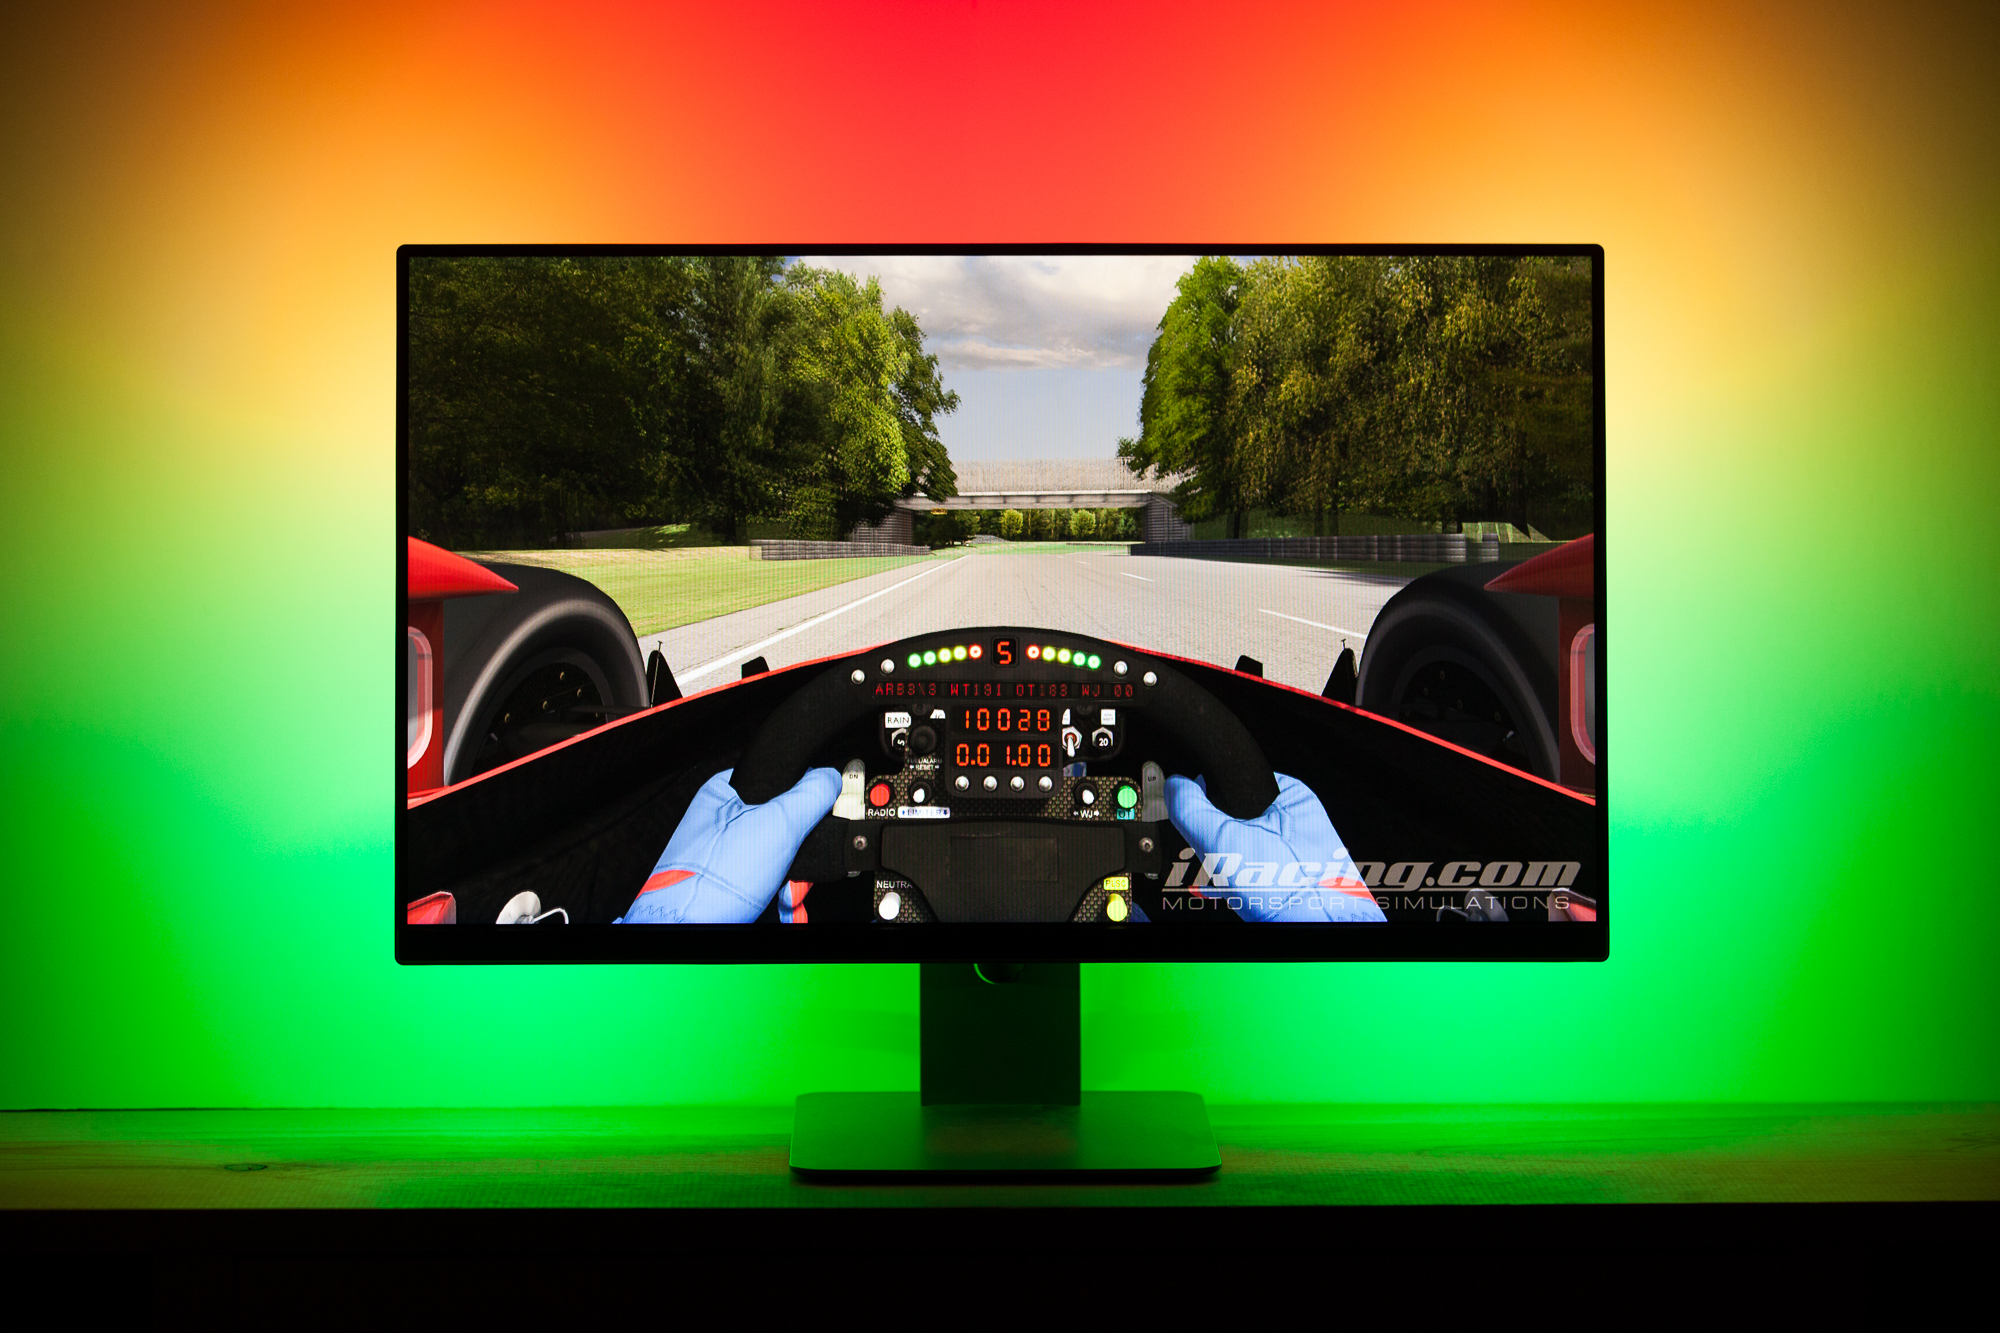
Video #2: Video Game Demo
This second video is where the ambilight truly shines.
Video games are my favorite thing to use with the ambilight, because you have somewhat direct control over the edge colors. It works fantastic with both beautiful slow-paced games (Firewatch) and fast-paced, colorful games (Overwatch).
I put together a demo reel with a dozen or so games that shows off the system’s capabilities. I’m sure I spent far more time on the demo reel than I should have, but I’m very happy with the end result.
You can find the demo reel on its own here.
Gifs
If you’re going to shoot some video of your fancy new ambilight why not do it with some style create some nice looping gifs to go with it?
Because the 256 color limit of the gif format doesn’t work great for gradients, these are actually web-compatible HTML5 videos!
Rainbow Color
ABZU #1
ABZU #2
Firewatch
Ori and the Blind Forest #1
Ori and the Blind Forest #2
Overwatch: Reinhardt
Overwatch: Tracer
Technical Details
Note that brightness for both the monitor and ambilight were tweaked to show up best for the camera. I also normally use a different ambilight calibration (1 / 0.67 / 0.33 RGB), which looks more correct by my eye but tinted on camera.
Since filming these videos I’ve also fixed a major bug in the Arduino code, which now allows higher framerates. I currently use a grab rate of 20 ms – anything lower causes buffering on the PC side.
Monitor Settings:
- Resolution: 1920×1080
- Brightness: 100%
- Contrast: 50%
Prismatik Settings:
- 80 LEDs
- 40 ms grab interval (~25 fps)
- 0% Over-brightening
- 3% Scene luminosity threshold (Minimum luminosity level)
- 70% Brightness (exposure matching the monitor)
- 2.0 Gamma
- Color calibrated profile (1 / 0.78 / 0.23 RGB)
Camera Settings:
- DSLR
- 1920×1080 at 29.97 fps
- 90mm focal length
- Shutter Speed: 1/50th
- Aperture: f/5.6
- ISO: 800
This post is part of a series on creating a DIY ambilight using Adalight and WS2812B LEDs. Check out the project page here.
Next up: Part 8 – Conclusion
7 Comments
Subhankar · July 14, 2019 at 1:13 pm
This is an excellent tutorial! I’m looking forward to trying this. I wanted to know if this will be possible using a Teensy LC instead of the Arduino.
Dave · July 14, 2019 at 1:44 pm
Absolutely possible, and you’ll get better performance as well. The Teensy runs at 3.3V though, so make sure you use an external level shifter or take advantage of the built-in one on pin 17.
Subhankar Das · November 18, 2019 at 11:43 am
You use a full HD monitor in this project, can I use the same code for a 4K monitor as well? I’m really looking forward to trying this, I was hoping you could provide some clarity on this.
Dave · November 18, 2019 at 11:44 am
Yup, you can use any size monitor.
Alex · April 20, 2020 at 10:21 pm
I haven’t been able to dive deep into this – I know the image runs through the Arduino, is there any limitation or problems with outputting video from a gtx 1080, with either G-Sync, 1440p resolution, or 165hz?
Dave · April 21, 2020 at 4:55 am
The image does not run through the Arduino – the image is parsed on the PC and then only the relevant color data for the LEDs is sent to the Arduino. There’s no limit to any video settings.
DIY Ambilight – Tom Archer · February 1, 2020 at 4:09 pm
[…] borrowed the colour test and game test put together by the Parts Not Included blog and they look pretty […]