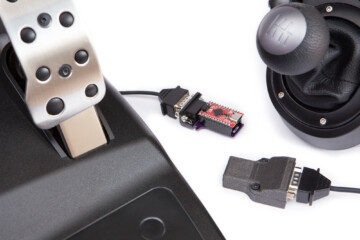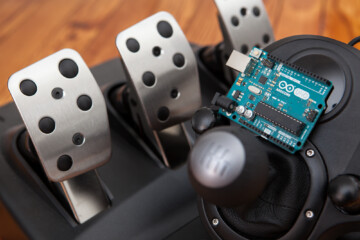
While the final version of the footwell NeoPixel project calls for a long strip of ~60 pixels, most of my time is going to be split between programming at my desk and testing the pixels’ response to telemetry from the car. I didn’t want to have to wrangle a large strip every time I wanted to test an idea, and I figured most of the patterns for the 60 pixel strip could be replicated on a shorter one.
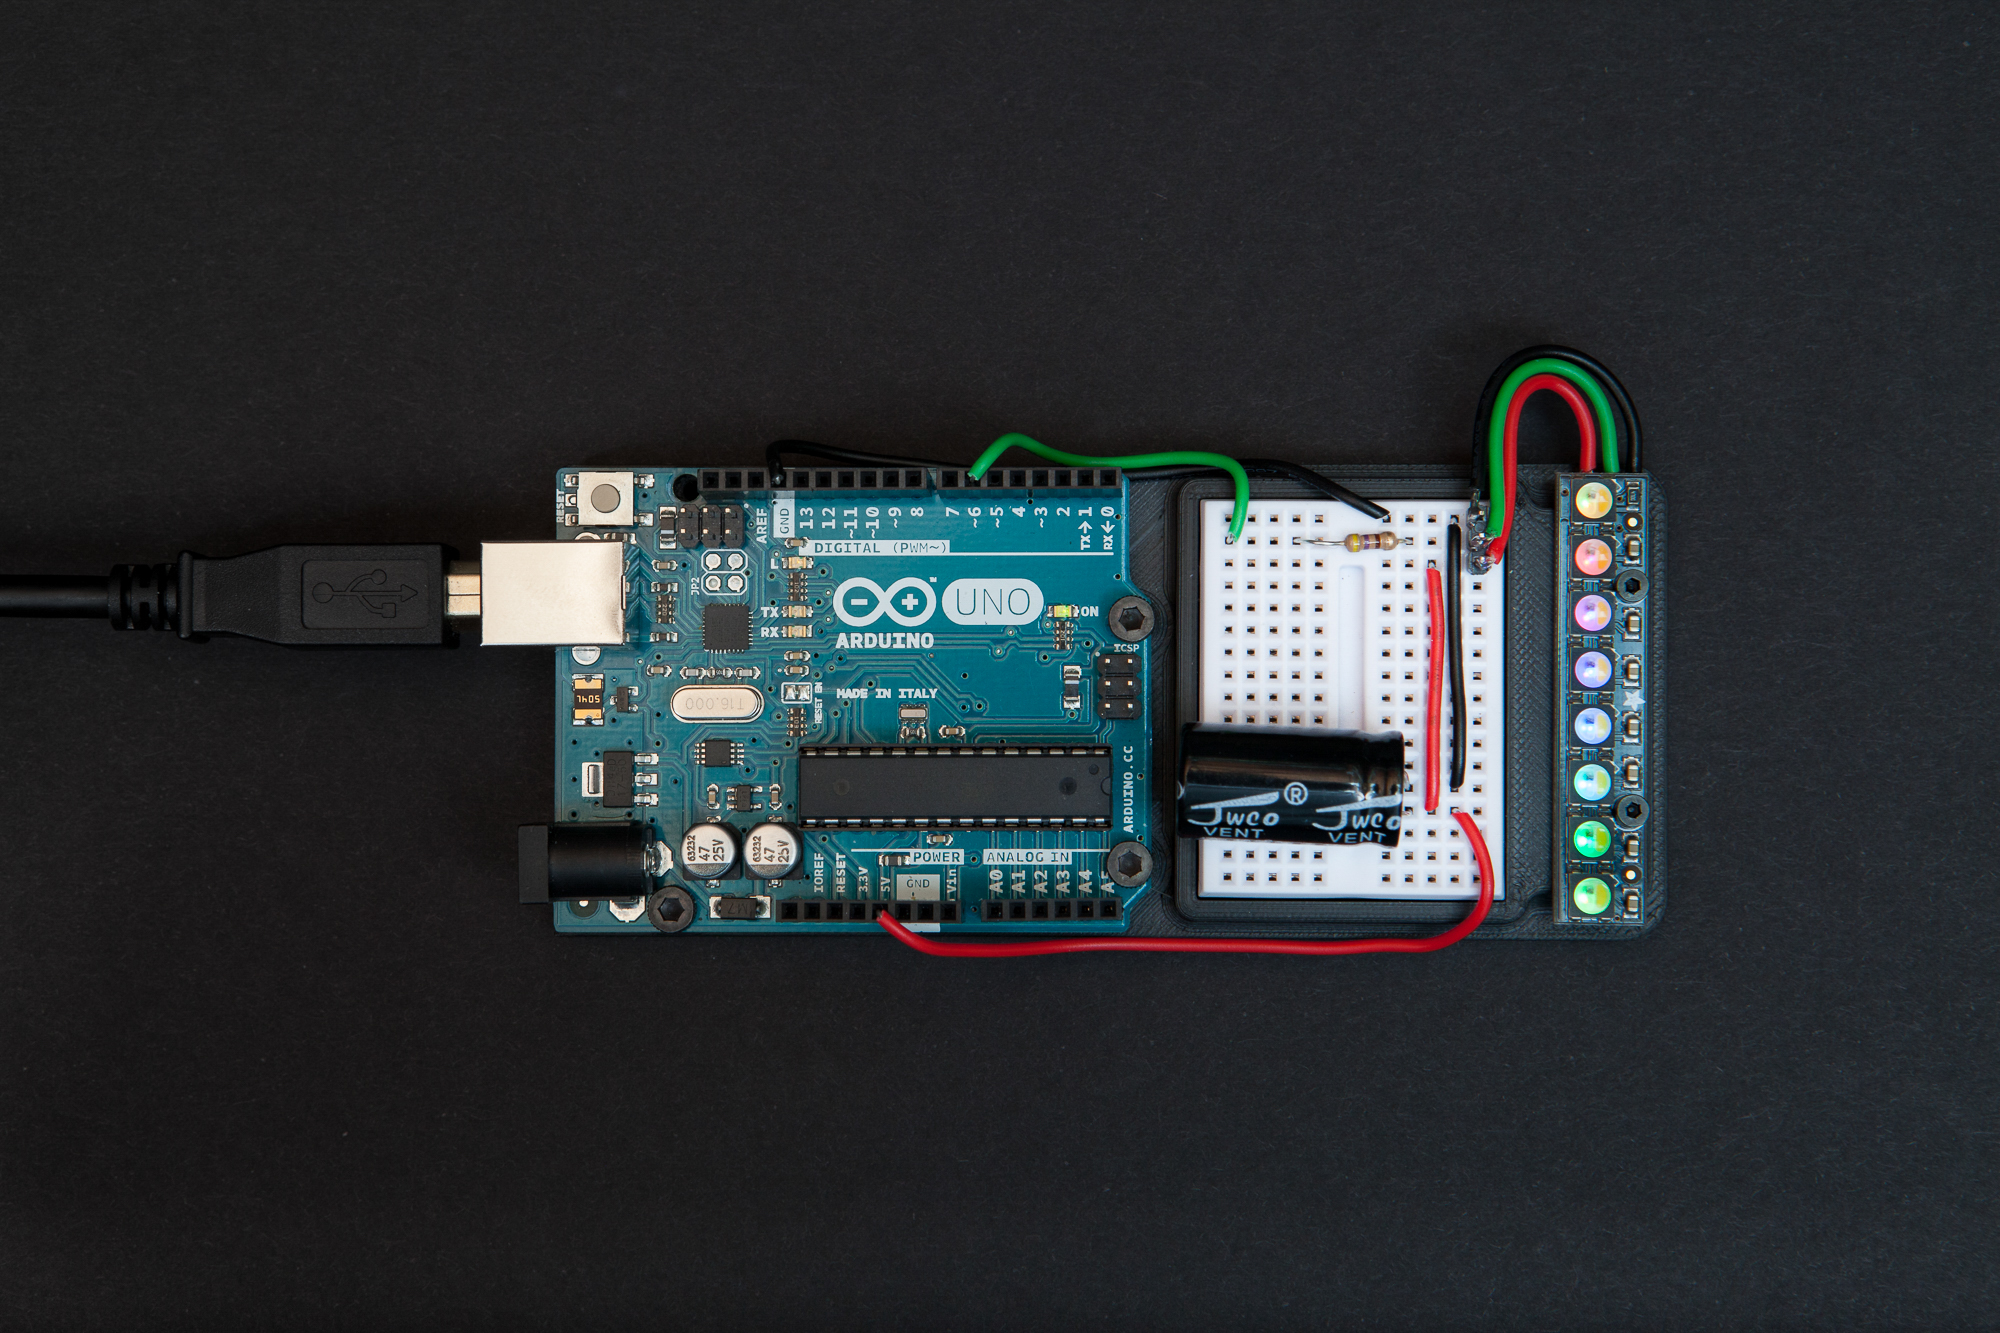
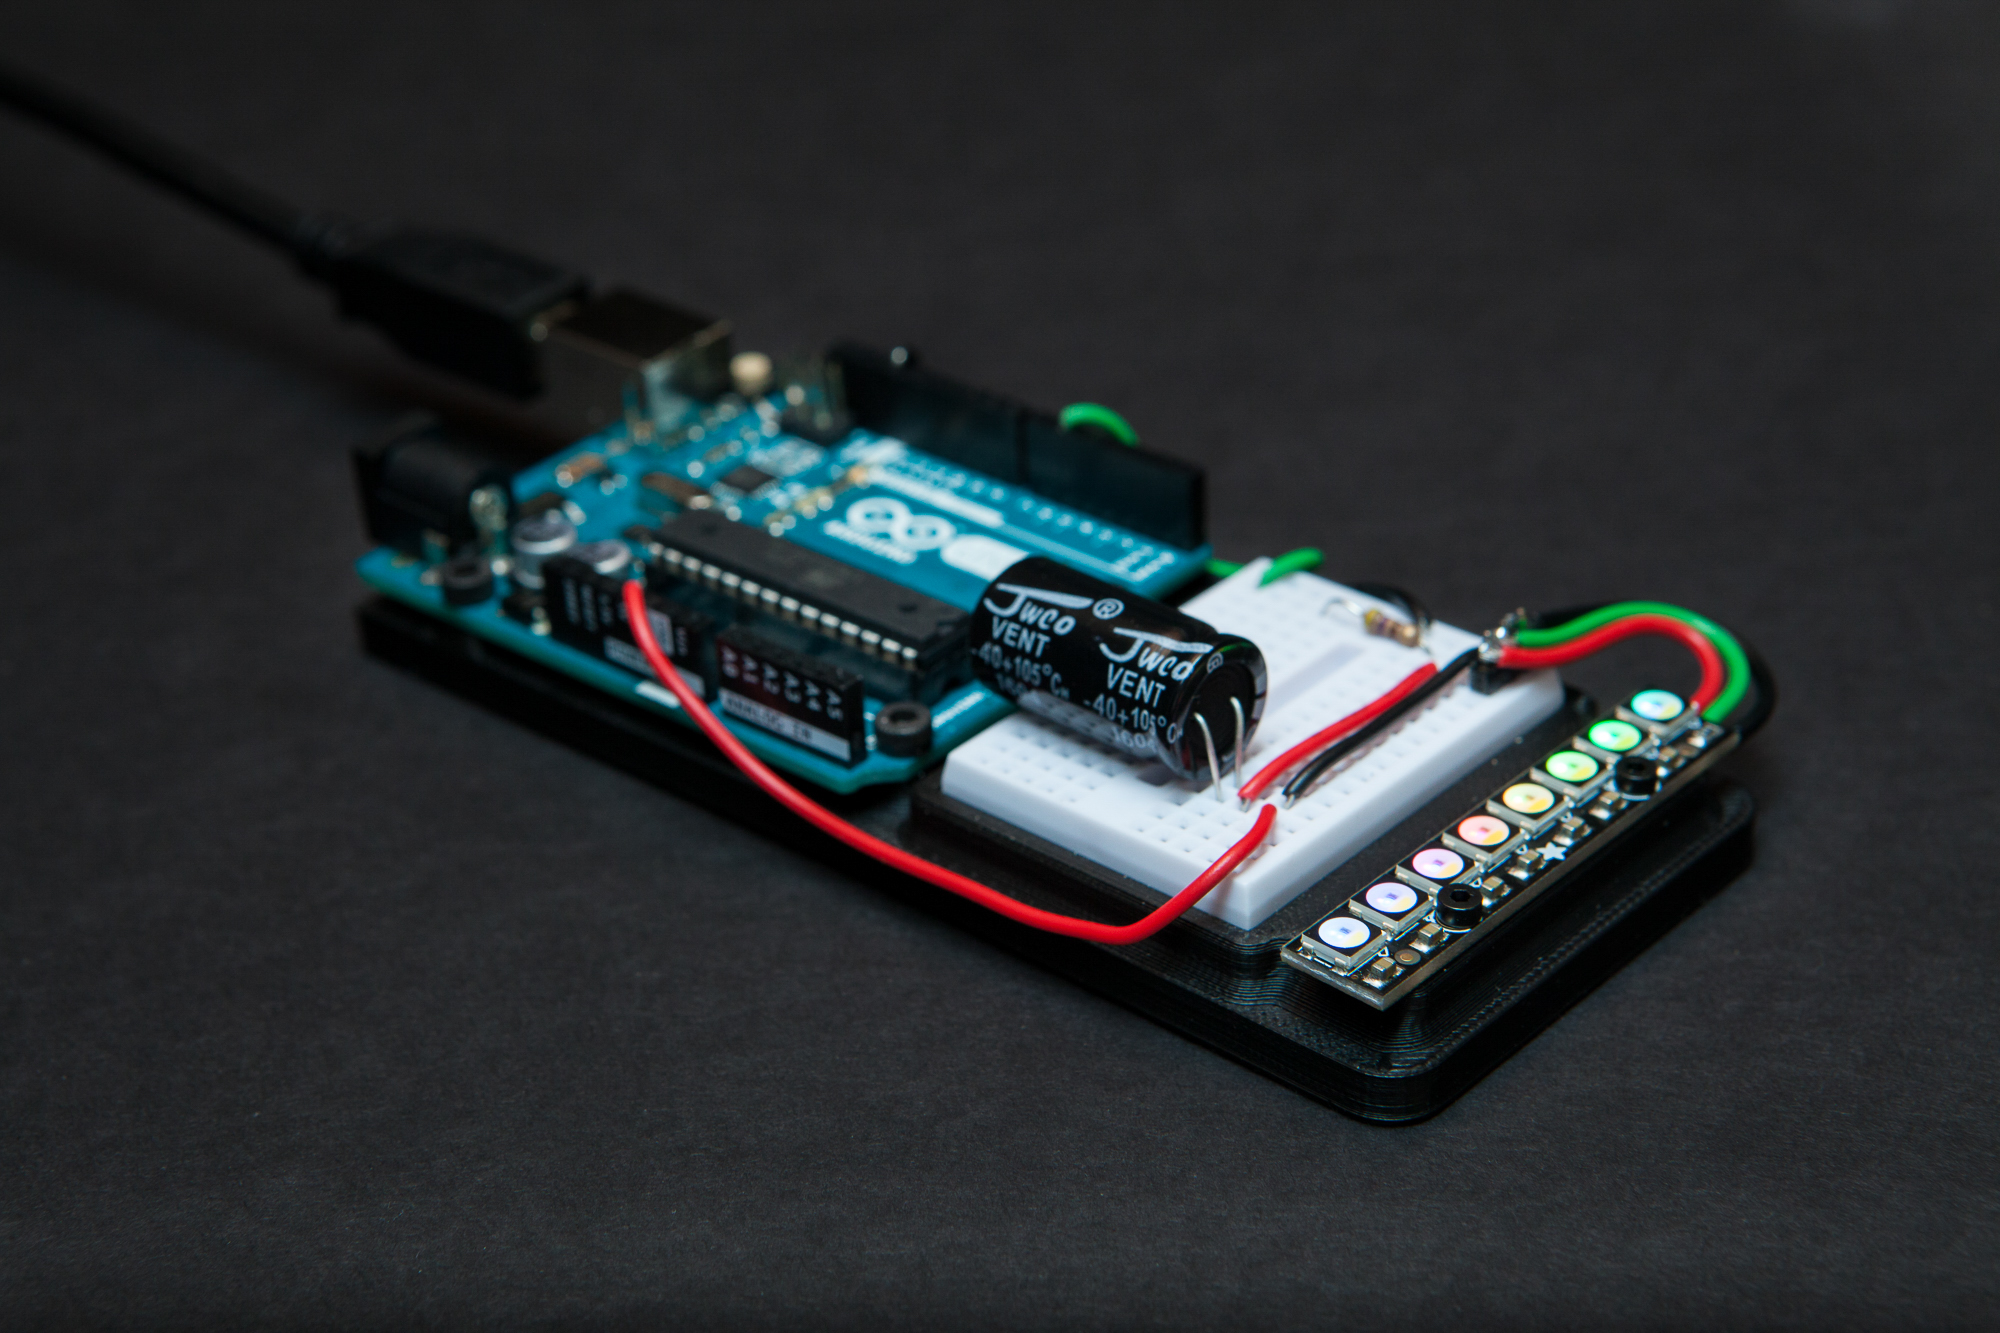
My solution is this small prototyping board. It’s a 3D printed part with mounts for an Arduino Uno, a small breadboard, and a NeoPixel stick. The NeoPixel stick is a nifty PCB with 8 of the same type of RGBW leds as the strip I plan to use, and includes input/output pads and a resistor for the data line. The breadboard lets me wire a 1000µF capacitor to protect the pixels from voltage spikes and allows me to hook up a second power supply if I’m reaching the power limits of the Arduino (which I should note is absolutely possible if you’re using all of the pixels at full brightness).
This should make it easy to prototype patterns in and out of the car without making too much of a mess of the wiring.
If you’d like to build one of these for your own NeoPixel project, you can find the STL files available here or on Thingiverse. You’ll also need:
- Arduino Uno
- Mini Breadboard
- Adafruit NeoPixel Stick
- 1 1000µF Capacitor
- Hookup Wire (Solid)
- 4 M3-6 Bolts
- 2 M2-6 Bolts
(Note that some of these links are Amazon affiliate links that help fund the content on this site. Thank you for your support!)
There are four versions of the protoboard: the default one, one without the space for the mini breadboard (in case you want to use a larger one or have a prototyping shield), and mounting hole options for both designs if you want to mount the protoboard to a larger sheet.
BE CAREFUL! As I said above, you can exceed the Arduino’s power limitations if you’re powering all of the pixels at full brightness. If you’re not sure, add a second power supply for the NeoPixels.
You can use taps for the Arduino/NeoPixel mounts if you have them, but the bolts should be able to form their own threads with a bit of persuasion. The mounting hole spacing is 120x65mm for the original version and 80x65mm for the no breadboard version.
If you do end up printing one of these boards, let me know! I’d love to see what you make.