I’ve been trying to teach myself a little Python, and here’s what I came up with for my first small project. Using their respective APIs, I’ve built a plugin for the Prismatik ambilight software that maps live data from the iRacing simulator.
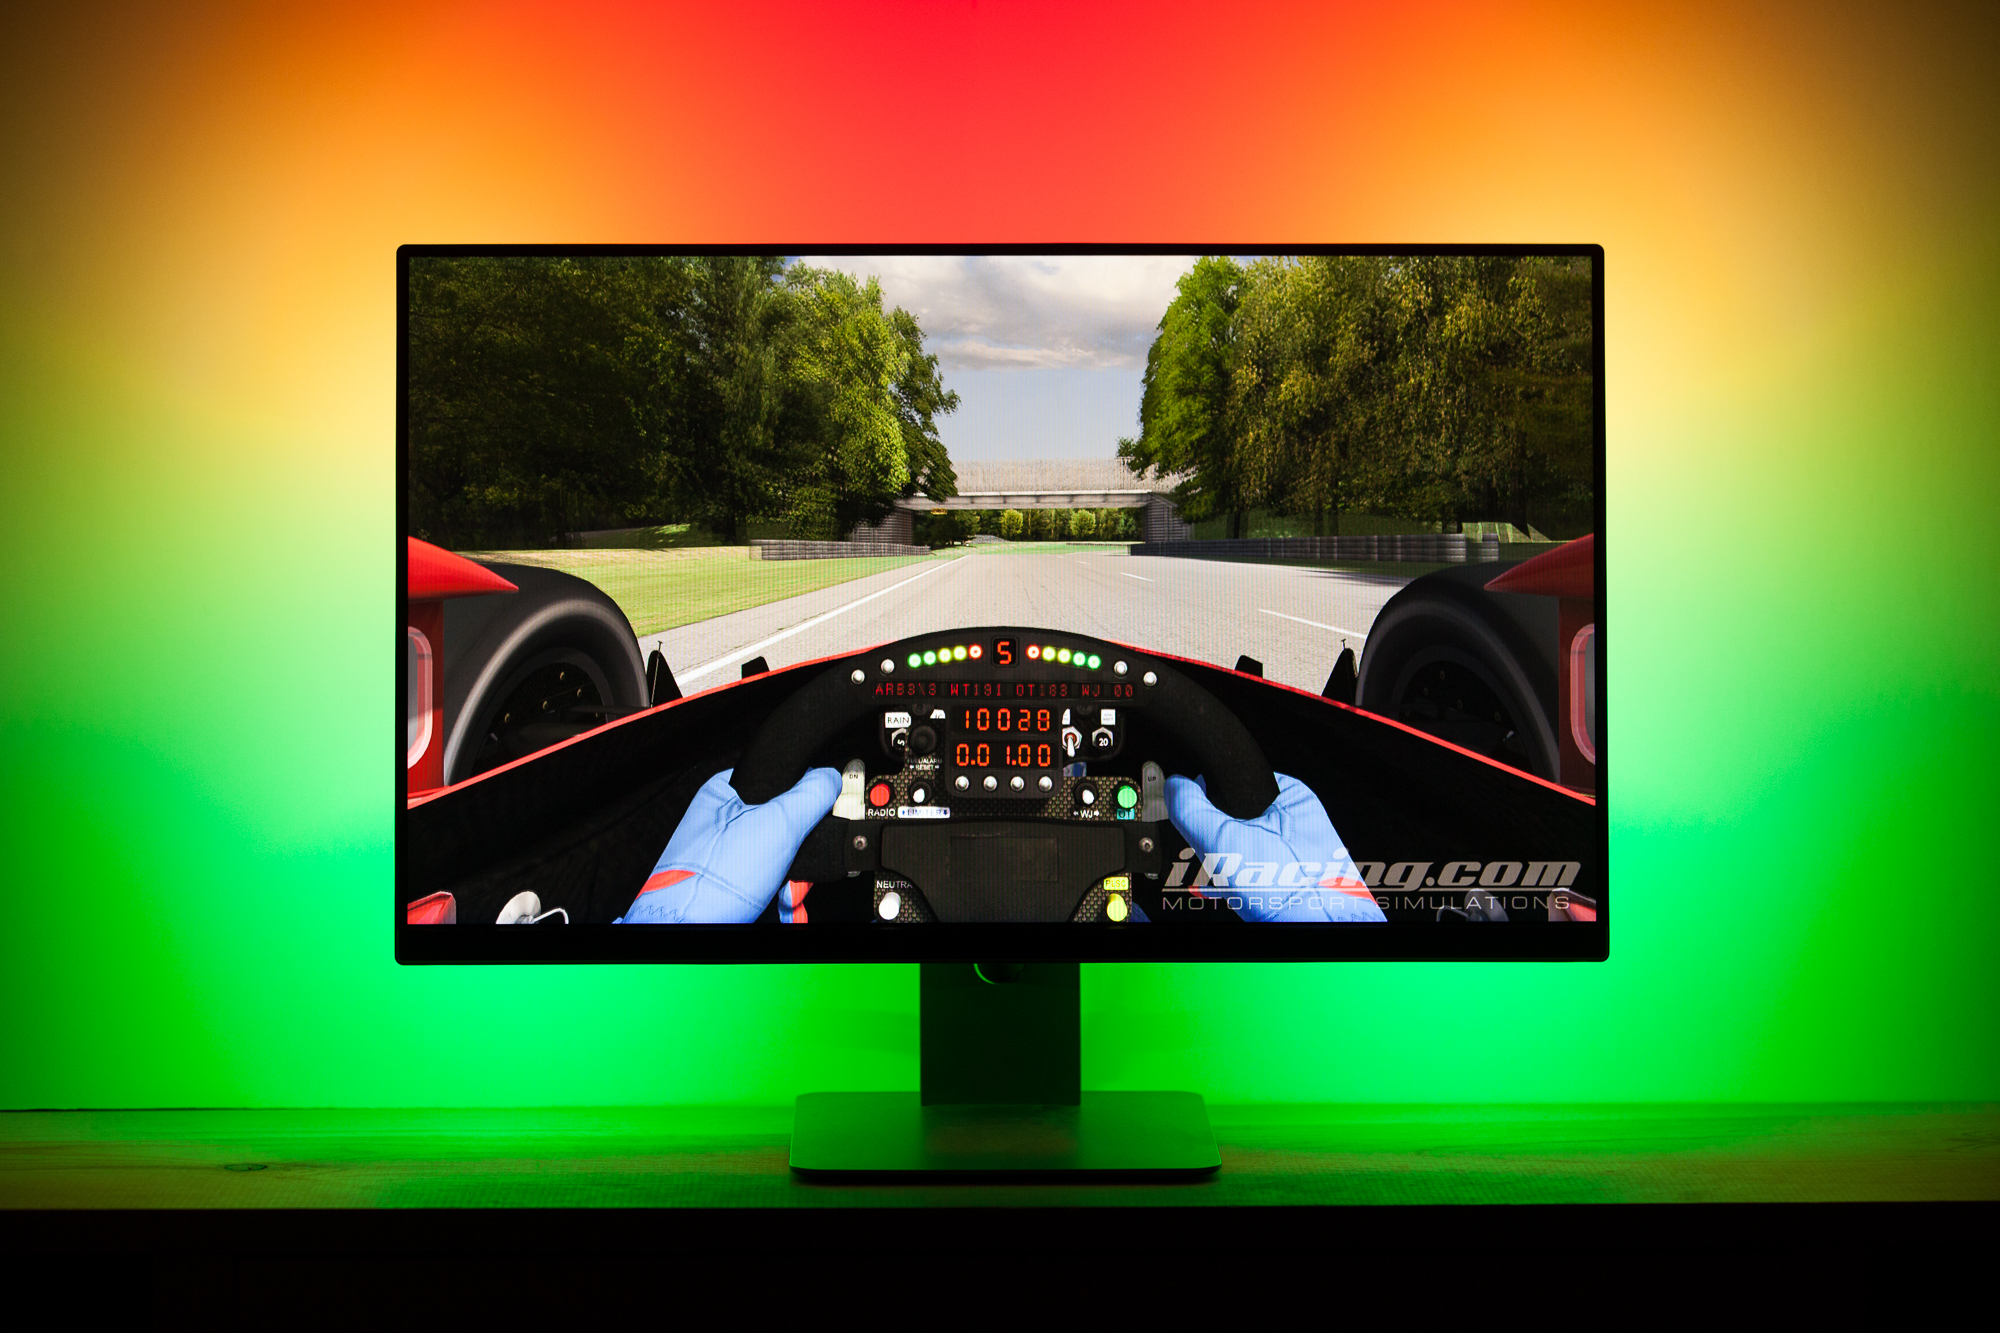
A video demonstrates the end result far better than I can explain it:
The plugin itself is open source and hosted on GitHub. Click here to download the latest version.
Python Scripting
The plugin is just a little Python script that interfaces the two APIs. The Prismatik API allows me to write entire frames as a 2D array of 8-bit colors, and the iRacing API allows me to get live telemetry from the player’s car. The Python script grabs some data from iRacing, maps it as colors to the number of available LEDs based on the user’s settings, and sends it to Prismatik to be shown on the ambilight.
The core of the program is only a few dozen lines or so, not counting the helper modules to communicate with the iRacing and Prismatik APIs. The rest of the code is there to make the plugin more flexible and extensible to the user.
The full source is available on GitHub. This was my first Python project (and in fact my first PC software, if you’ll believe that), so you’ll have to forgive the somewhat spaghetti code.
Installation
After downloading the latest release from GitHub, unzip it and place the contained ‘Prismatik-iRacing’ folder in the ‘Plugins’ folder of your Prismatik installation. As far as Prismatik is concerned, the ‘plugin’ is really just a line in a configuration file to open an executable, so it’s important that the parent folder and configuration files’ names match.
Open Prismatik and check that the API server is enabled on the ‘Experimental’ page. Then navigate to the ‘Plugins’ page and click the button at the top to reload the list of available plugins. When the iRacing plugin shows up, click the checkbox to enable it. If everything is set up right it will display as “(running)”.
Configuration
The plugin has a host of user-configurable settings, all enumerated on GitHub. These can be added to the main config.ini file located in the plugin’s root folder to change it’s behavior.
Prismatik API
In order to connect to your Prismatik installation, the plugin needs to know the IP, port, and authentication key (if set). The IP is normally your loopback address, and the port and authentication keys can be set within the ‘Experimental’ page of Prismatik. If you haven’t changed these settings in Prismatik the plugin should work out of the box.
[Prismatik]
# make sure to enable the API server in the Prismatik settings
host: 127.0.0.1
port: 3636
key:
iRacing API
The iRacing section has only one option: what variable you want to poll from the game and map to the ambilight. It works best with floating point percentages; the obvious candidates are things like the shift light indicator percentage and pedal position (throttle / brake / clutch), although it also works with variables such as humidity and tire wear percentage. Not that those are particularly interesting to look at.
If you set the range values (min and max), the plugin will work with any data that can be fetched via the iRacing API. RPM, lap times, shock deflection… the choice is yours.
[iRacing]
var: ShiftLight
var_min: 0.0
var_max: 1.0
User Settings
This is where the magic happens. I tried to build this to be as extensible as possible, so all of the variables are exposed and the program creates the visualizations automatically.
Options include:
- Animation pattern: the pattern for which LEDs are mapped. Symmetric, clockwise / counter-clockwise, bidirectional, etc.
- Colors: the program will accept a variable number of colors, given as hex triplets. This lets you arrange the colors to your personal preference, or add duplicates to change the transition point(s).
- Data filtering: I included a low-pass filter to smooth the data coming out of iRacing, which can be a bit choppy. The filter helps clean things up to make the display smoother at the cost of responsiveness. This can either be a preset (low / medium / high) or a floating point value.
- Color smoothing: if you use multiple colors, the program will automatically smooth between them with a linear blend. If you switch this setting off, the colors will change abruptly instead.
There are a few other options, such as framerate, blink rate, and some pattern-specific color tweaks. Once again you can find a full list and description in the repository’s README.
Let’s Race
Once the plugin has been activated using the checkbox in the Prismatik plugins window it’s ready to go. All that’s left to do is race!
The plugin will automatically take control of the ambilight when it detects that the simulator is running, and relinquish control once the simulator shuts down. For testing I mostly used the 2011 Indycar, as I really liked the look of the quick shifting on the shift light preset.
If the plugin status switches from “(running)” to “(not running)”, it means there is some sort of problem with your configuration settings that has caused it to crash. If you want to change any configuration settings, the plugin will need to be restarted before they take effect (click on the checkmark twice).
Conclusion
This project started as a “huh, what if I tried this…” sort of idea and through the lovely process of feature creep morphed into a fully-fledged plugin. Even so, it was a great way to get my feet wet with Python, and I even learned a few things about sockets and bundling Python code into an executable.
There’s much more that could be done with this, but for the time being I’m going to let it be and move onto other things.
Not Just For Ambilights
It’s worth mentioning that although Prismatik (and the plugin by proxy) is designed for ambilights, it could be used to send data to a generic LED strip that isn’t mounted behind a monitor. Which means that if this tickles your interest, it could be a quick if somewhat cumbersome way to make your own iRacing shift light with addressable LEDs. Check out my ambilight project for code and other information.

3 Comments
Mad Kane · April 4, 2018 at 10:19 am
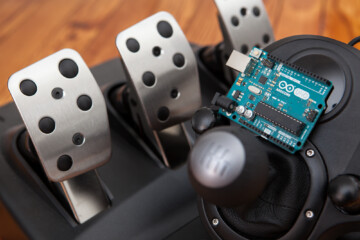
Nice work, David! I’ve build my own ambilight, thanks to your manual, but now I wondering – can Arduino wirelessly control light sources like Phillips Hue, MiLight or simple RGB ESP8266 bulbs (or strips) in addition to Adalight? I’ve seen many ads where Phillips shows amazing effects with home lighting, but their light bulbs and controller costs redicilously high. I’ll try to implement this idea using cheap chinees RGB bulbs, but my programming skills are low… actually they are terrifying 🙂 Can you upgrade your Ambilight project with this idea and make step by step tutorial? It will be great! I think it will requre to attach wireless module to Arduino, changes in FastLED library and special plugin to Prismatik.
Dave · April 8, 2018 at 1:34 am
Nice! I don’t know if you could control any of those home automation lights with an Arduino, but it wouldn’t surprise me either way. I think most of the home-brew methods for manipulating those lights are not embedded although I honestly haven’t looked into it. If you wanted to link it to the ambilight there’s no reason to go through the Arduino as a middleman though, you should be able to grab the capture zone colors directly from Prismatik and send them to your lights of choice.
Unfortunately I don’t have any smart lighting devices, and I’m not planning on picking up any soon. I have plenty of other projects to work on at the moment.
Mad Kane · April 8, 2018 at 8:51 am
Hello again, actually I’ve done some research on this idea:
1) One of the cheapest and easyest ways is bought MiLight iBox wi-fi bridge (or iBox2, costs around 15 bucks) and compatible bulbs or LED strip controllers.
2) You are right – there no need in Arduino. One guy released special software that capture color of 4 screen zones and sends data to iBox through UDP: https://www.epocapp.eu/milight/index.php
3) I don’t want to use 2 different light control software, I think similar functionality can be achieved by Prismatik, so now I need to figure how to grab mixed color data from few zones and send it to iBox through UDP. Now I’m searching similar ‘Python’ project to rework it as plugin. My python progarmming skills will not allow to do this project from scratch.