Controlling 
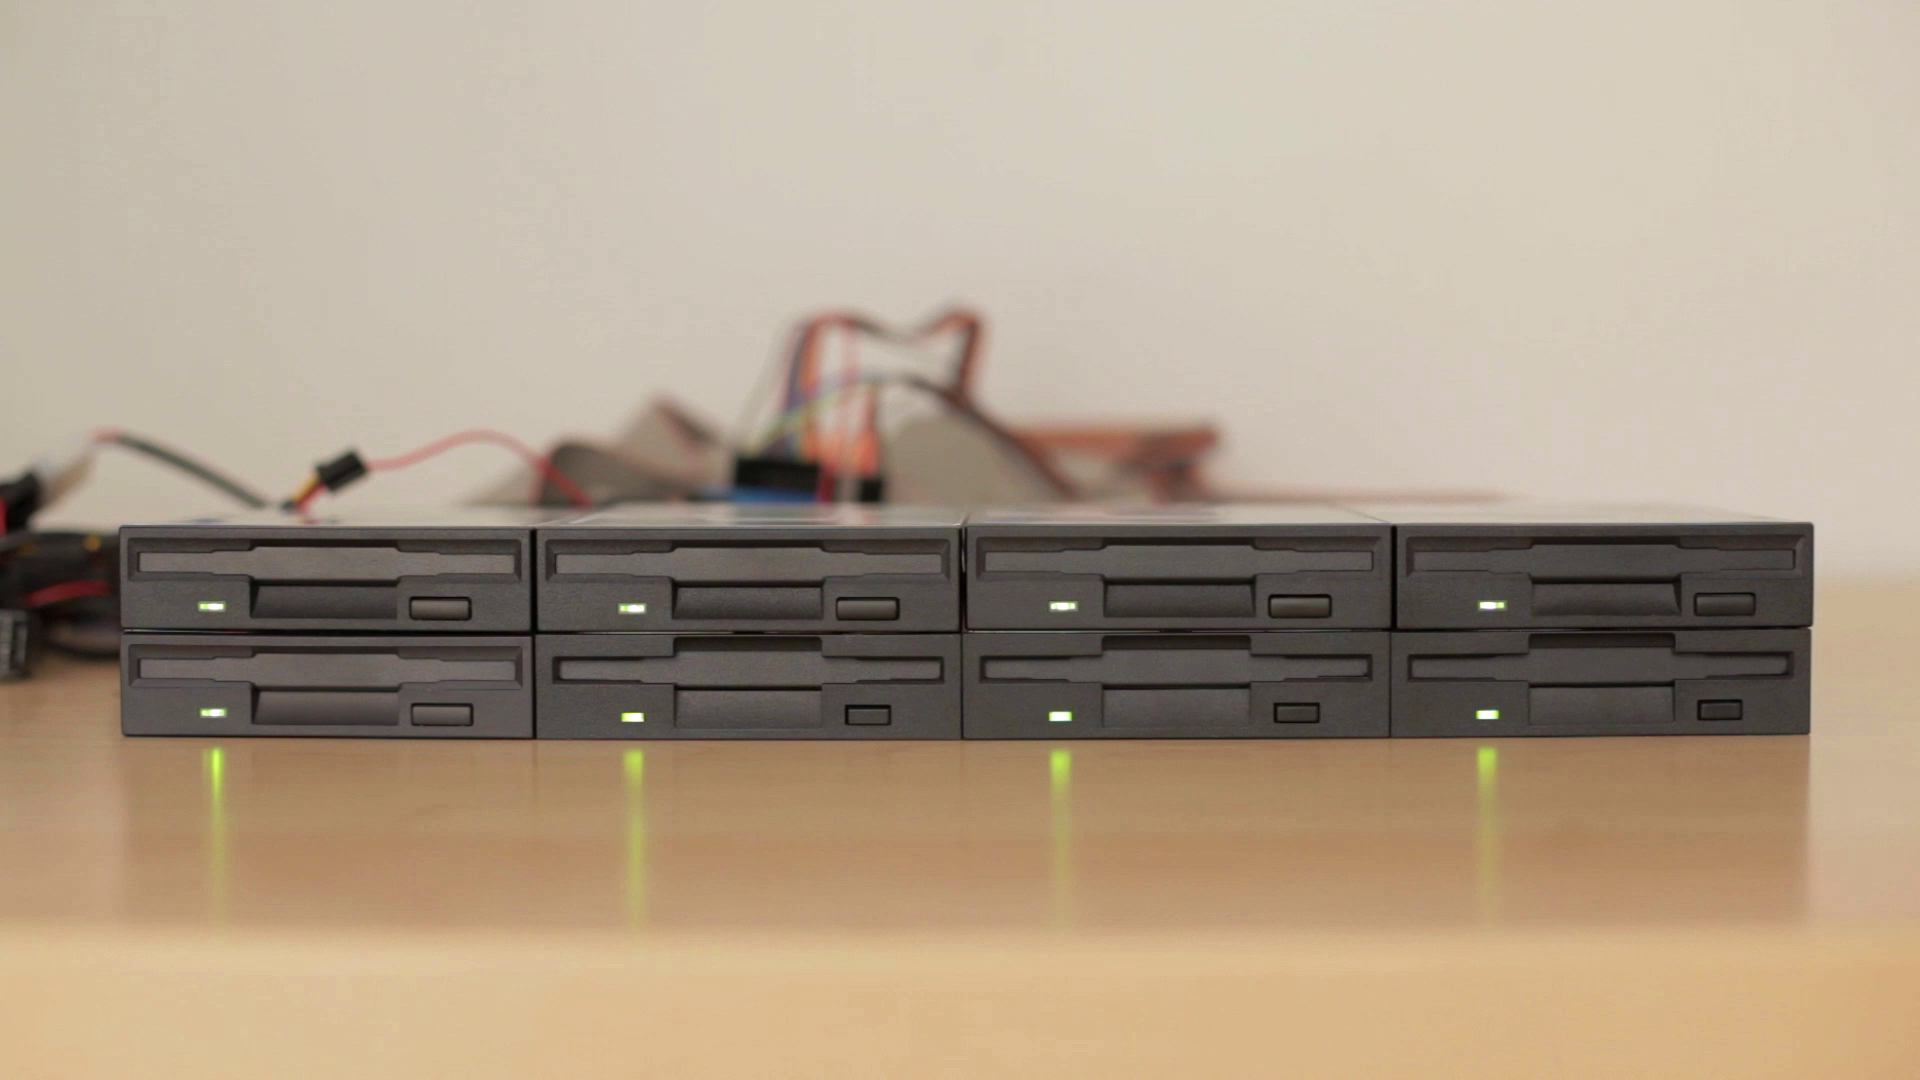
Musical Floppy Drives Directly via MIDI

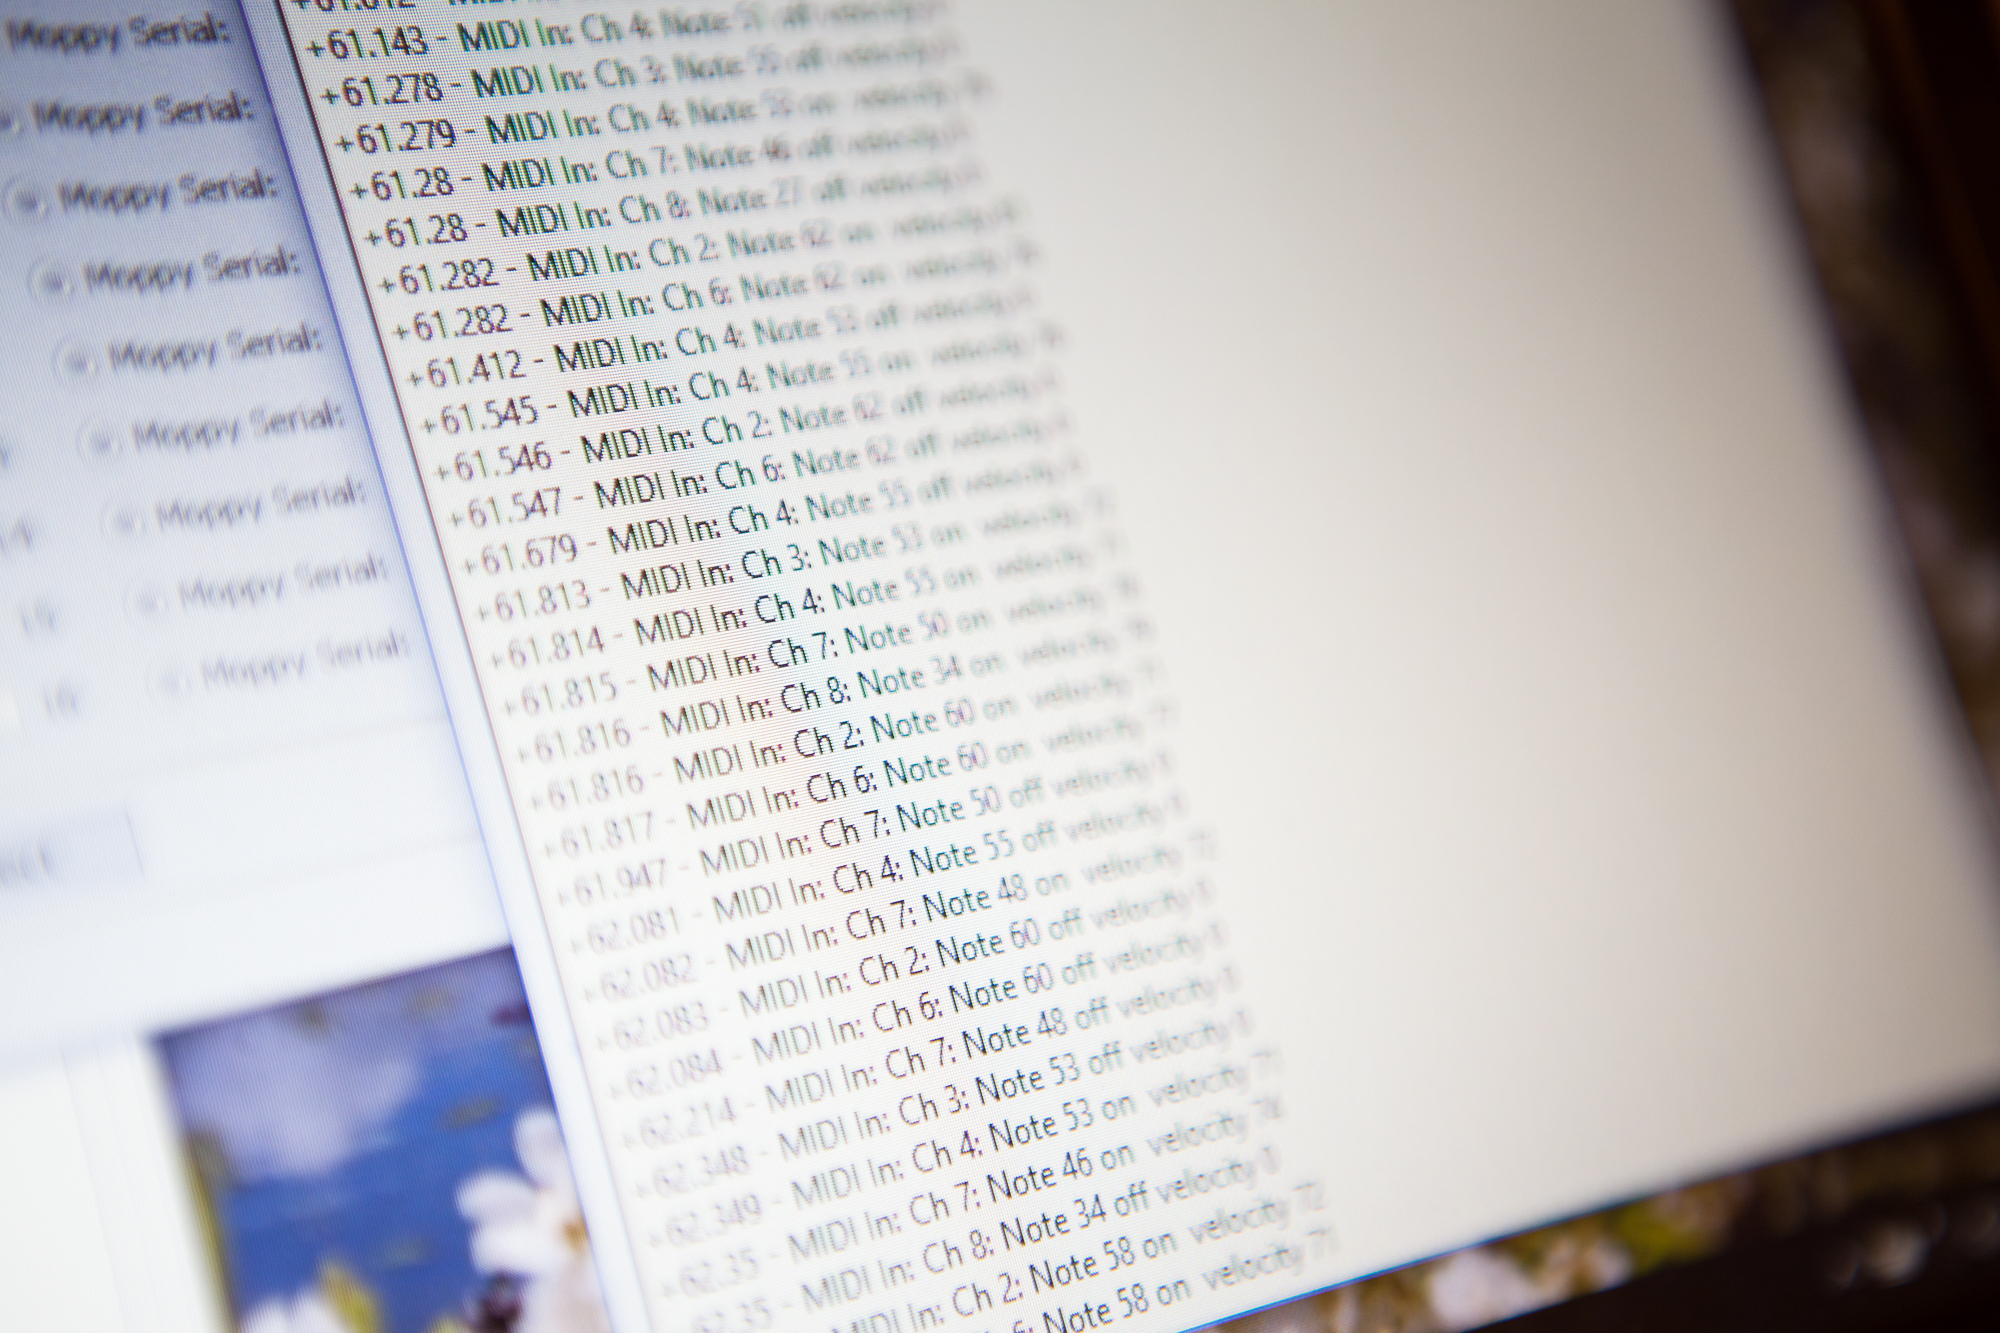
One of my first thoughts on how to improve Moppy was to drive it directly via MIDI. At the moment, the format of serial messages sent to the drive controller is proprietary and requires using the “MoppyDesk” application on your PC to convert MIDI notes into playable pins and wave periods.

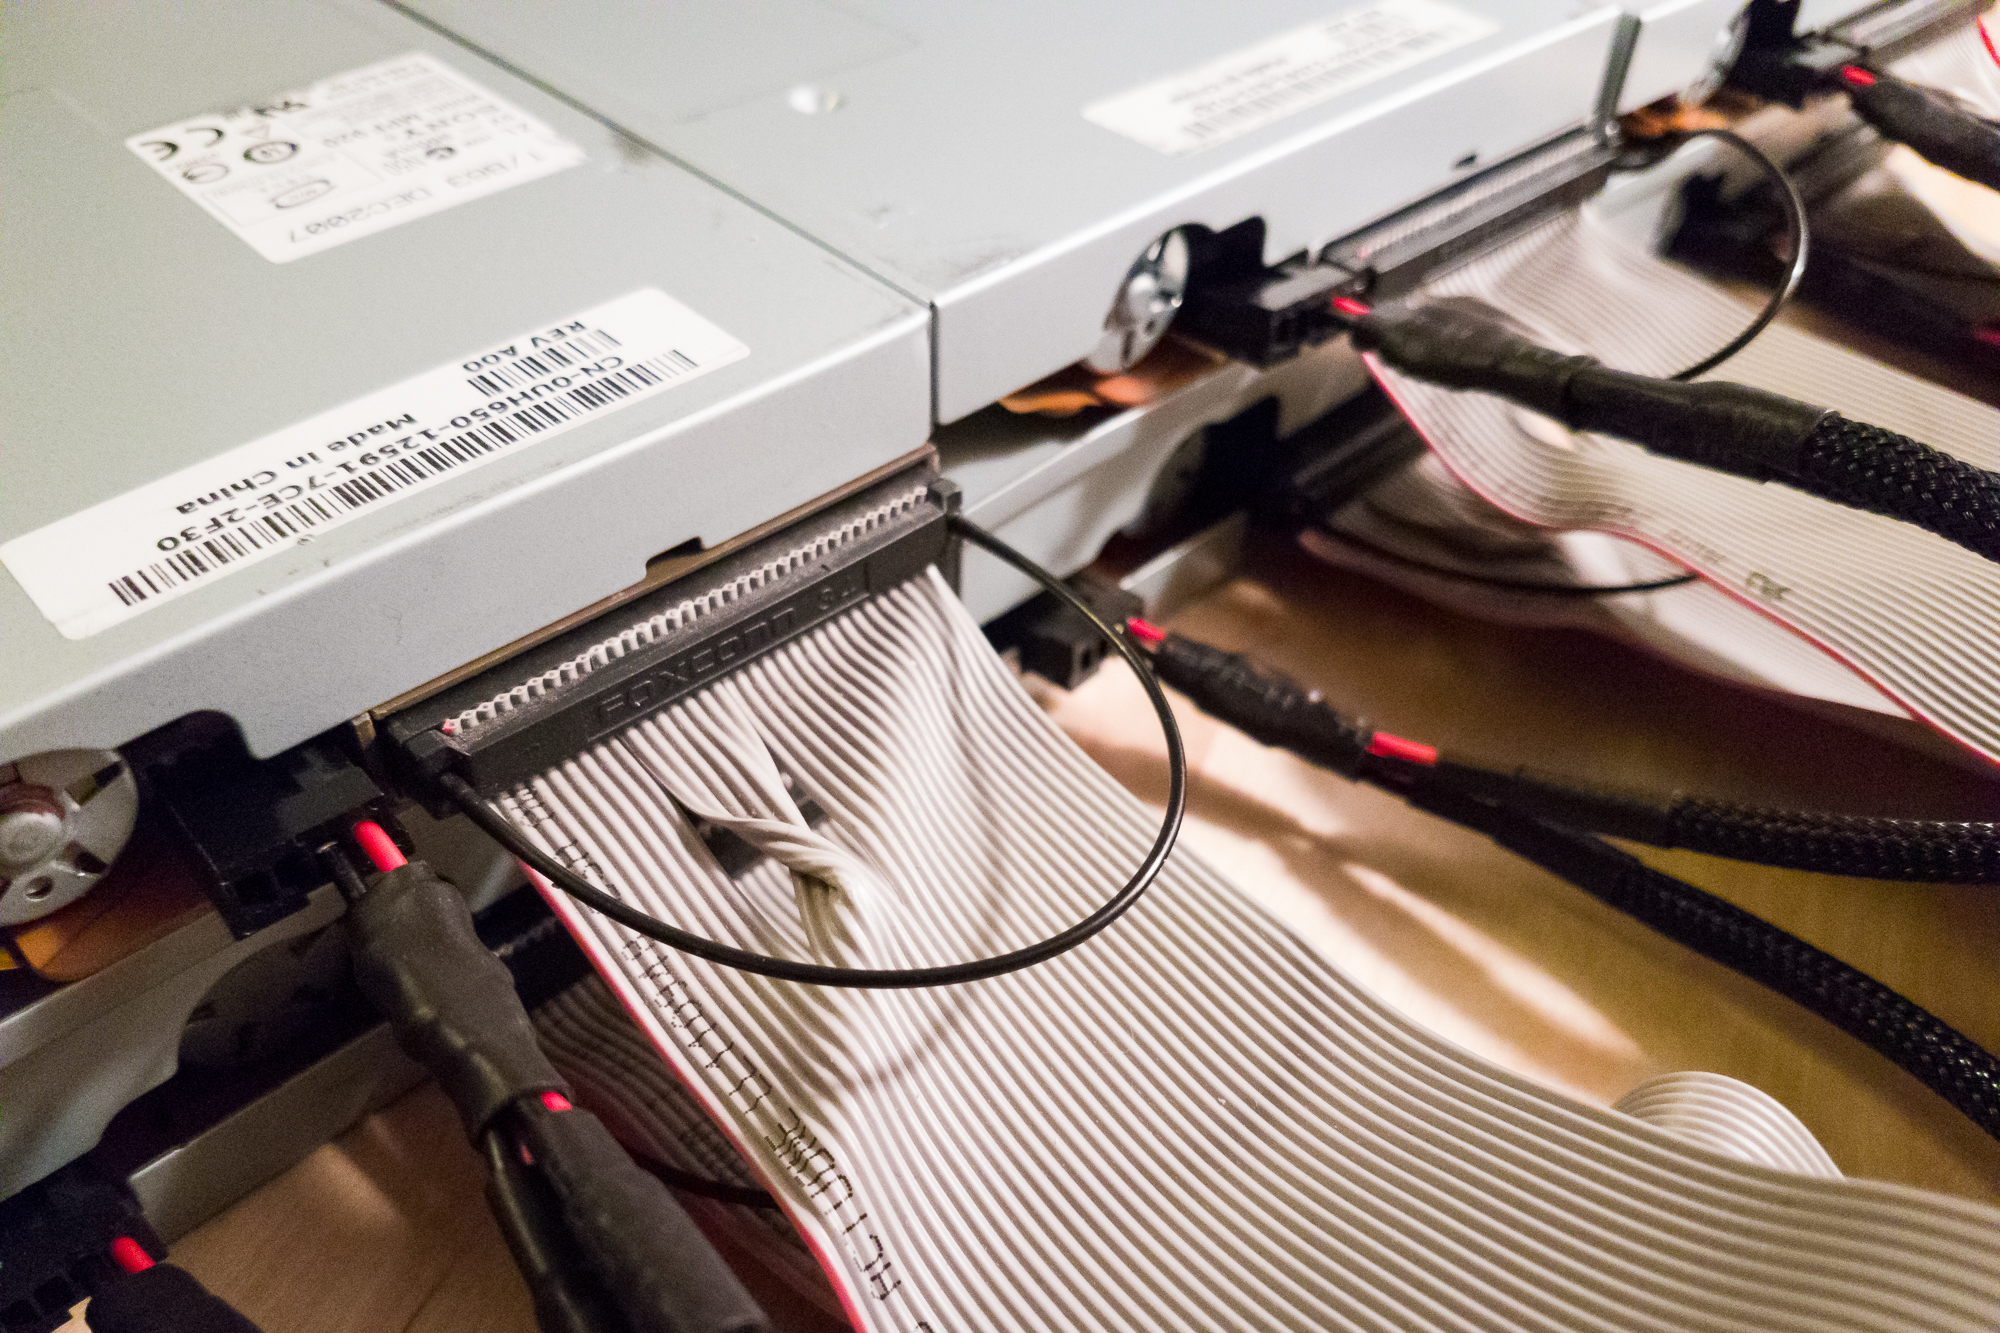
What if we can skip the PC altogether and simply plug a MIDI cable into the floppy drive controller? The goal of this experiment is just to see if this is feasible.

(more…)

Building Musical Floppy Drive Breakout Boards

With power taken care of, the next step is to connect the data lines (step, direction, and drive select) to the Arduino. The easy way to do this is to carefully count the pin numbers, attach a female header cable to each pin, connect the step / direction pins to the correct Arduino numbers, and join the grounded connections on a breadboard.

That’s the quick and easy way. But it’s also:

A.) Tedious to set up / take down
B.) Possible to make a wiring mistake
C.) Prone to disconnects

How do we fix all three of these problems? We build a breakout board!

(more…)

Building Custom Floppy Drive Power Cables

So far, I’ve figured out how to get a single floppy drive to make music. But why play music on one floppy drive when you could play it on eight?

An Arduino Uno with Moppy can drive a maximum of nine drives when connecting directly to the I/O pins. If you have nine drives on hand and an Arduino Uno, it’s simply a matter of connecting the data lines to the Arduino (step, direction, and drive select), and the power lines to a 5V supply.

That’s the simple and messy way. The more complicated, cleaner way is to build dedicated custom power cables that fit the floppy drives, and custom circuit boards to connect to pre-made 34-pin IDC cables.

I prefer the cleaner way, so I decided to build my own floppy power cables.

(more…)