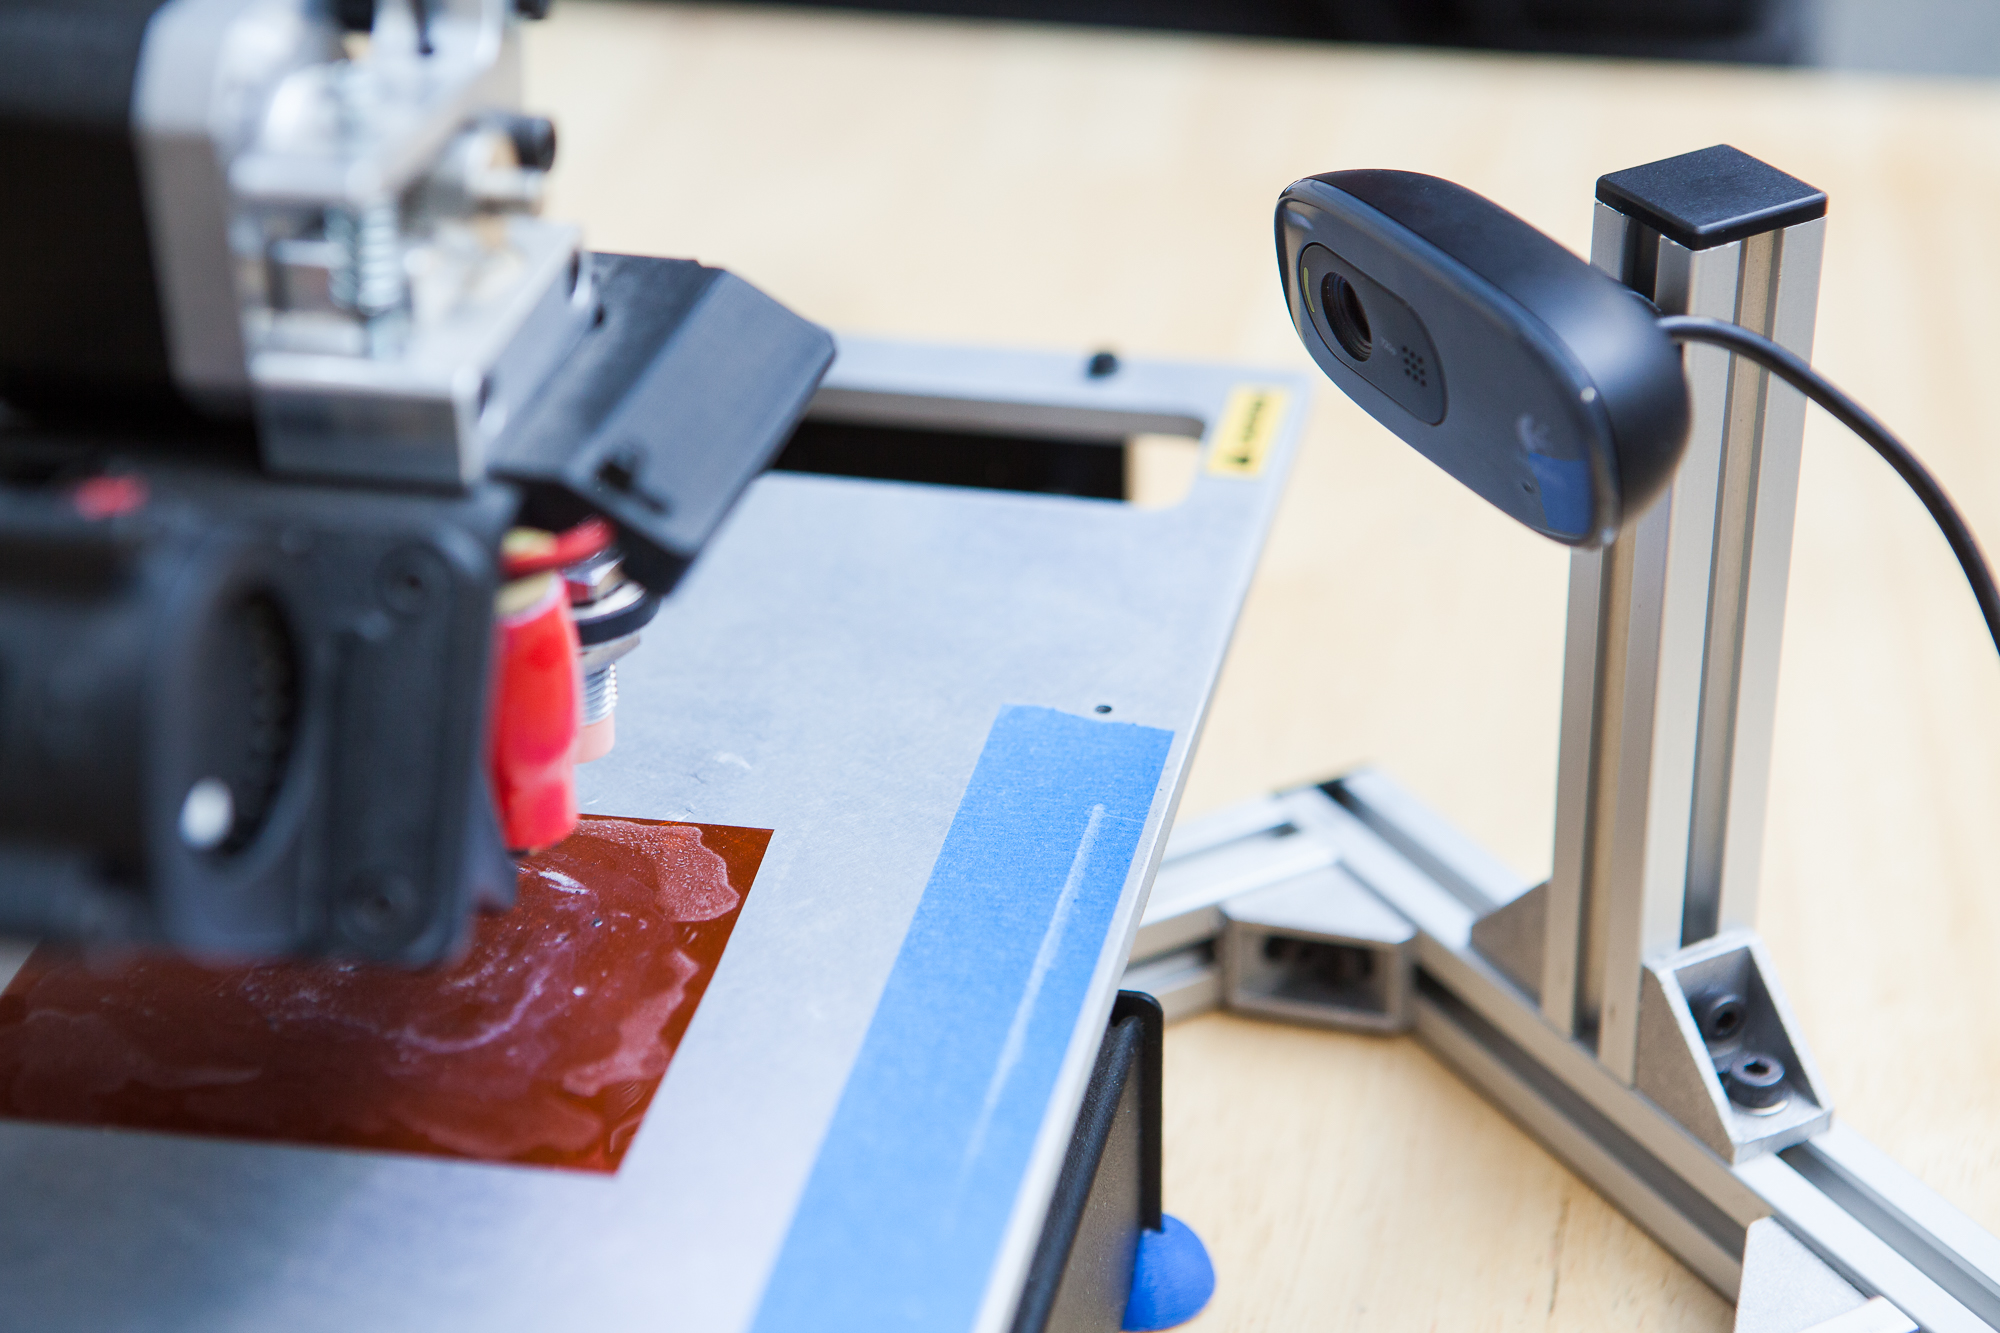
I have an old Logitech C270 webcam that I use in combination with OctoPrint to monitor my 3D printer. Since my printer doesn’t have its own enclosure, I made a simple camera “pole” out of some spare 2020 aluminum extrusion I had lying around and stuck the webcam on top. There’s just one problem – the webcam’s bracket wasn’t designed for the shape of the extrusion, and sometimes the vibrations from the printer occasionally knock the webcam off! So I decided to put my skills to work and design a 3D printed mount to bolt the webcam directly to the aluminum extrusion.
Disassembly


Unlike some of Logitech’s nicer webcams like the ubiquitous C920, the C270 doesn’t have a 1/4-20 mounting point on it to attach a regular tripod. That means the first step of this process is to take apart the monitor mount that comes with the webcam and figure out how to attach to the camera directly.
The mount comes apart quite easily. On either side of the pivot point there are two rubber discs. These can be pried up with a small flat-head screwdriver, revealing a tiny Phillips-head screw holding the assembly in place. After removing the screw, the pin can be pushed out with a screwdriver and the mount will fall off.
With the original mount removed we can measure the mounting/pivot point on the back of the camera to make the new part. Note that inside of this pivot is a small white sleeve bearing. This needs to stay in place in order to make the new attachment bolt fit snugly.
Design
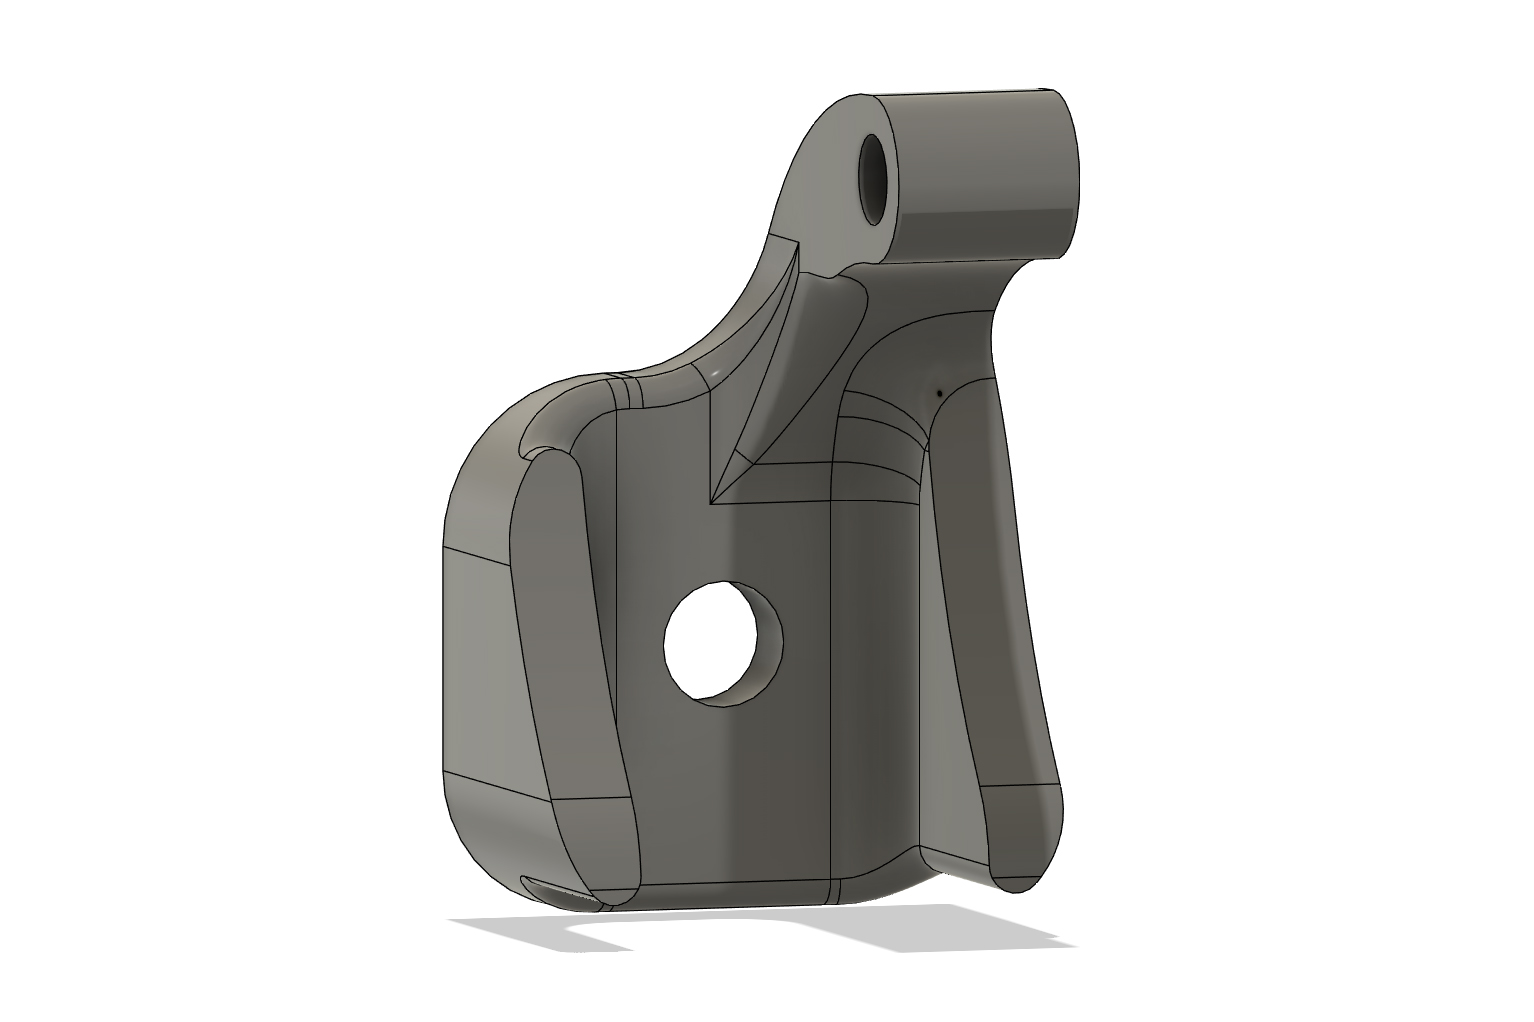
Now that we know what the mounting point of the camera looks like, it’s time to do the 3D design for the mount.
To start, I created a simple rectangular base that’s slightly smaller than the 20 mm extrusion to avoid interference with other parts. From there I created a supporting arm going up to the camera’s pivot point, offset away from the base to allow the camera to pivot and to provide clearance for the mounting hardware. These offsets were just eyeballed based on what looked right. This arm was also offset from the mount centerline so that the camera body sits over the middle of the mount.
Back on the main body of the mount, I added some ribs to either side to give the mount some stiffness and prevent the camera from tilting all the way down into the extrusion’s mounting screw. Since the camera was going to snug up against these ribs when tilted downwards, I used a profile gauge to measure the curvature of the camera, scanned the result, scaled it to size, and then used that to match the rib geometry to cradle the camera.
Finally I created a hole through the center of the part for the M4 bolt that’s going to mount this to the aluminum extrusion. Then I filleted all of the edges for strength and to make this easier to print. I then exported the STL file for printing.
3D Printing
The final mount was printed out of black ABS on my Printrbot Simple Metal with 25% infill at a layer height of 0.15 mm. I’m using 1.75 mm Hatchbox ABS filament, which prints quite nicely even though I don’t have an enclosed printer. I could have just as well printed this out of PLA, but I don’t have any PLA on hand that isn’t electric pink. And I kind-of want this mount to be more subtle than that.
The part was sliced in Cura 4.3.0 and took only about 30 minutes to print.
Assembly
In addition to the 3D printed mount itself, I need:
First, I added a washer to the M3 bolt and inserted it through the camera’s mounting point, through the support arm on the 3D printed mount, and then secured it with a second washer and a nut. The tightness on this bolt is a little tricky – it needs to be tight enough that the camera won’t fall, but loose enough that the angle can be moved by hand. Unfortunately the nut doesn’t have enough clearance from the camera body and pivots with it, meaning that it loosens if you pivot the camera too much. Thankfully I’m just planning on setting this at an angle and leaving it alone.
Next I inserted the M4 bolt through the the mount and attached the T-nut to the backside, then bolted the mount to the extrusion.
Conclusion
And that’s it! The camera is in place on its little stand, dutifully keeping watch over my 3D prints. Although I made this for my 3D printer, this 3D printed webcam mount in combination with a few pieces of extrusion has nearly unlimited uses for creatively mounting a webcam.
If you’d like to make one of these yourself, I’ve uploaded the STL file to Thingiverse. Have fun!