Finding the right buttons can be a pain. Doubly-so when those buttons need to be the size of your fist.
It seems to be a cardinal rule that big buttons are expensive. So what do you do when you just need a few big buttons on hand for your projects? Easy: you take the DIY route and modify an existing device for your own needs. With just a few minutes of work you can create a functional button at a fraction of the cost.
The Buttons
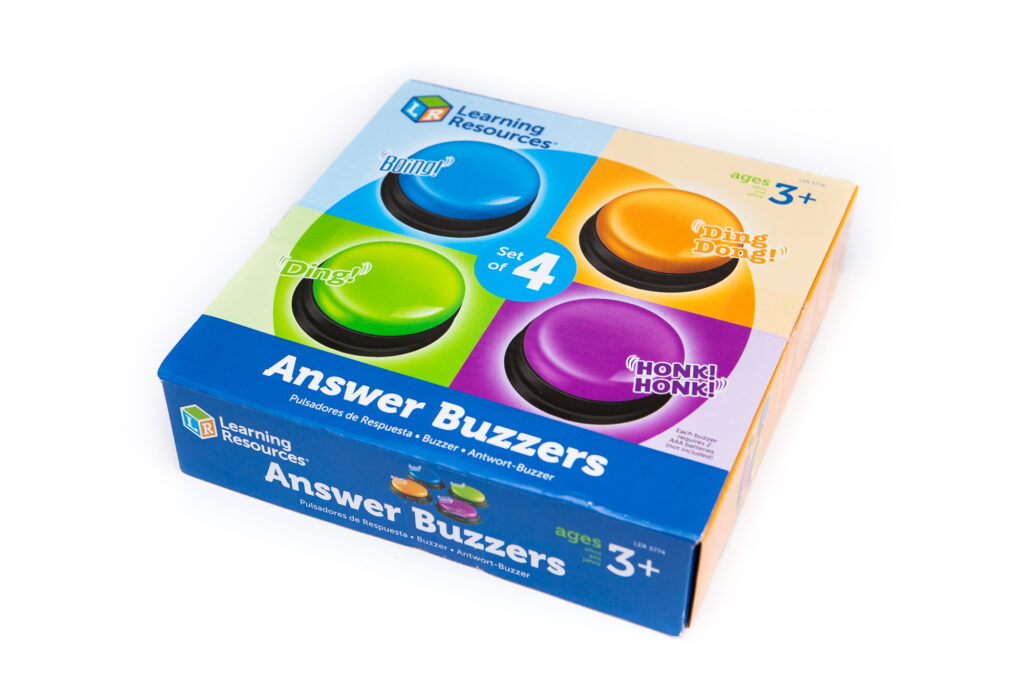
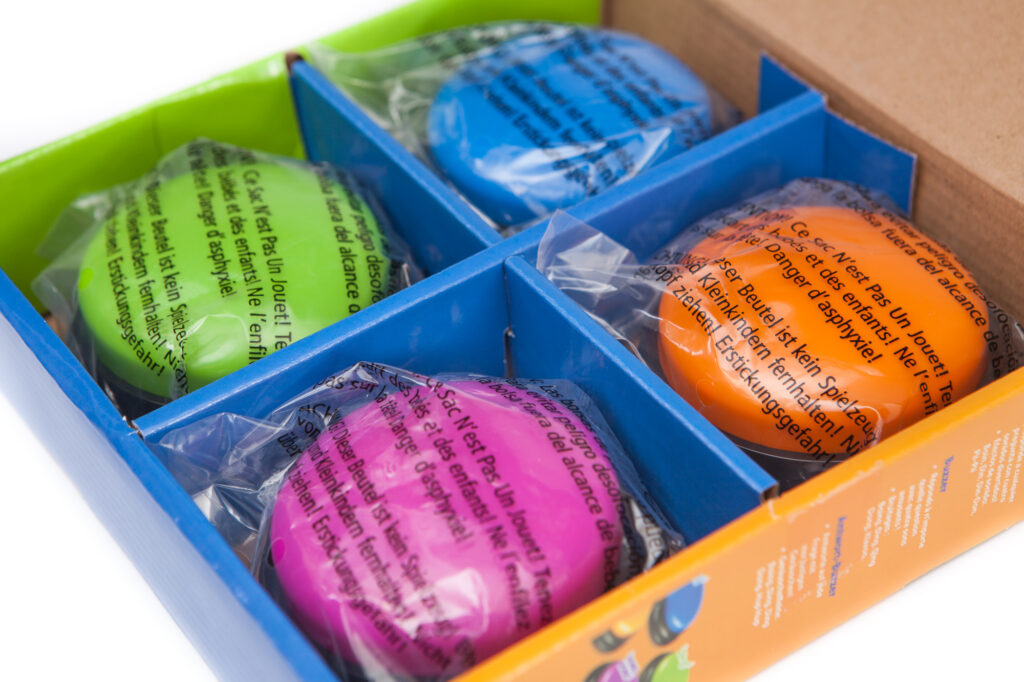
The donor buttons for this project are a four-pack of “Answer Buzzers” from Learning Resources. They’re simple devices that take a pair of AAA batteries and emit a funny noise (“Boing!”, “Honk!”, “Ding!”, etc.) when pressed. They’re about 2 ¾” in diameter and come in an assortment of fun, bright colors.
They’re far from the most robust buttons you’ll find, but they’re inexpensive and more than enough for most DIY projects.
Disassembly

The first step, of course, is to take the button apart!
Use a small screwdriver to pull up and remove the four rubber feet on the underside of the button. Set these aside so they can be reinstalled when we’re done.
Beneath the rubber feet are four Phillips-head screws which hold everything together. Remove these and the button will split into three pieces: the base, the ring, and the button cap.
PCB Modifications
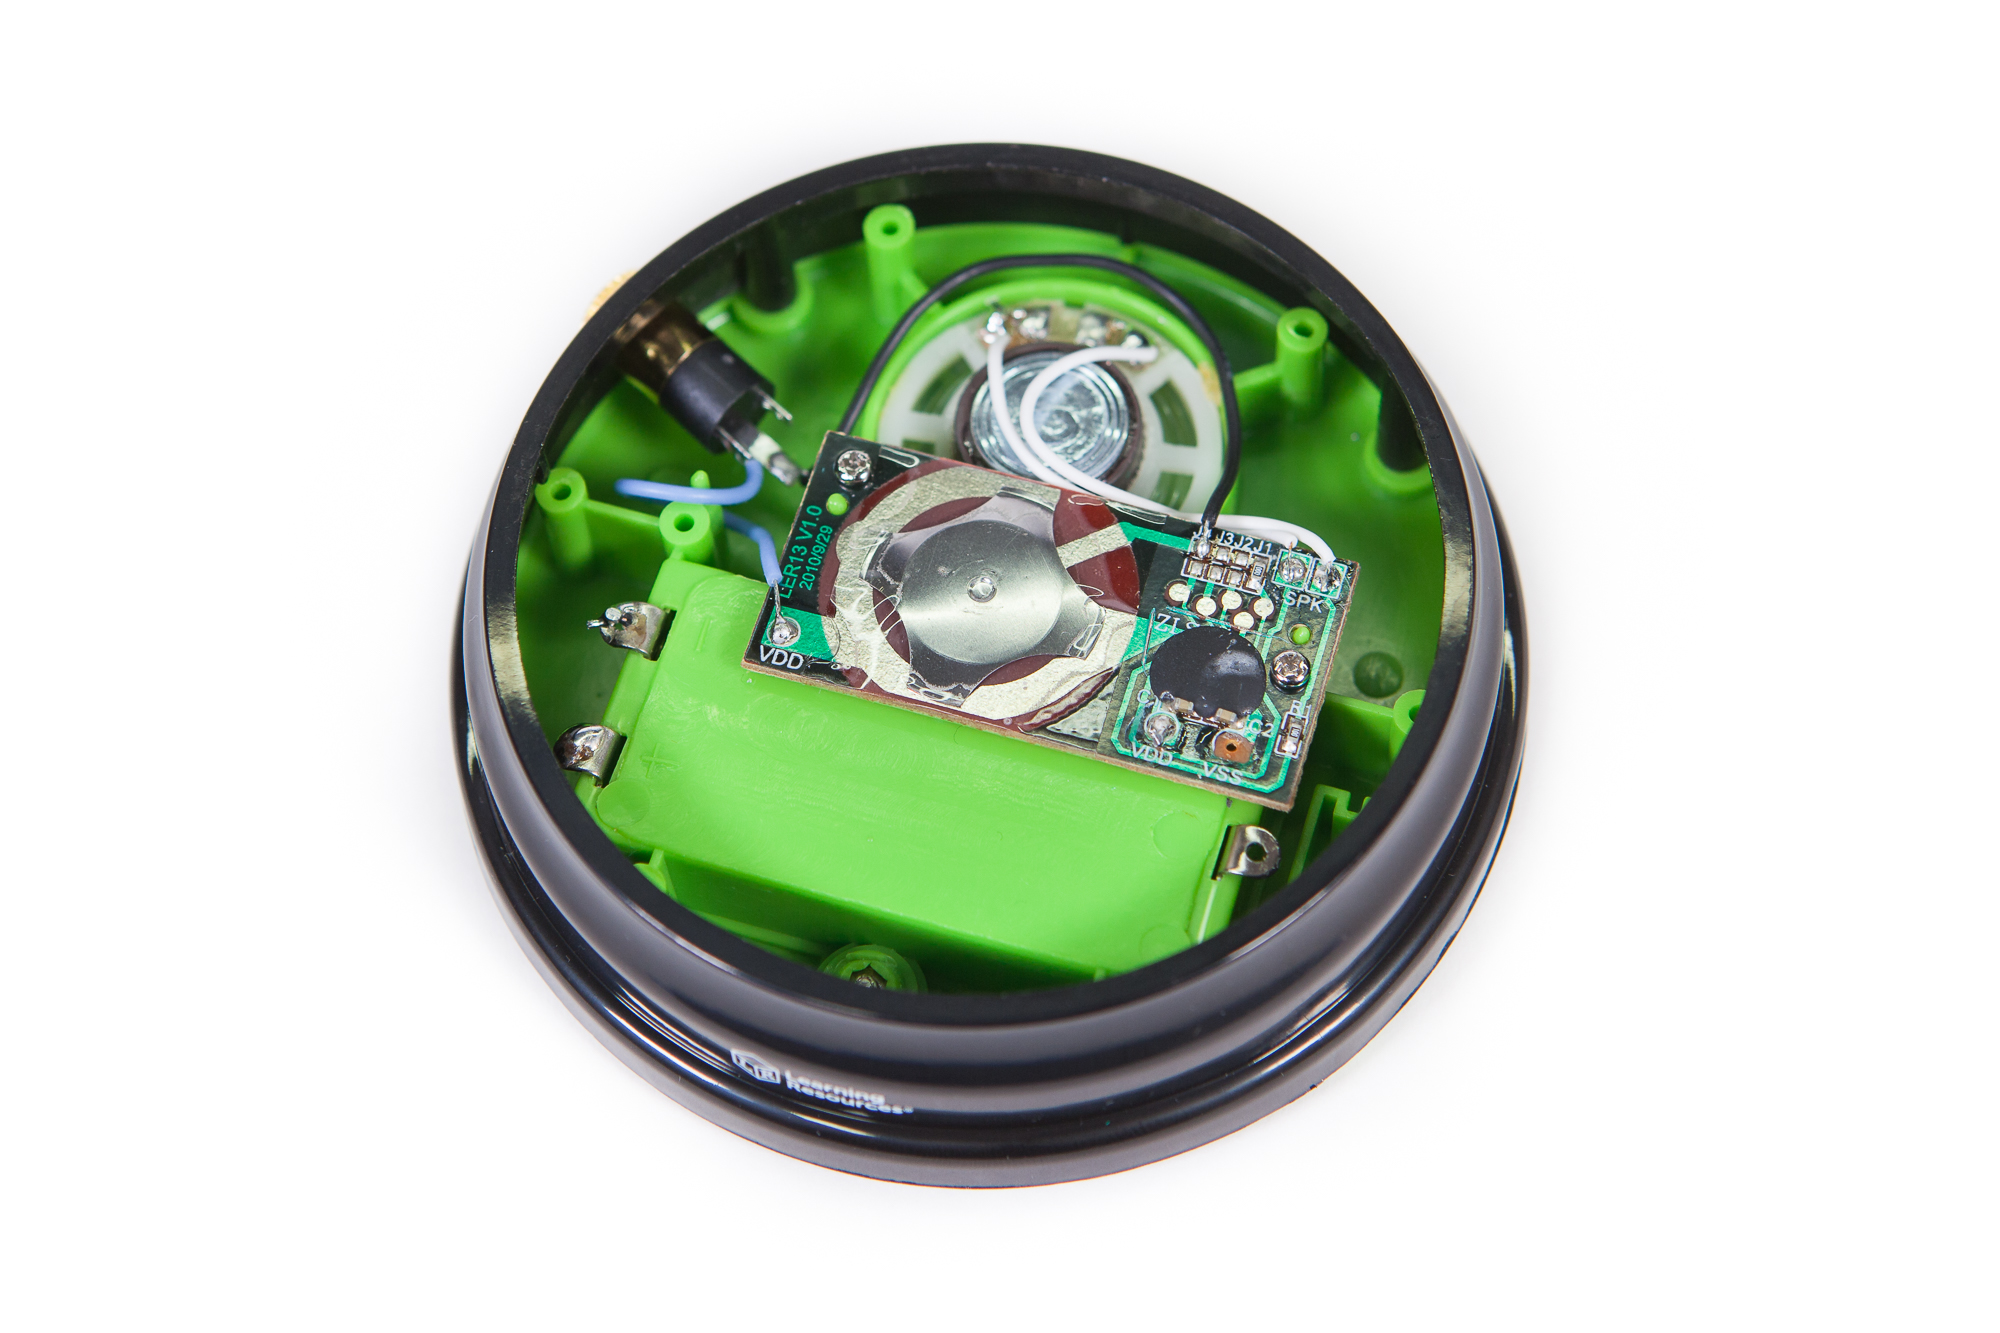

With the button in pieces we can modify the circuit board for our needs.
Using a sharp craft knife, create two cuts on the board to isolate the button portion of the circuit from the audio playing portion:
- Across the wide trace next to the button, in the center of the board.
- Across the four jumper traces, above the chip-on-board epoxy blob.
While we’re here, cut off the battery wires using a pair of flush cutters. This isn’t strictly necessary, but you don’t want to accidentally send power back through the button in case your trace cutting (above) isn’t perfect.
Adding a Headphone Jack
Our interface for the button is going to be a mono 1/8″ headphone jack. Why a headphone jack? Because it’s small, robust, inexpensive, and cables are widely available in a variety of lengths. Not to mention that a panel mount connector provides strain relief for the internal wires, and allows you to swap the button between projects without having to rewire or resolder!
(Of course, you don’t have to install a headphone jack if you don’t want to. Just run the wires directly out of the hole in the ring.)
Reinstall the ring on the button base for support, then find the halfway point between the speaker and the VDD side of the button PCB. Use a sharp tool to mark a spot about halfway up the ring, and drill a 1/4″ hole for the connector. I used a small 1/8″ bit to punch through the plastic, and a step drill to widen it to size. I then inserted the connector, installed the nut, and tightened it with my fingers.
Note that although the button ring is curved, the diameter is large enough that you shouldn’t need a saddle washer for a secure fit.
Wiring Things Up
The PCB is modified, the headphone jack is installed, so there’s just one thing left to do: wire it up!
You’ll need two lengths of wire, about 4″ long. I’m used 30 AWG stranded wire, but just about any small wire you have around the house will work just fine.
Solder the first wire between the ‘VDD’ pin on the circuit board (right next to the button contacts) and the ‘tip’ pin on the headphone connector.
Solder the second wire between the jumper pads on the circuit board (above the blob of epoxy for the chip-on-board) and the ‘sleeve’ pin on the headphone connector. There are four jumpers, used to select which noise the button should play. You can solder to any of them or even to all of them, if it’s easier for you. Be sure to solder to the top of these jumpers, because those are the pads that are connected to the button contact.
Reassembly
Everything is hooked up so it’s time for reassembly!
Being careful not to pull on the wires, lift up the button’s ring and tilt it sideways so you can slide the button cap in from underneath. Pay attention to the cutouts on the sides of the button cap, as these need to fit into the tabs on the ring. With the button cap in place, align the ring back onto the base and reinstall the screws that hold everything together. Stick the rubber feet back on and take your shiny new button for a test drive!
For my buttons, I also cut up some 3/8″ threaded steel rod into AAA battery lengths and stuck them into the battery compartment to add a little weight. This is optional, but it makes the buttons a little more stable and avoids any future issues from leaking batteries.
Have Fun!
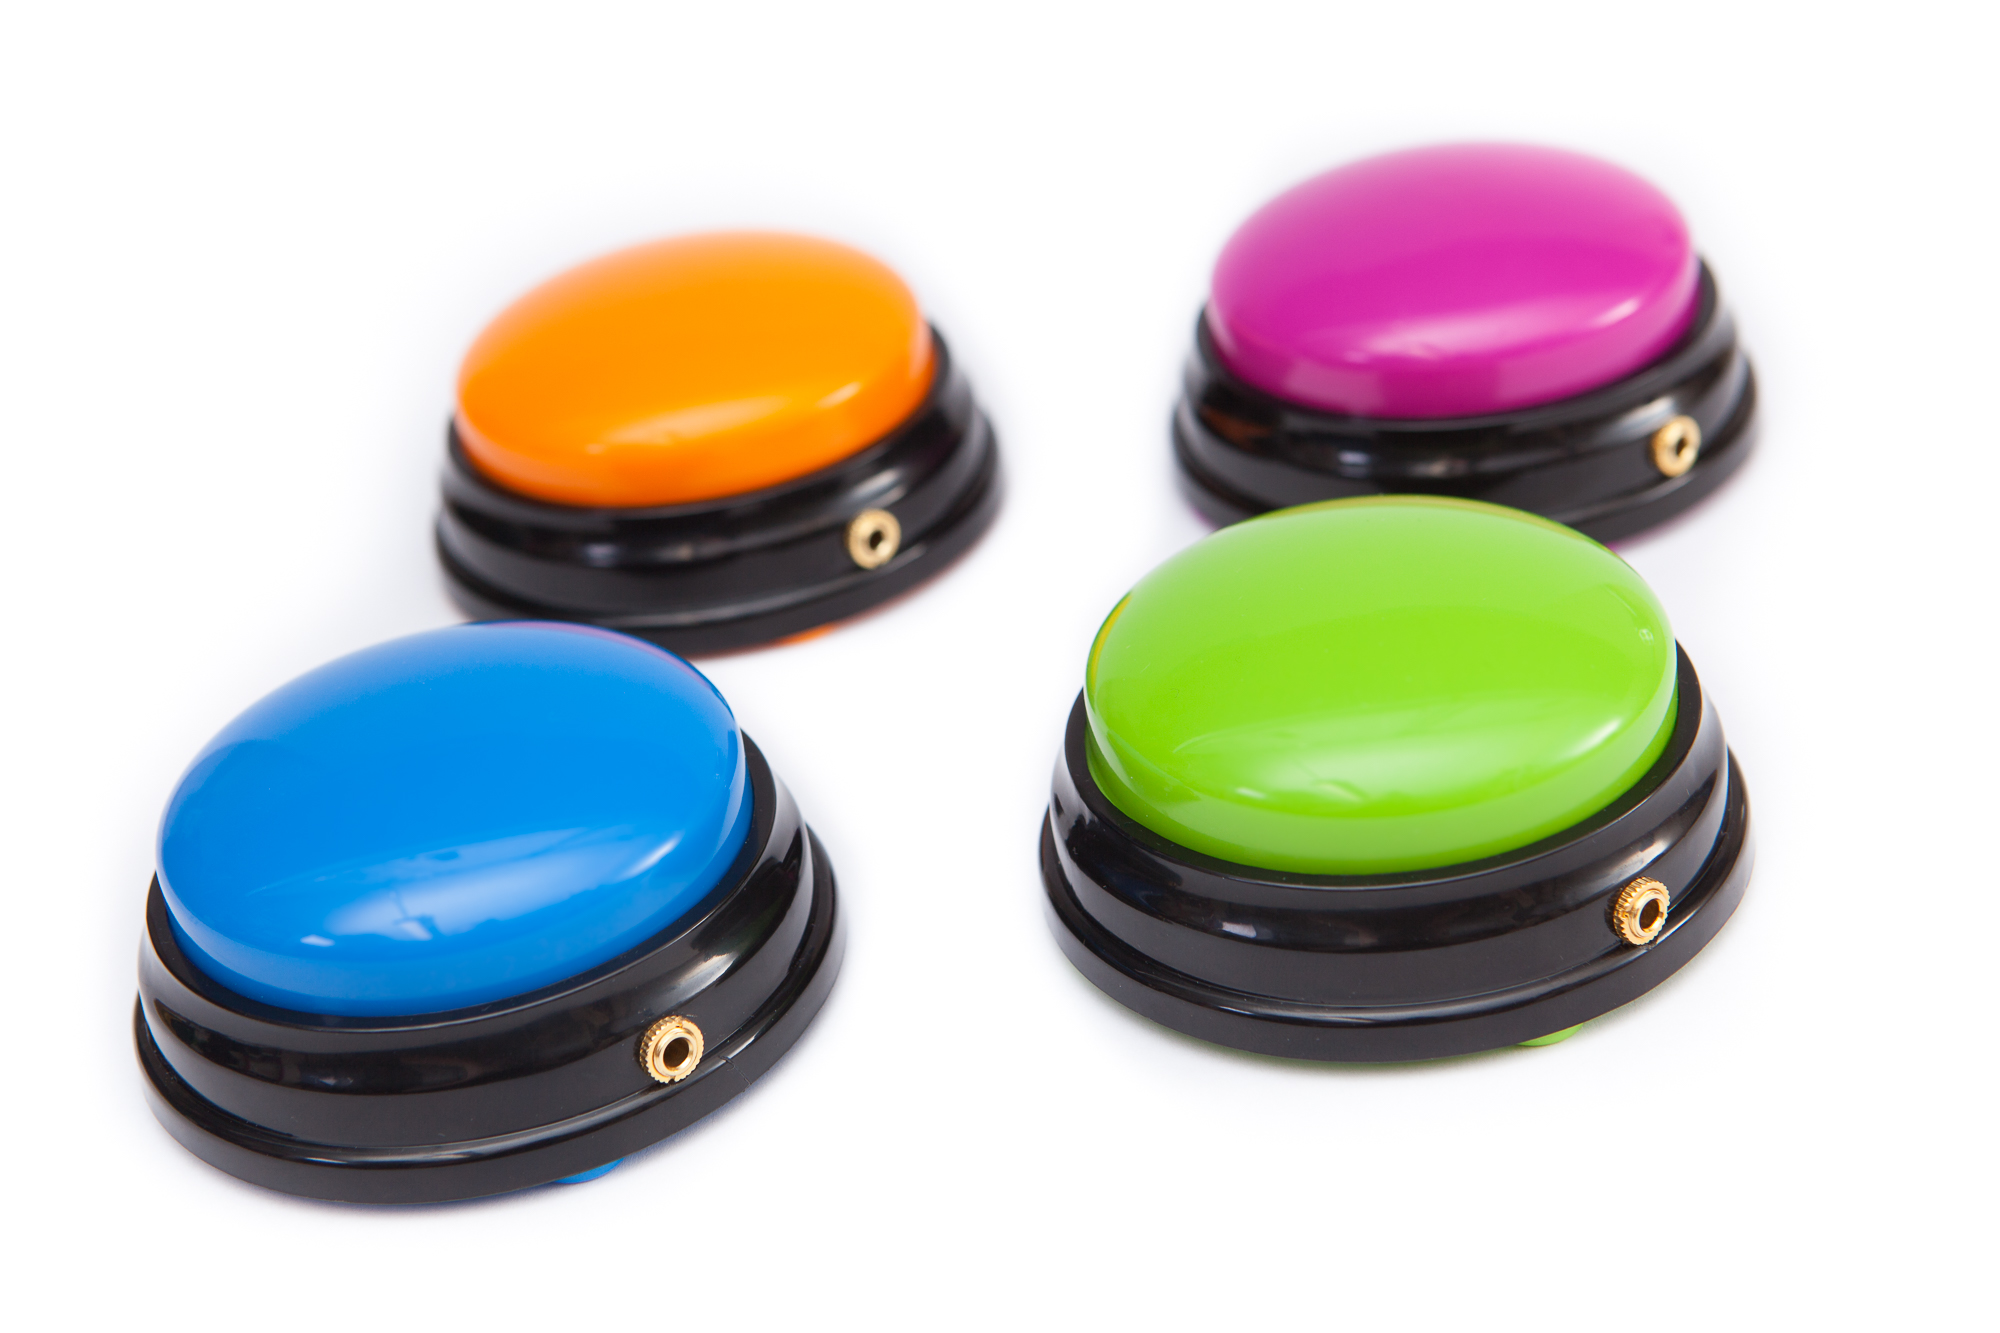
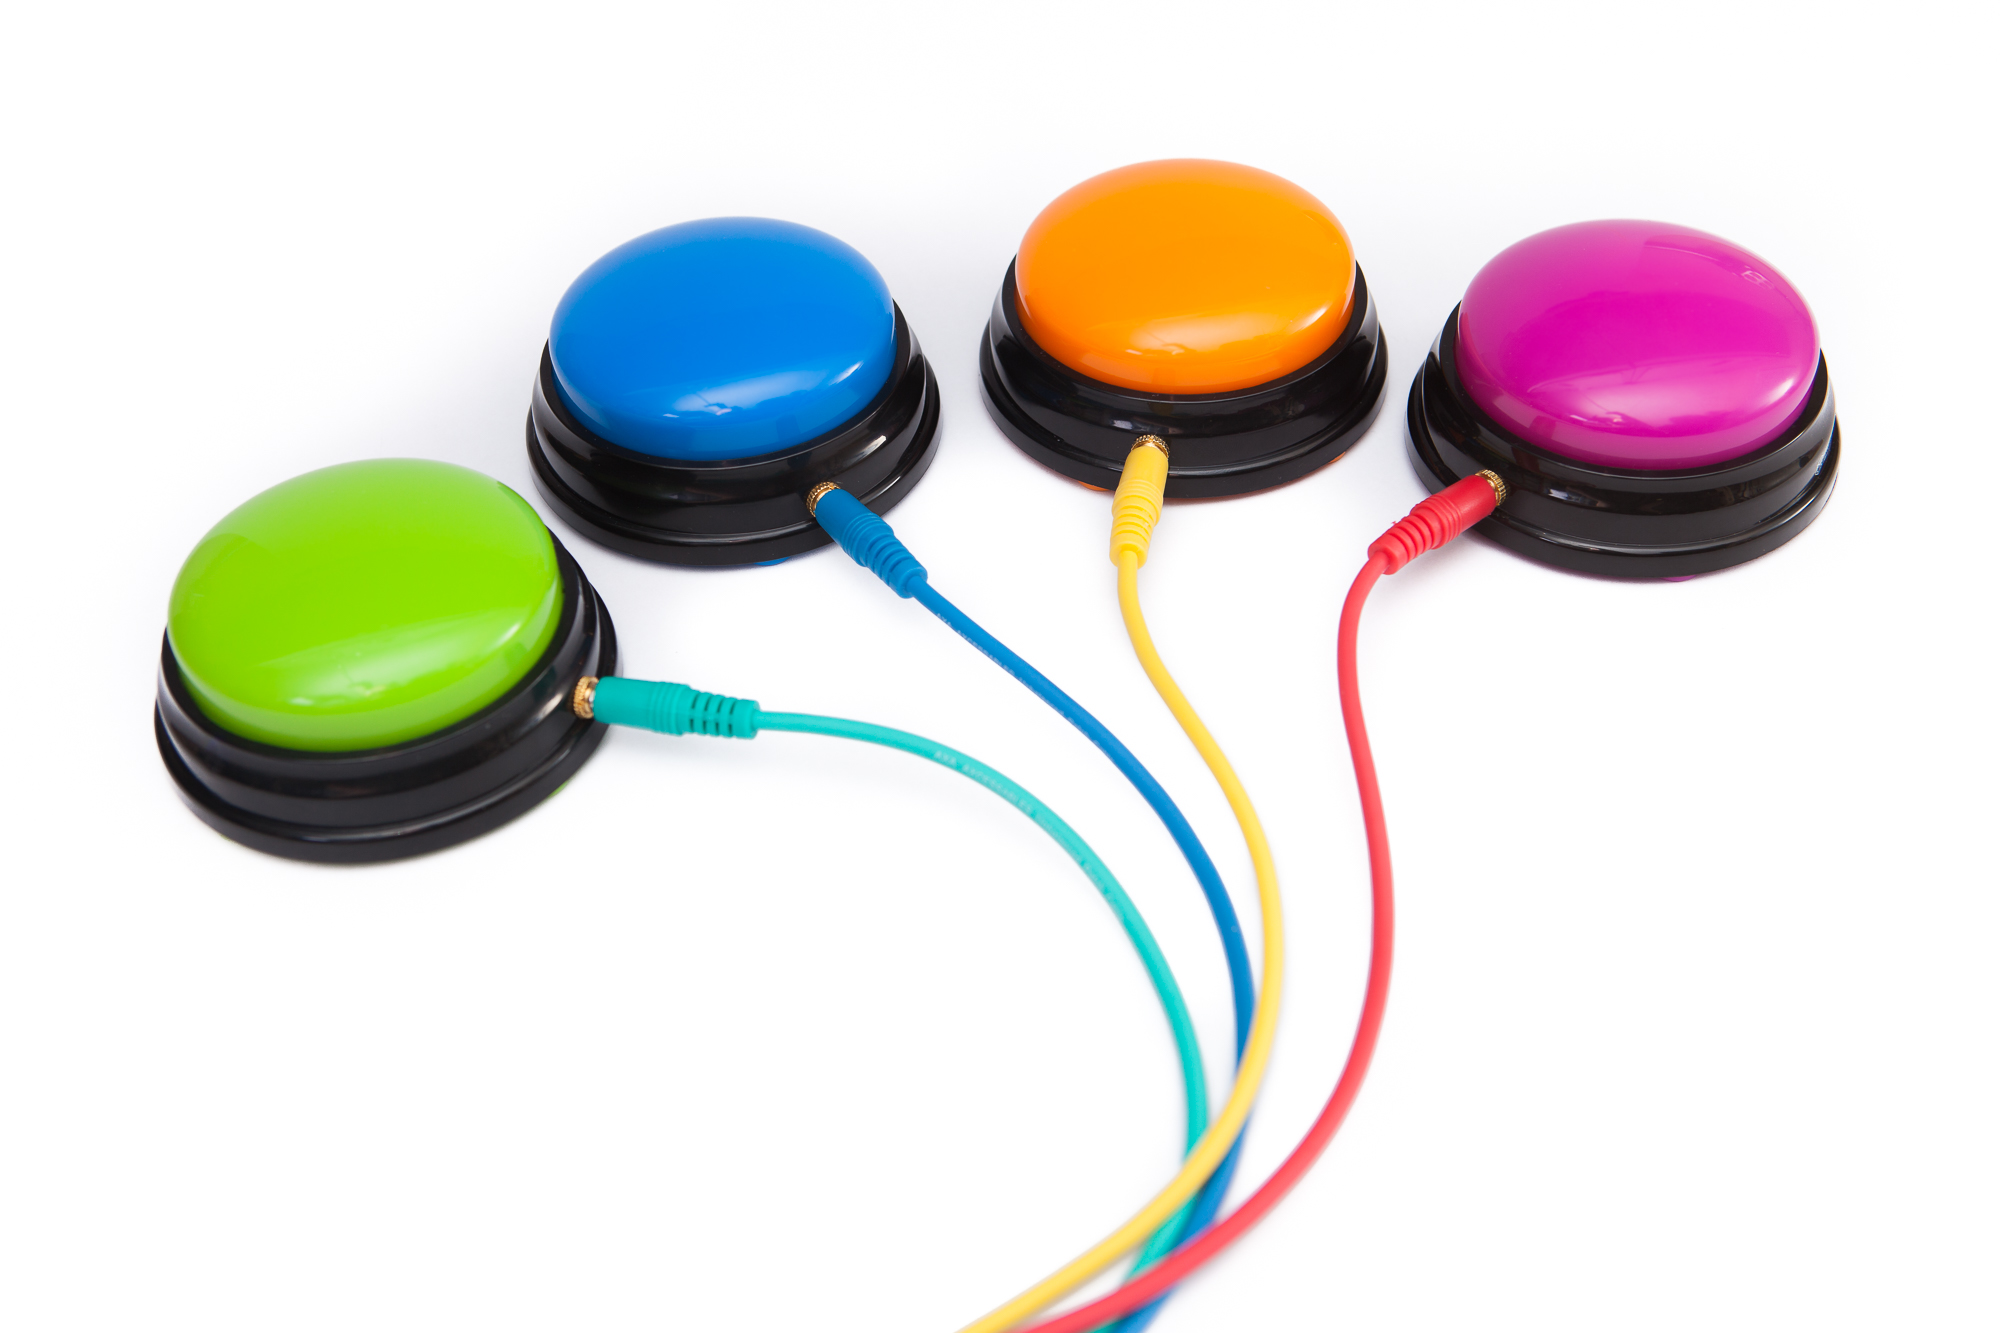
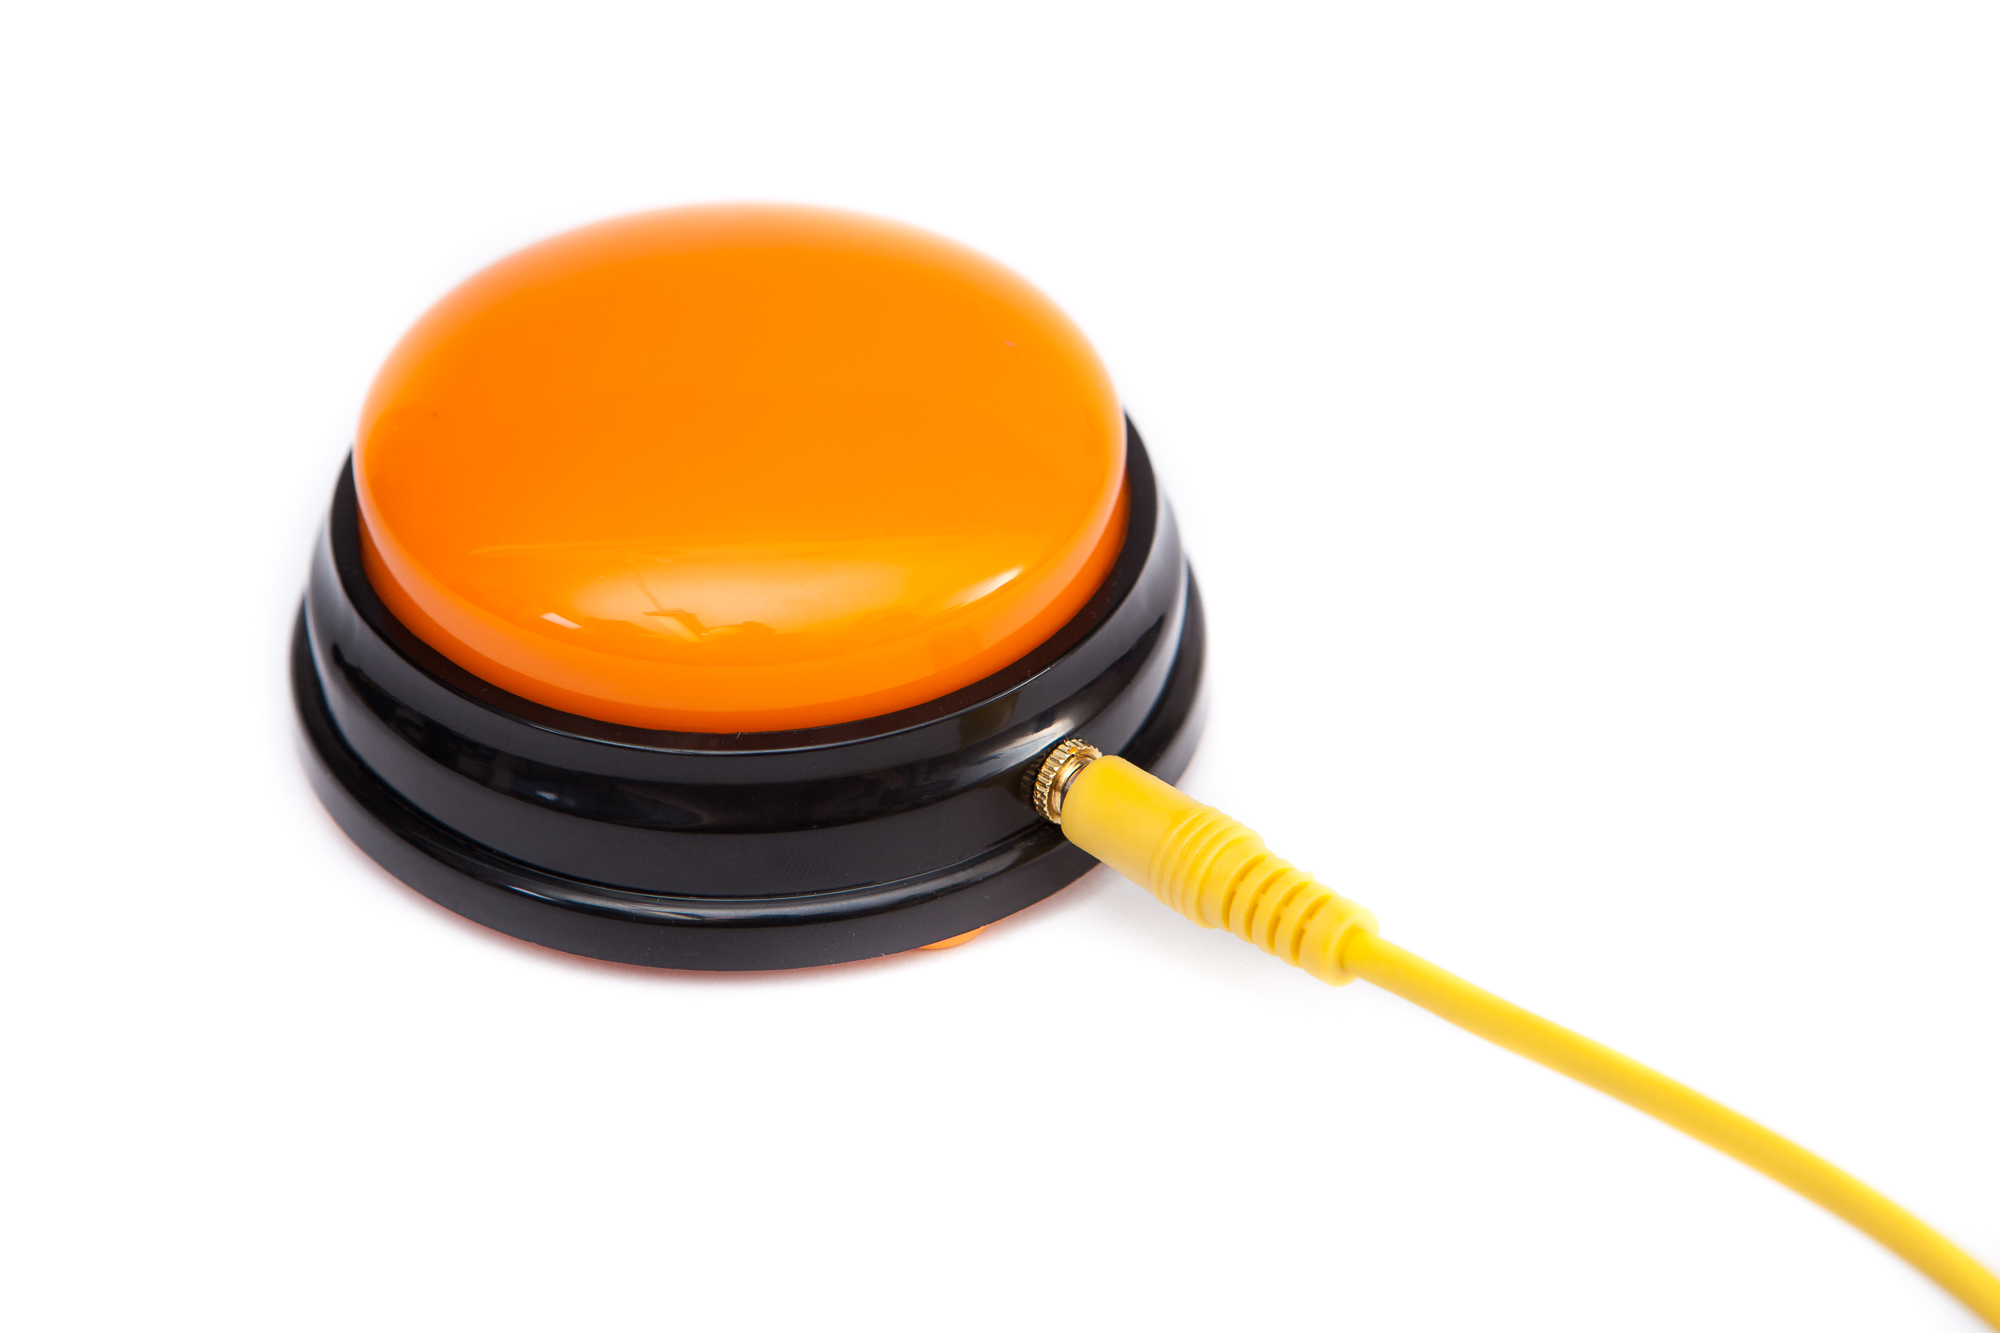
The buttons are complete! Pressing down on a button bridges the ‘tip’ and ‘sleeve’ contacts on the headphone jack, allowing the button to act as, well, a button!
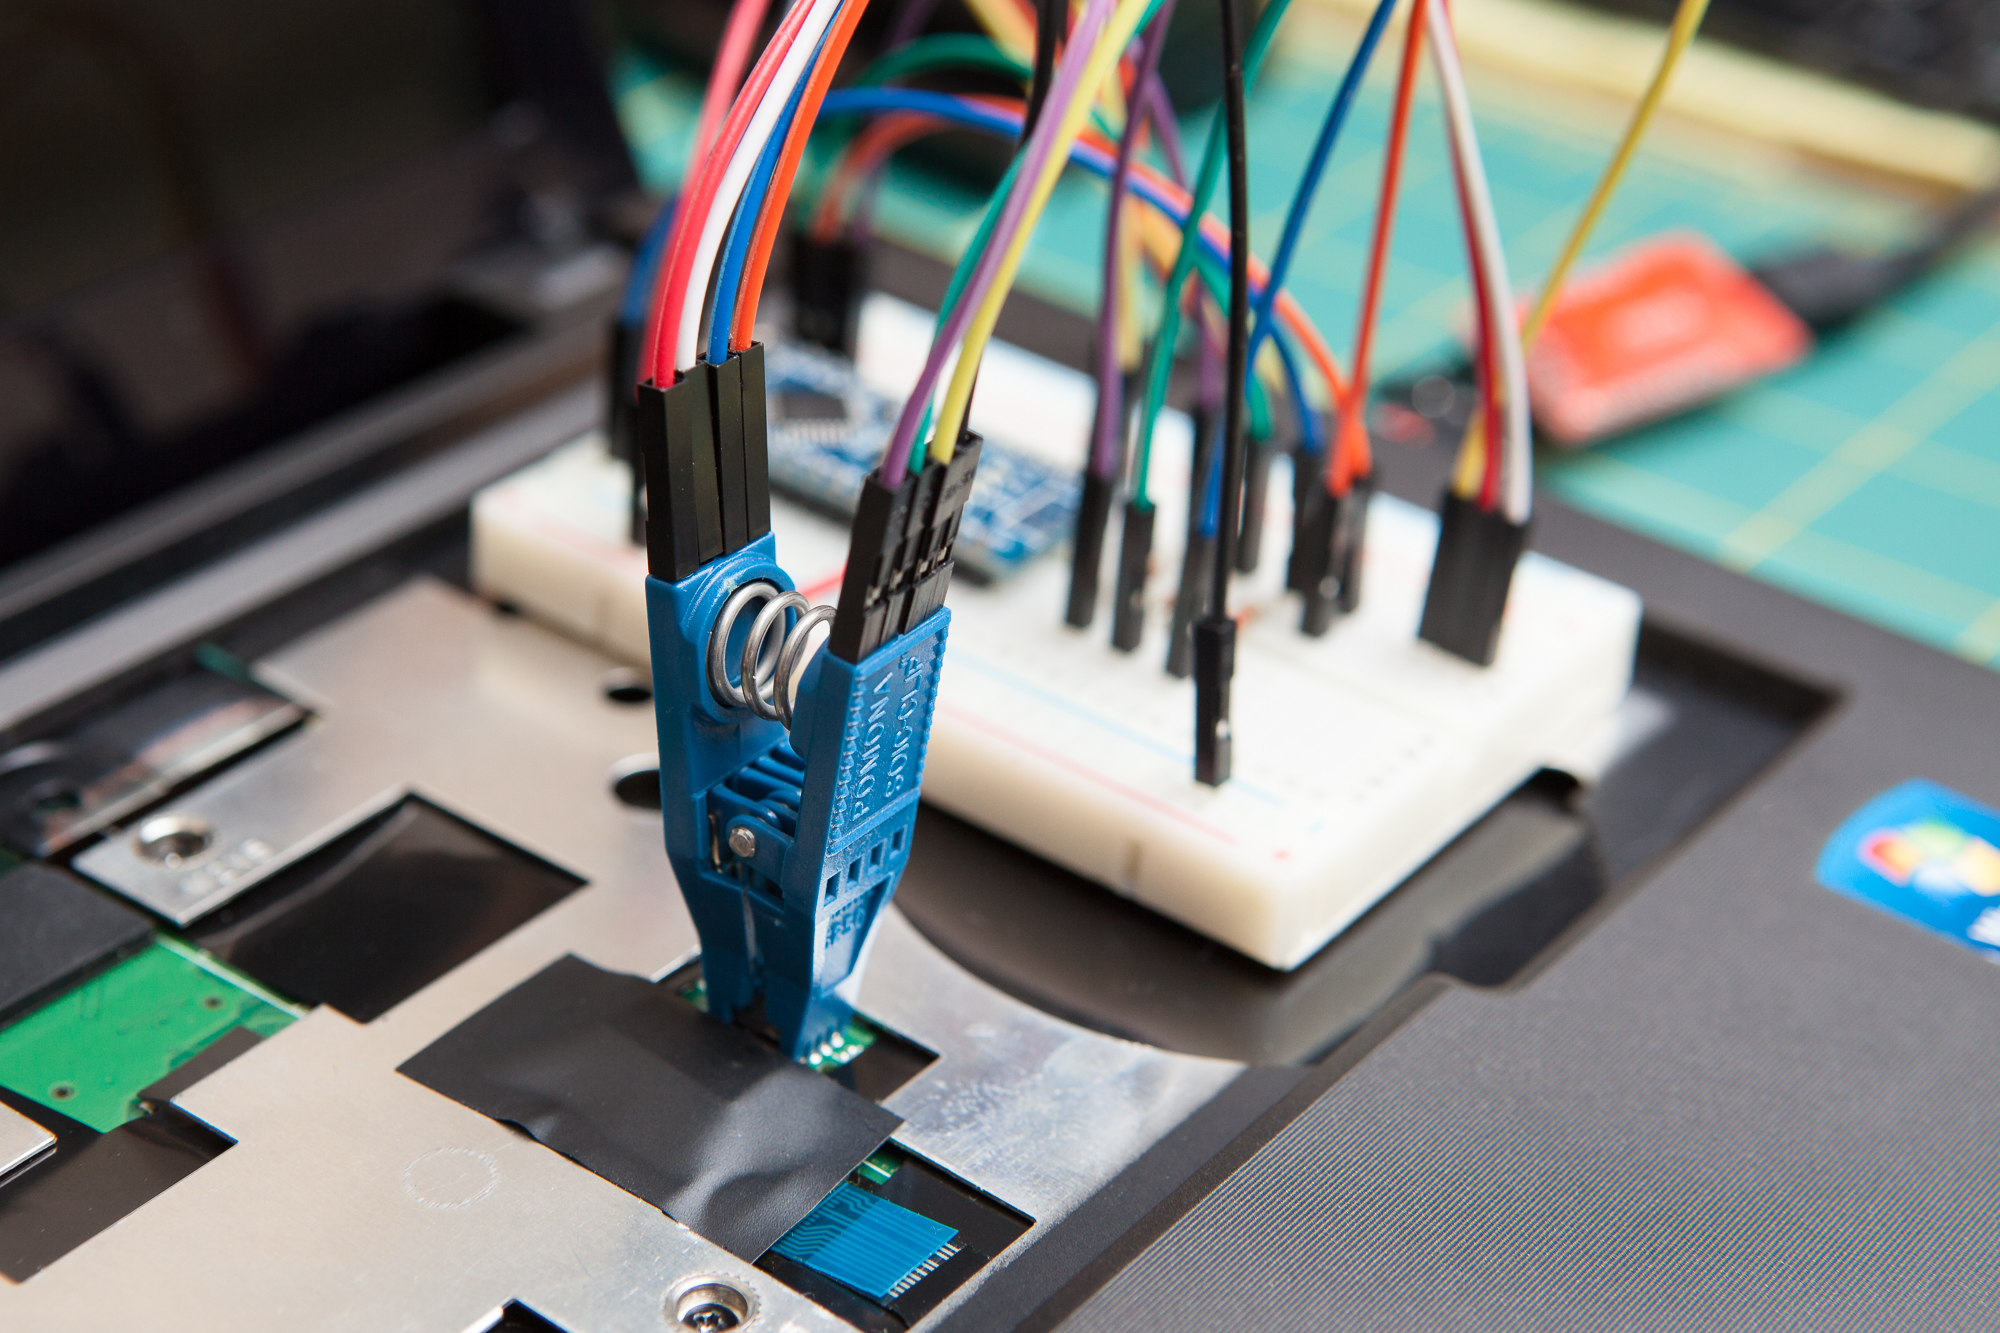
Now you can use these buttons in your own projects! You can connect to the buttons using any standard 1/8″ TS (Mono) or TRS (Stereo) cable. Either cut and strip the other end of the cable, or use a breakout board to connect the cable to your project.
What are you going to make? A doggie doorbell? A MIDI piano? An accessibility controller for a video game? The possibilities are endless! That last one is on my list, and hopefully you’ll hear more about it soon.
I paid about $12 USD for the four buttons and $8 USD for five headphone jacks. That makes the total price for each button only $5 – an absolute bargain compared to the $40 or $60 commercial buttons of comparable size.
Have you modified your own buttons? What are you using them for? Leave a comment below!
Parts List
Building this for yourself? Here are the parts you’ll need:
- Learning Resources Answer Buzzers, Set of 4
- 1/8″ Headphone Jack, Stereo (Panel Mount)
- 30 AWG Stranded Wire
In the video I also used some nice colorful patch cables, which fit well with the fun and bouncy buttons:
These are Amazon Affiliate links that help fund the content on this site. As an Amazon Affiliate I earn from qualifying purchases. Thank you for your support!