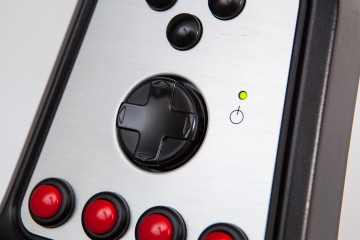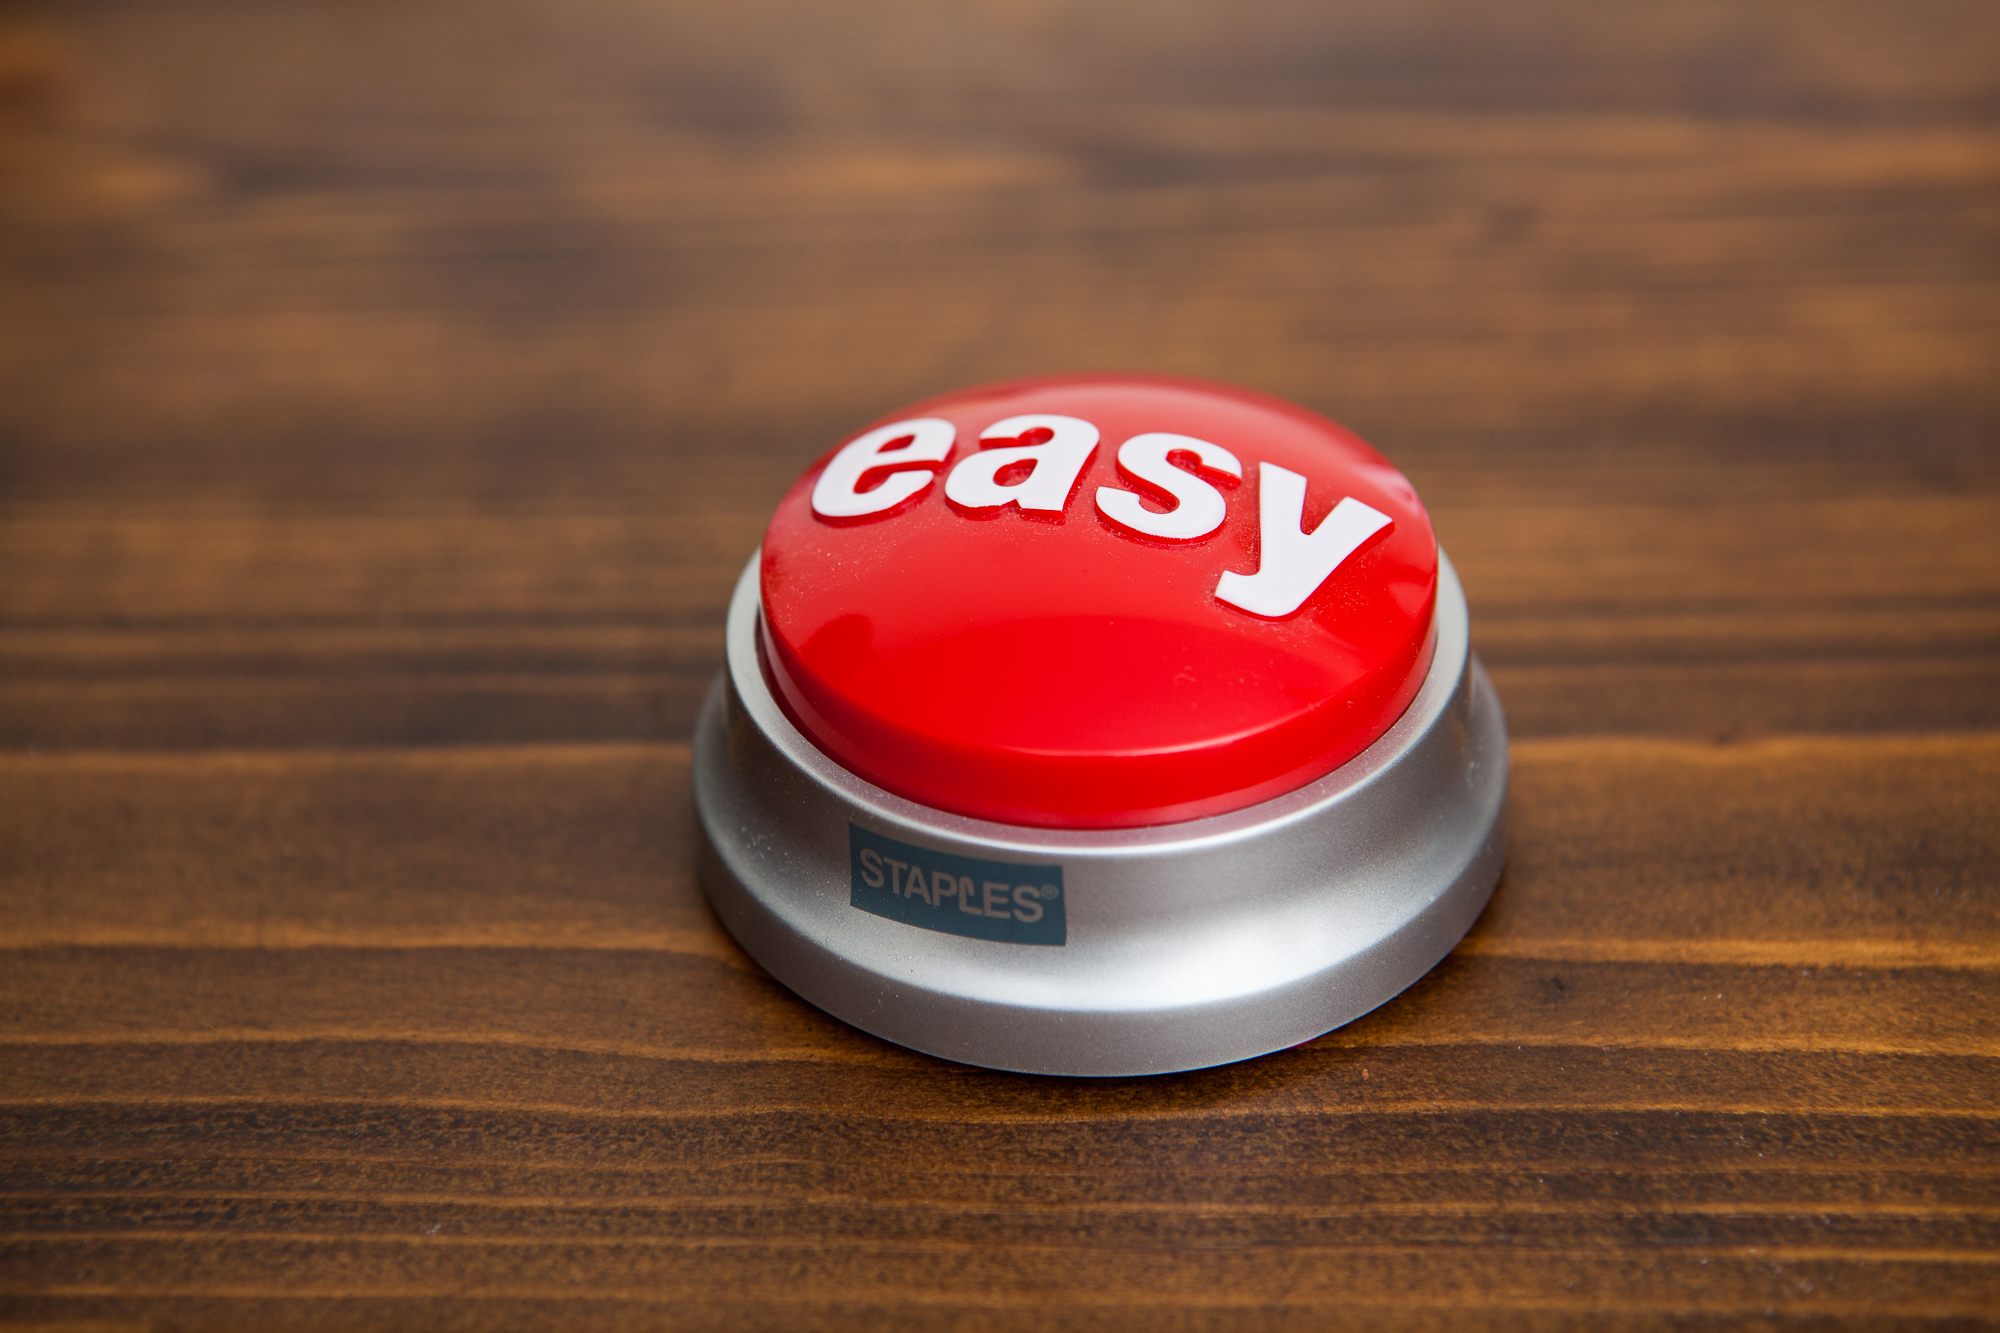
If you’re looking for a big project button, you can find it at Staples.
Introduced as part of their “That Was Easy” marketing campaign in 2005, the easy button is a large red button that, when pressed, says the phrase “that was easy” via a small speaker.
Its low price of $6.99 is enticing. What if instead of buying a purpose-built large button, we can repurpose an Easy Button for our projects instead?
Meeting Easy
The Easy Button can be found at your local Staples store for $6.99, usually in a large bin near the cash registers.
The top of the button is a characteristic red dome button face with the letters “easy” embossed on top and painted white. The big red top of the button is 2.75″ in diameter. The base of the button is silver, and flares out to about 3.5″ inches.
On the underside of the button, you’ll find four rubber feet, a battery compartment that fits two AAA batteries, and some holes that act as a grille for the speaker.
Disassembly


Disassembly starts by removing the four rubber feet. You can usually pry these up with a fingernail. Set them aside on a clean surface, adhesive down.
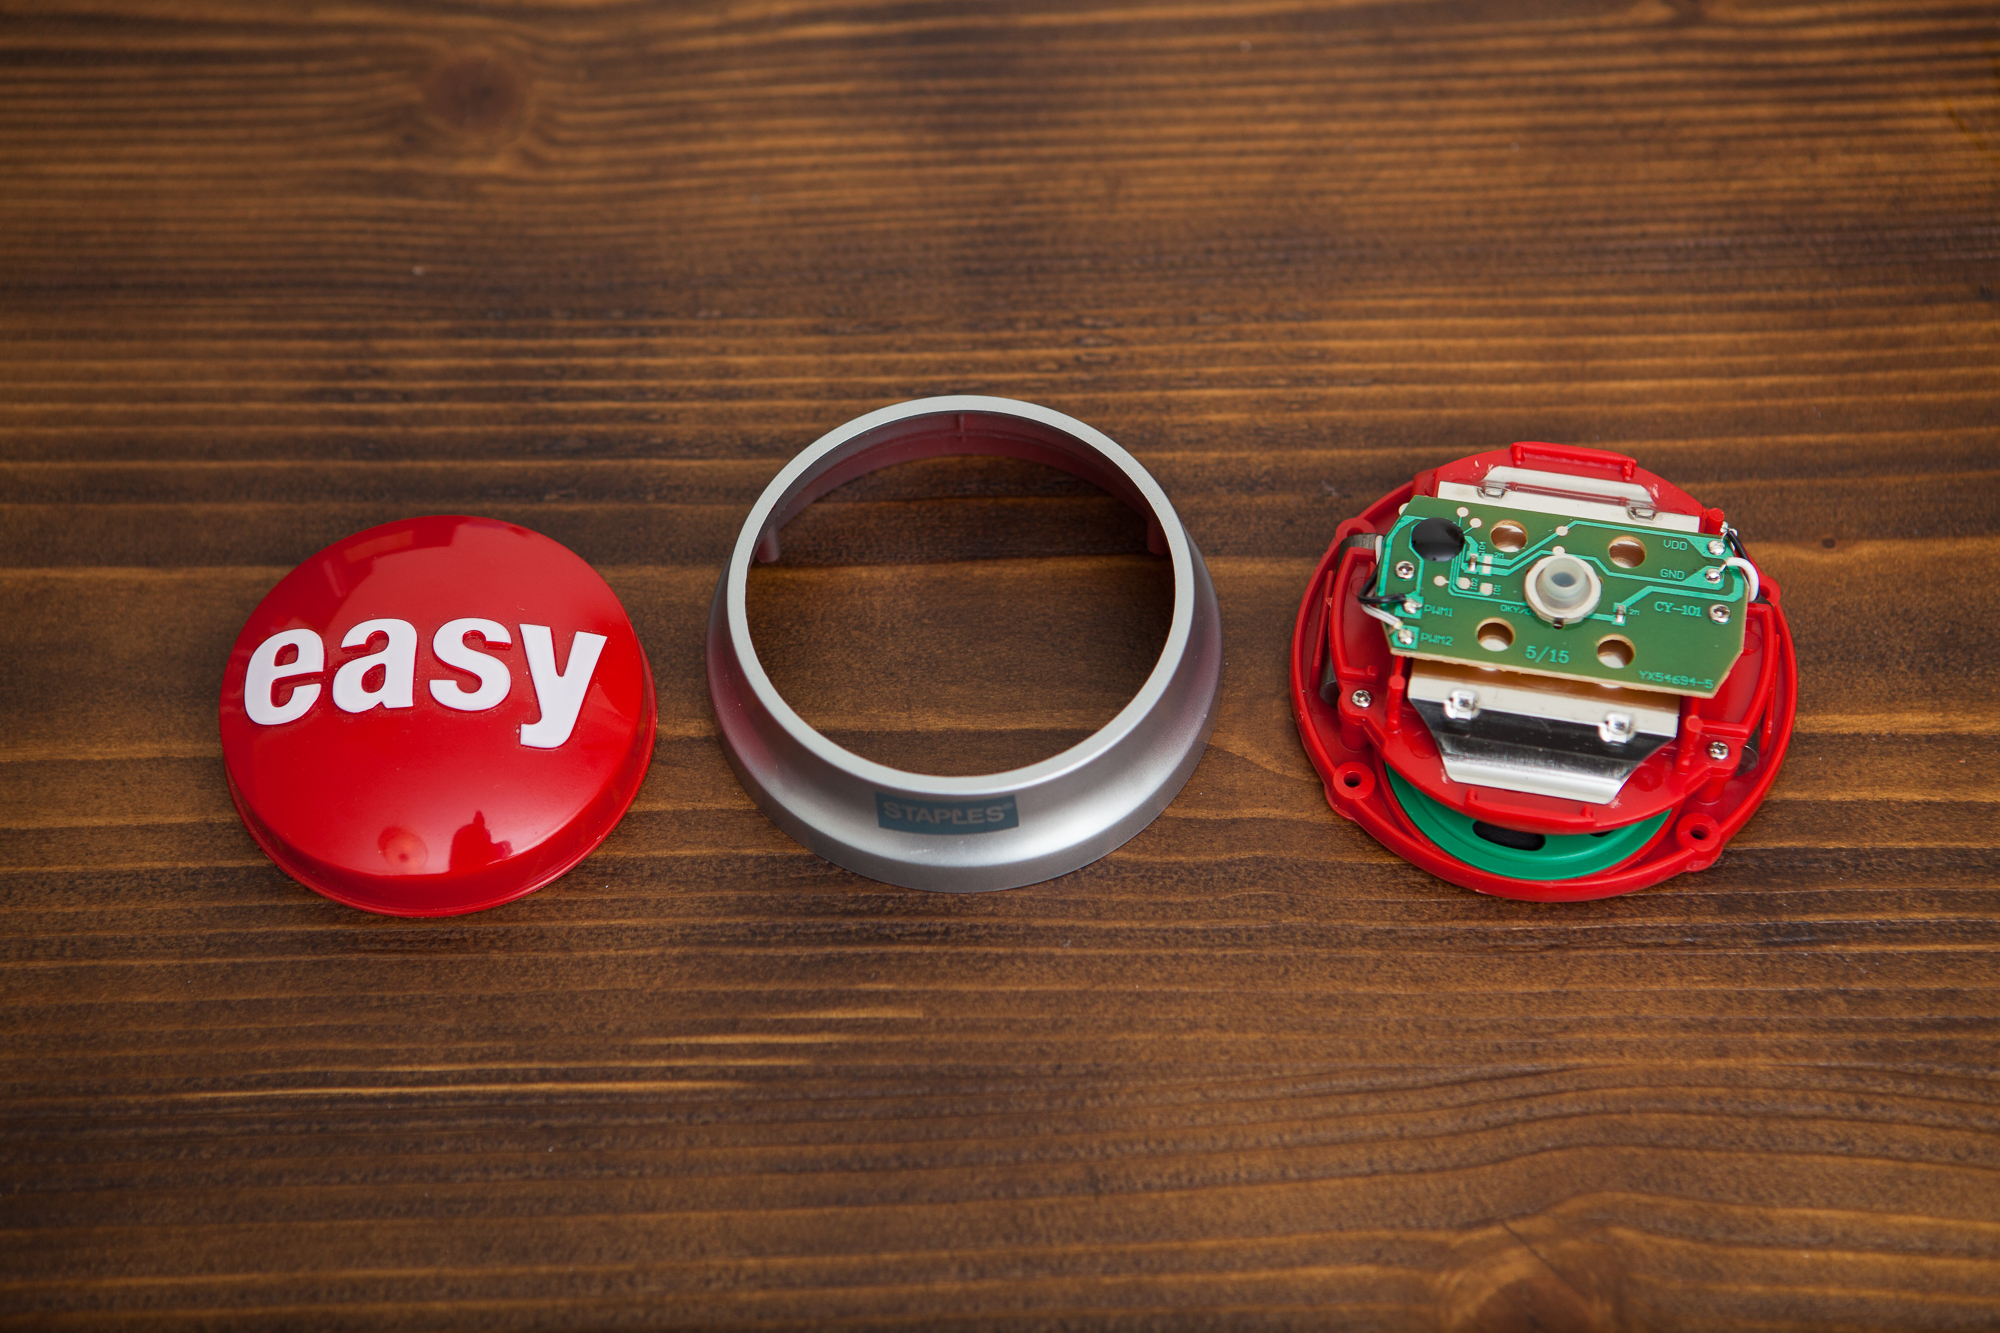
This will expose the four screws holding the button together. The four screws have Phillips heads, and you can remove them with a jeweler’s-sized screwdriver (I used a 3mm driver). After removing these four screws, the button should fall apart. You’ll have three pieces: the button base, the outer ring, and the button top.
I’ve disassembled three Easy buttons, all with x/15 date codes. They were all identical, although others may be slightly different.
The Top


The top of the button, i.e. what you press, is a single piece of red injection-molded plastic. On its underside you can see the four posts that press down through holes in the PCB to activate the button’s clicker / spring. There are also two notches cut at 0 and 90º. These align the button top with the outer ring.
As-expected, the embossed “easy” letters are included in the injection mold, and cannot be removed.
The Outer Ring

The outer ring has two lips for the top and bottom portions of the button and the standoffs for the underside mounting bolts. It holds the whole button sandwich together.
The Base


The button’s base is where the magic happens. It contains the batteries, the circuit board, the button’s spring, and a couple of lead weights. To start disassembling the base, we need to start with the circuit board.
On this button (dated 3/15), the circuit board is held down with two screws on either side. Move the PCB out of the way, and then you can pull the clicker plate out from underneath it.
The upper bracket the PCB attaches to is held down with four screws. This provides a base for the clicker plate and some height for the PCB.
Underneath the upper bracket is the bottom portion of the button, which holds the batteries, weights, and speaker. At this point the button is completely disassembled.
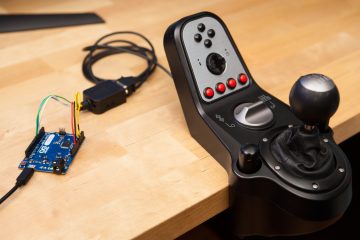
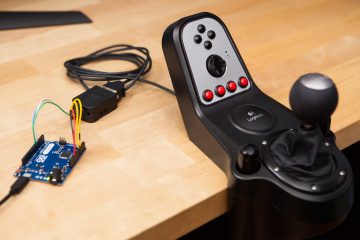
Reusing the PCB
The circuit board, like the rest of the button, is very basic. It only has an audio chip, an SMD capacitor, an SMD resistor, a membrane button, and the pads for power and the speaker.
Unfortunately I don’t think it’s possible to re-program the audio chip, although I frankly haven’t tried. But what we can do is re-purpose the button portion of the PCB.
For most of the Easy Button hacks I’ve seen, people ignore the PCB entirely and put their own pushbutton on top of the PCB. This seems awfully wasteful – why not re-use the already working circuit board?
The first step is to desolder the power and speaker leads. Then solder two wires: one going to the desoldered ‘GND’ pad, and one to an unmarked solder pad on the other side of the board, across from the pad marked ‘I02’. These are your two contact points for the button. I’m avoiding the ‘VCC’ pad to get around the 2 megaohm resistor, although you could incorporate it into your circuit if you wanted. In the highlighted image above, these pads are shown in red.
Lastly, take a sharp craft knife and make two cuts across the traces running to the audio chip: one above your first soldered pad, and one to the right of the capacitor. This will prevent the audio chip from interfering with the button circuit. In the highlighted image, these are the yellow lines.
That’s it! Give it a try: using a multimeter or a microcontroller, see if you can detect a button press when you depress the button membrane.
Fitting a New Controller
For a repurposed button it may not be enough to pick up the button signal. With some projects, you will also want to embed a microcontroller inside of the button casing.
In my opinion, the easiest place to do this is where the speaker sits. Grind away the nub in the center and the two injection sprues near the edge, and you have a ~50 mm diameter circle to fit a microcontroller.
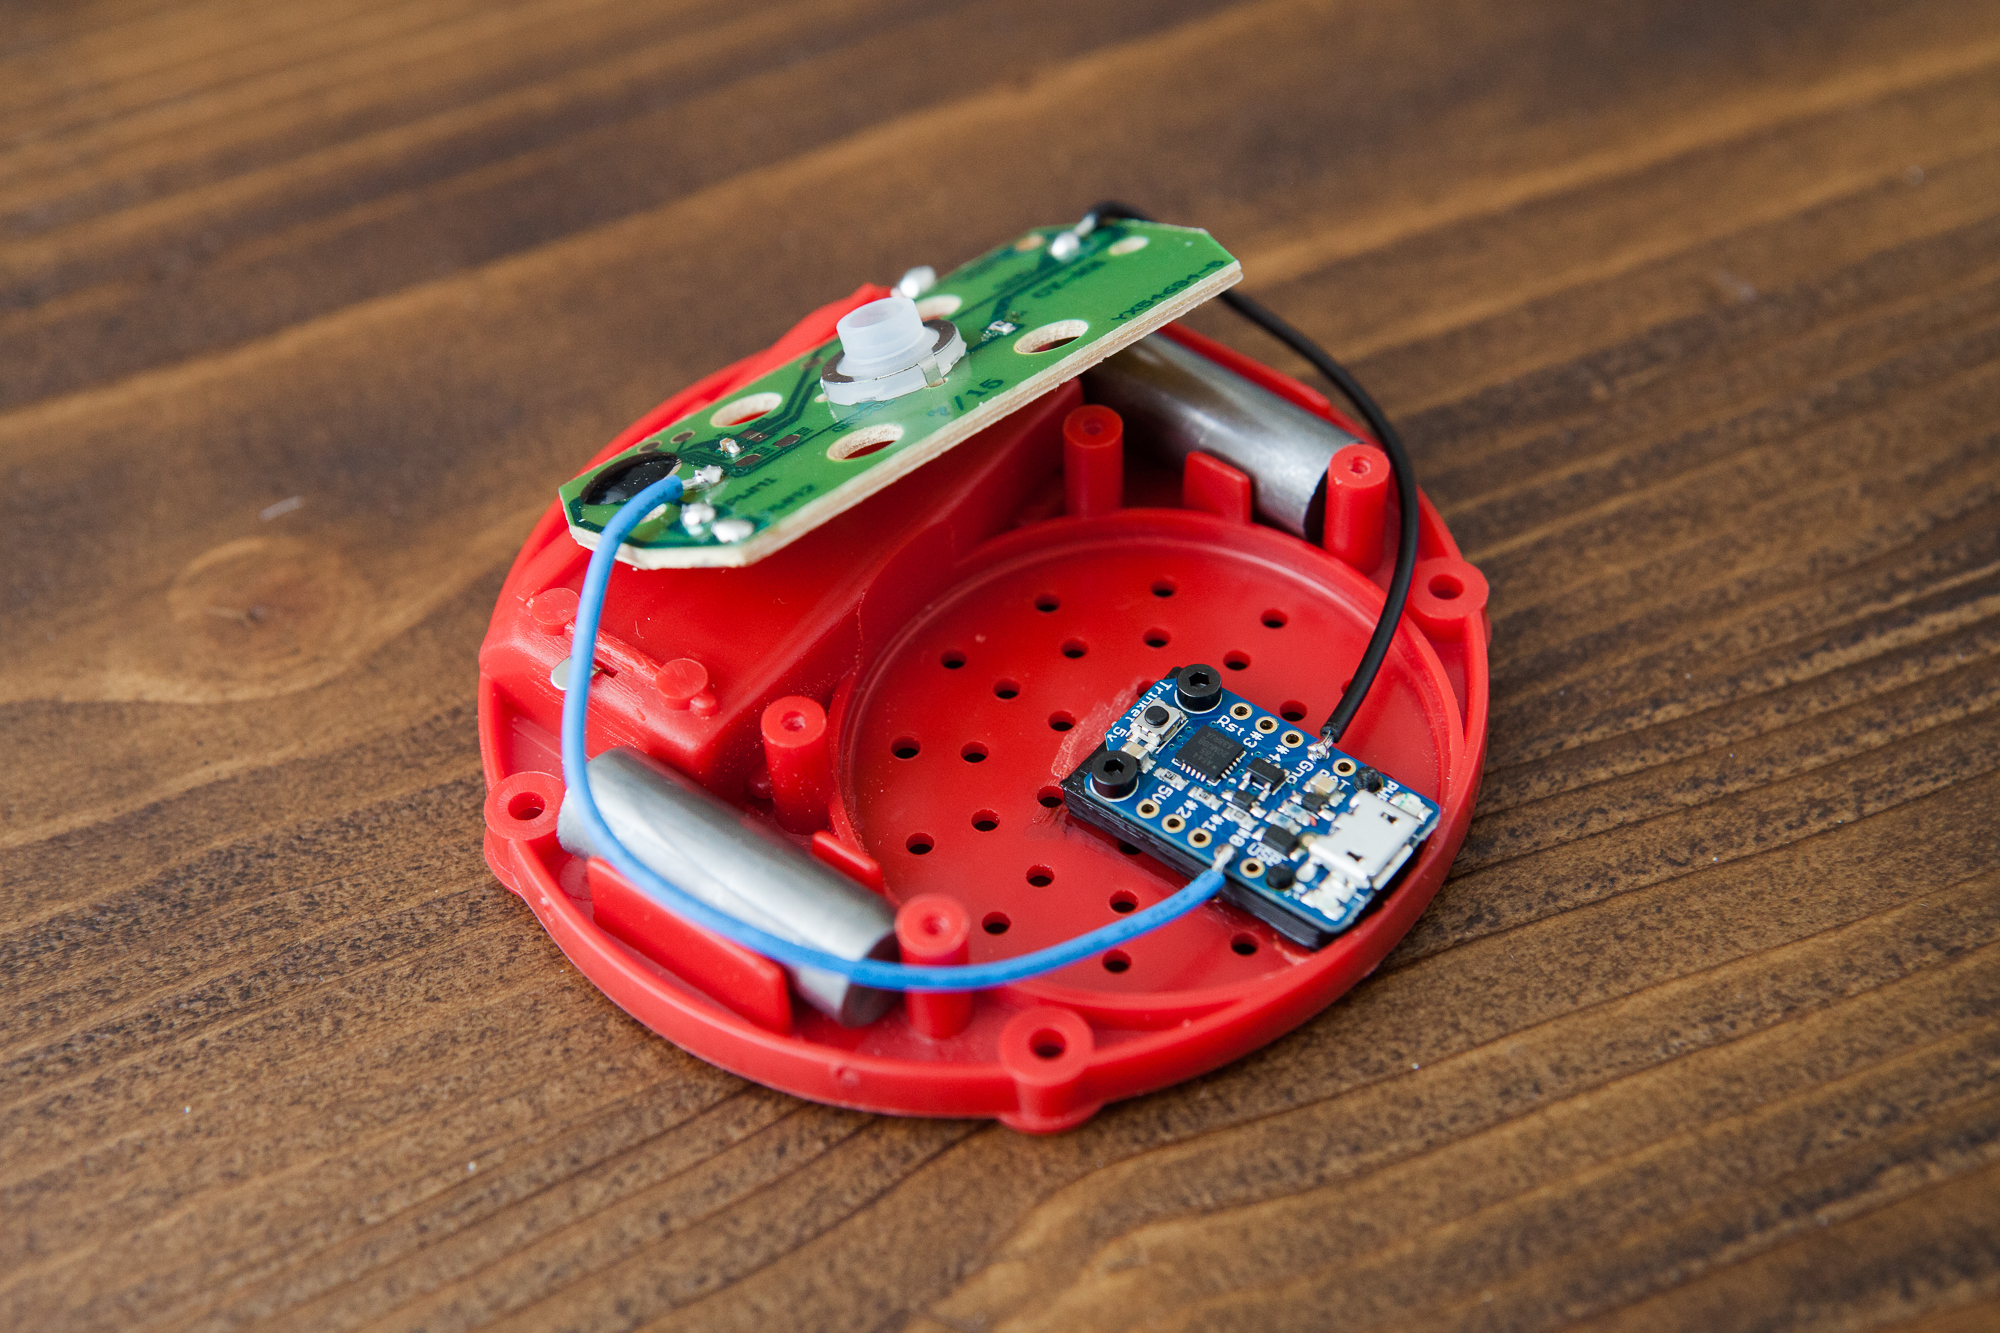
Adafruit Trinket 5V, sitting on a 3D printed bracket
The first time I put this together, I used an Adafruit Trinket. But many microcontrollers can fit:
- Arduino Nano
- Arduino Pro Micro
- Teensy
- Wemos D1
You’ll need a platform that is about 3.5 mm thick to get the microcontroller above the lip of the button edge if you want to access USB from the outside of the button. For my Trinket I designed a 3D printed bracket and attached it with solvent welding. You’ll also need to make a corresponding hole in the button’s ring.
If you want to keep the speaker, you could also grind away the battery compartment instead. Although it’s significantly more work.
If you’re building your own circuit, you can get more creative with the placement. Maybe get rid of the weights and place a circuit board vertically? Or perhaps a thin circular PCB in a ring around the speaker?
“That Was Easy”
Simple, no? Hopefully this gives you a good overview of what you can do with your own hacked Easy Button. I wouldn’t use this for any critical or safety-oriented applications, but for general purpose “big button” stuff it’s more than adequate!