Last spring before this blog was a thing, I created an “Oddshot Button” using a hacked Staples Easy Button. The button was simple – while watching a Twitch stream, a press of the button would instantly create a video clip of the last 30 seconds using the Oddshot service.
A few months later Twitch debuted their own ‘Twitch Clips’ service, and Oddshot has since fallen out of use. So I decided to remake this project to work with Twitch Clips!
Now – do I need a “Twitch Clips” button? Absolutely not, it’s already easy enough to make a clip, and timing is no longer an issue because Twitch allows you to edit your clips. But I already have an Oddshot button sitting around collecting dust, so why not!
Finding Clappy
So here’s the first question: how do we create a clip?

Unfortunately for us, there is no current way to use the Twitch API to create a clip from a channel. But if you’re watching Twitch on your computer, you have two options:
- Click the clapboard icon on the stream window
- Use the keyboard shortcut “Alt+X”
Of these two, the keyboard shortcut is clearly easier to activate reliably. We can do that with an Arduino that has native USB support.
Micro Programming
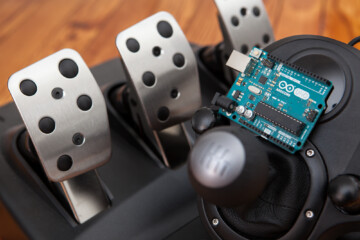
The microcontroller I’m using for this project is a 5V Adafruit Trinket. The Trinket is inexpensive ($6.95), supports native USB, and is tiny, which helps with embedding it inside of the button. More on that in a bit.
The Arduino sketch makes use of the Trinket’s Keyboard library, which you can download from Github. In addition to working as a ‘Twitch Clips’ button, I added settings so the button could be used (once again) as an Oddshot button, or for chat macros (“Kappa” being the included example). Here is the sketch, in full:
/*
 * Twitch Button Code by David Madison
 * For Adafruit Industries Trinket 5V
*/

#include <TrinketKeyboard.h>

enum ButtonModes_t {TwitchClip, Oddshot, Kappa, Custom};
ButtonModes_t mode = TwitchClip;

const int buttonPin = 0;
const int ledPin = 1;       // built-in LED

const int debounceTime = 50;

void setup(){
  pinMode(buttonPin, INPUT);
  digitalWrite(buttonPin, HIGH); //enables internal pull-up resistor

  pinMode(ledPin, OUTPUT);
  digitalWrite(ledPin, LOW);

  TrinketKeyboard.begin();
}

void loop(){
  static boolean active = false;  //flag to check if button has been pressed
  boolean pressed = digitalRead(buttonPin);

  TrinketKeyboard.poll(); //keep USB device active

  if(pressed == LOW && active == false){
    active = true;
    digitalWrite(ledPin, HIGH);
    buttonPress();
  }
  else if(pressed == HIGH && active == true){
    active = false;
    digitalWrite(ledPin, LOW);
    delay(debounceTime);
  }
}

void buttonPress(){
  switch(mode){
    case TwitchClip:
      TrinketKeyboard.pressKey(KEYCODE_MOD_LEFT_ALT, KEYCODE_X);
      TrinketKeyboard.pressKey(0, 0); //release all keys
      break;
    case Oddshot:
      TrinketKeyboard.print("!shot");
      TrinketKeyboard.pressKey(0, KEYCODE_ENTER);
      TrinketKeyboard.pressKey(0, 0);
      break;
    case Kappa:
      TrinketKeyboard.print("Kappa");
      TrinketKeyboard.pressKey(0, KEYCODE_ENTER);
      TrinketKeyboard.pressKey(0, 0);
      break;
    case Custom:
      customPress();
      break;
  }
}

void customPress(){
  // Your own custom button code goes here!
}
To upload code to the Trinket, make sure you have the “Adafruit Trinket 16 MHz” board installed along with the Trinket drivers, and have selected “USBtinyISP” as your programmer.
“That Was Easy”
The base for the button is a Staples Easy Button which you can buy from Staples for $6.99.
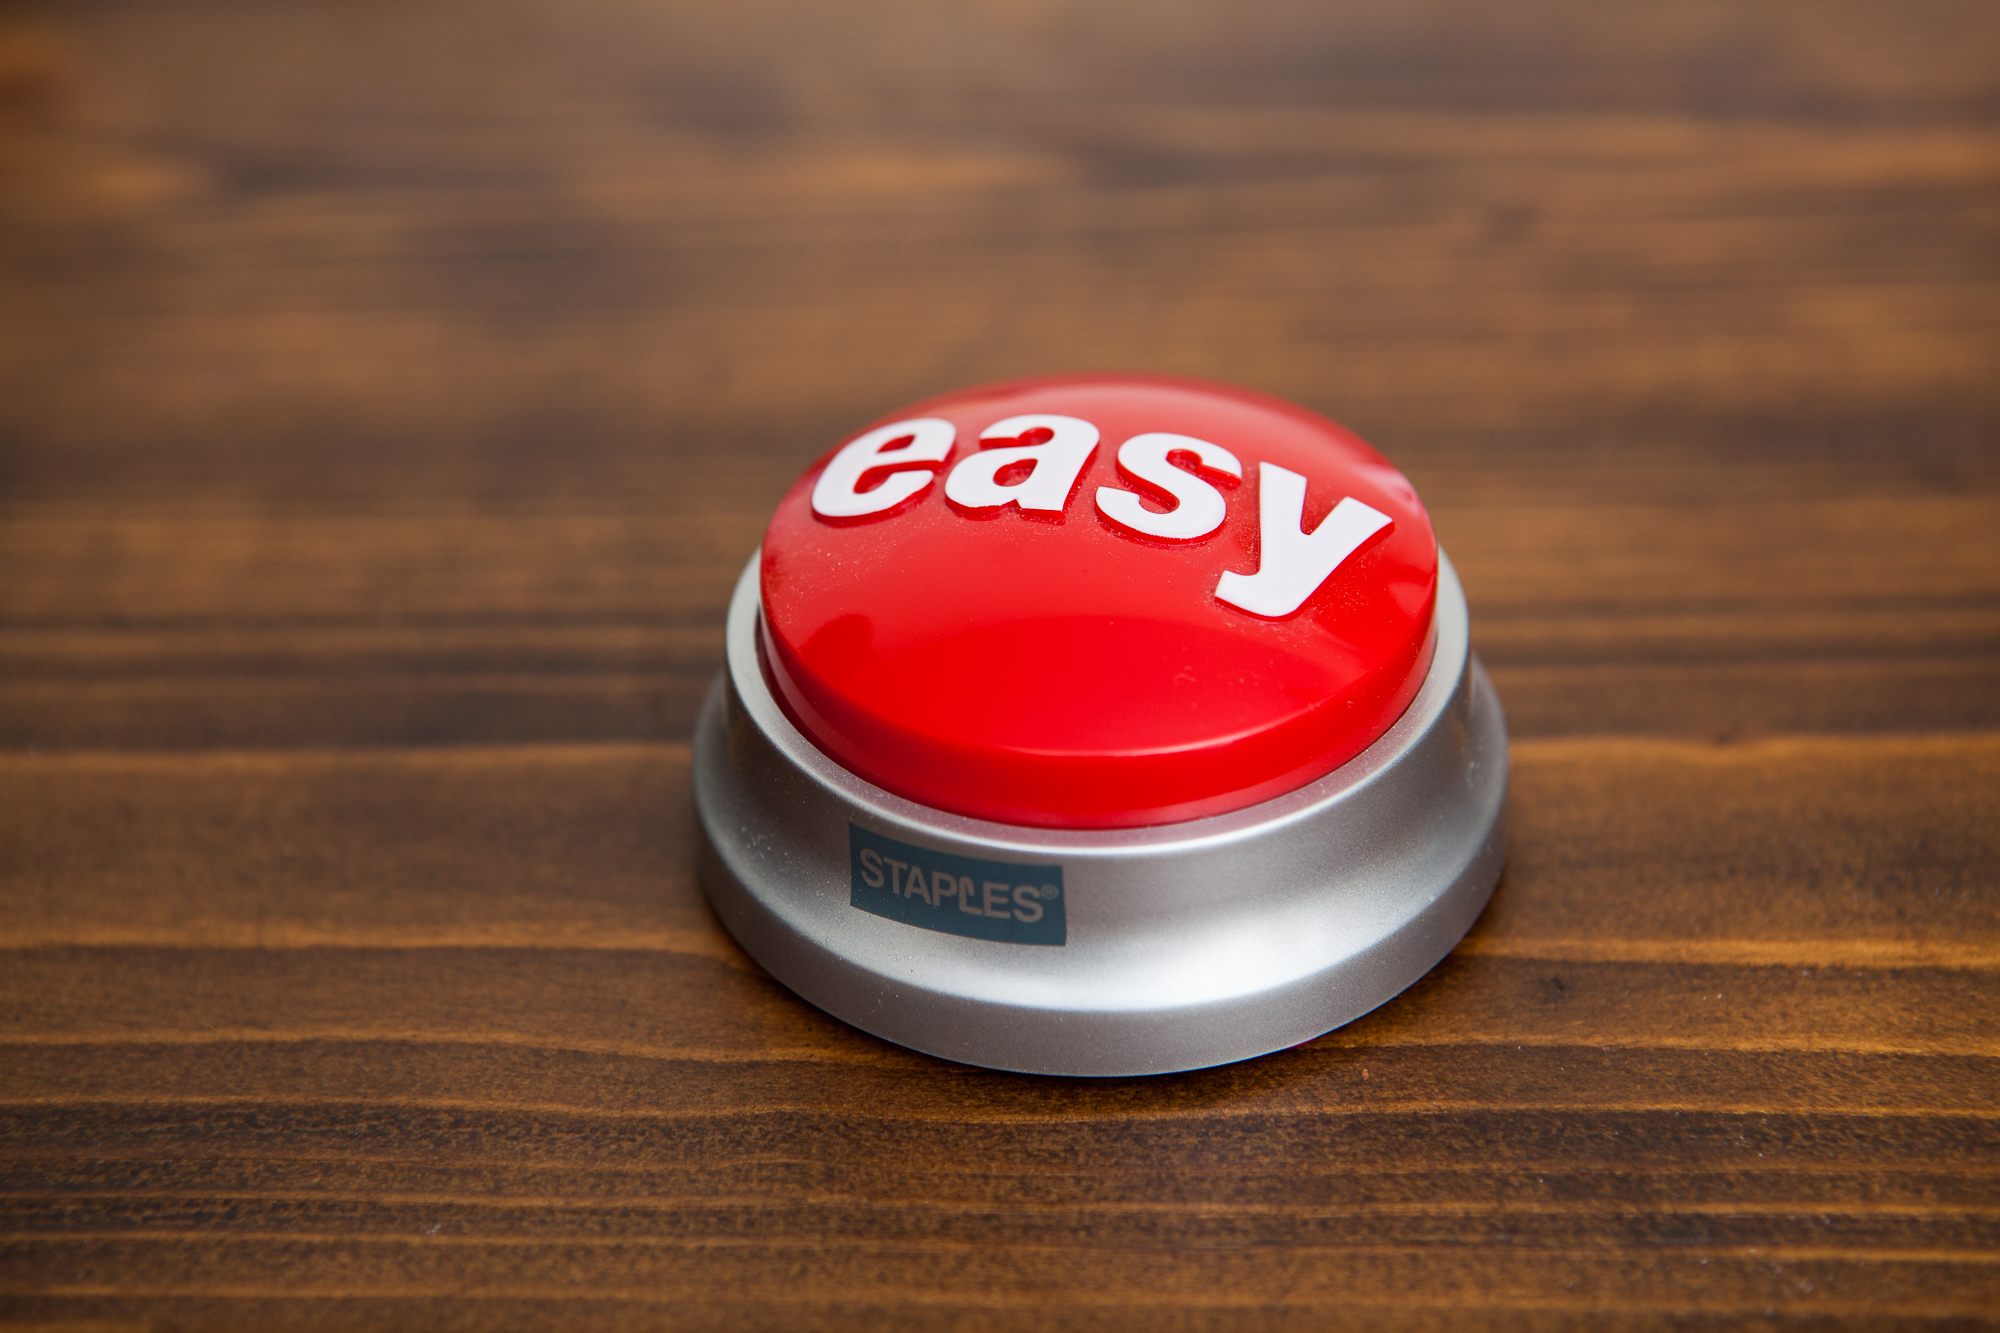
When pressed, the button plays a short audio clip that says “That was easy”. To do this, the button has a pair of AAA batteries, a speaker, and a small circuit board. It also includes a pair of lead weights to give it some heft.
For more info on the button, read this post.
Making Room
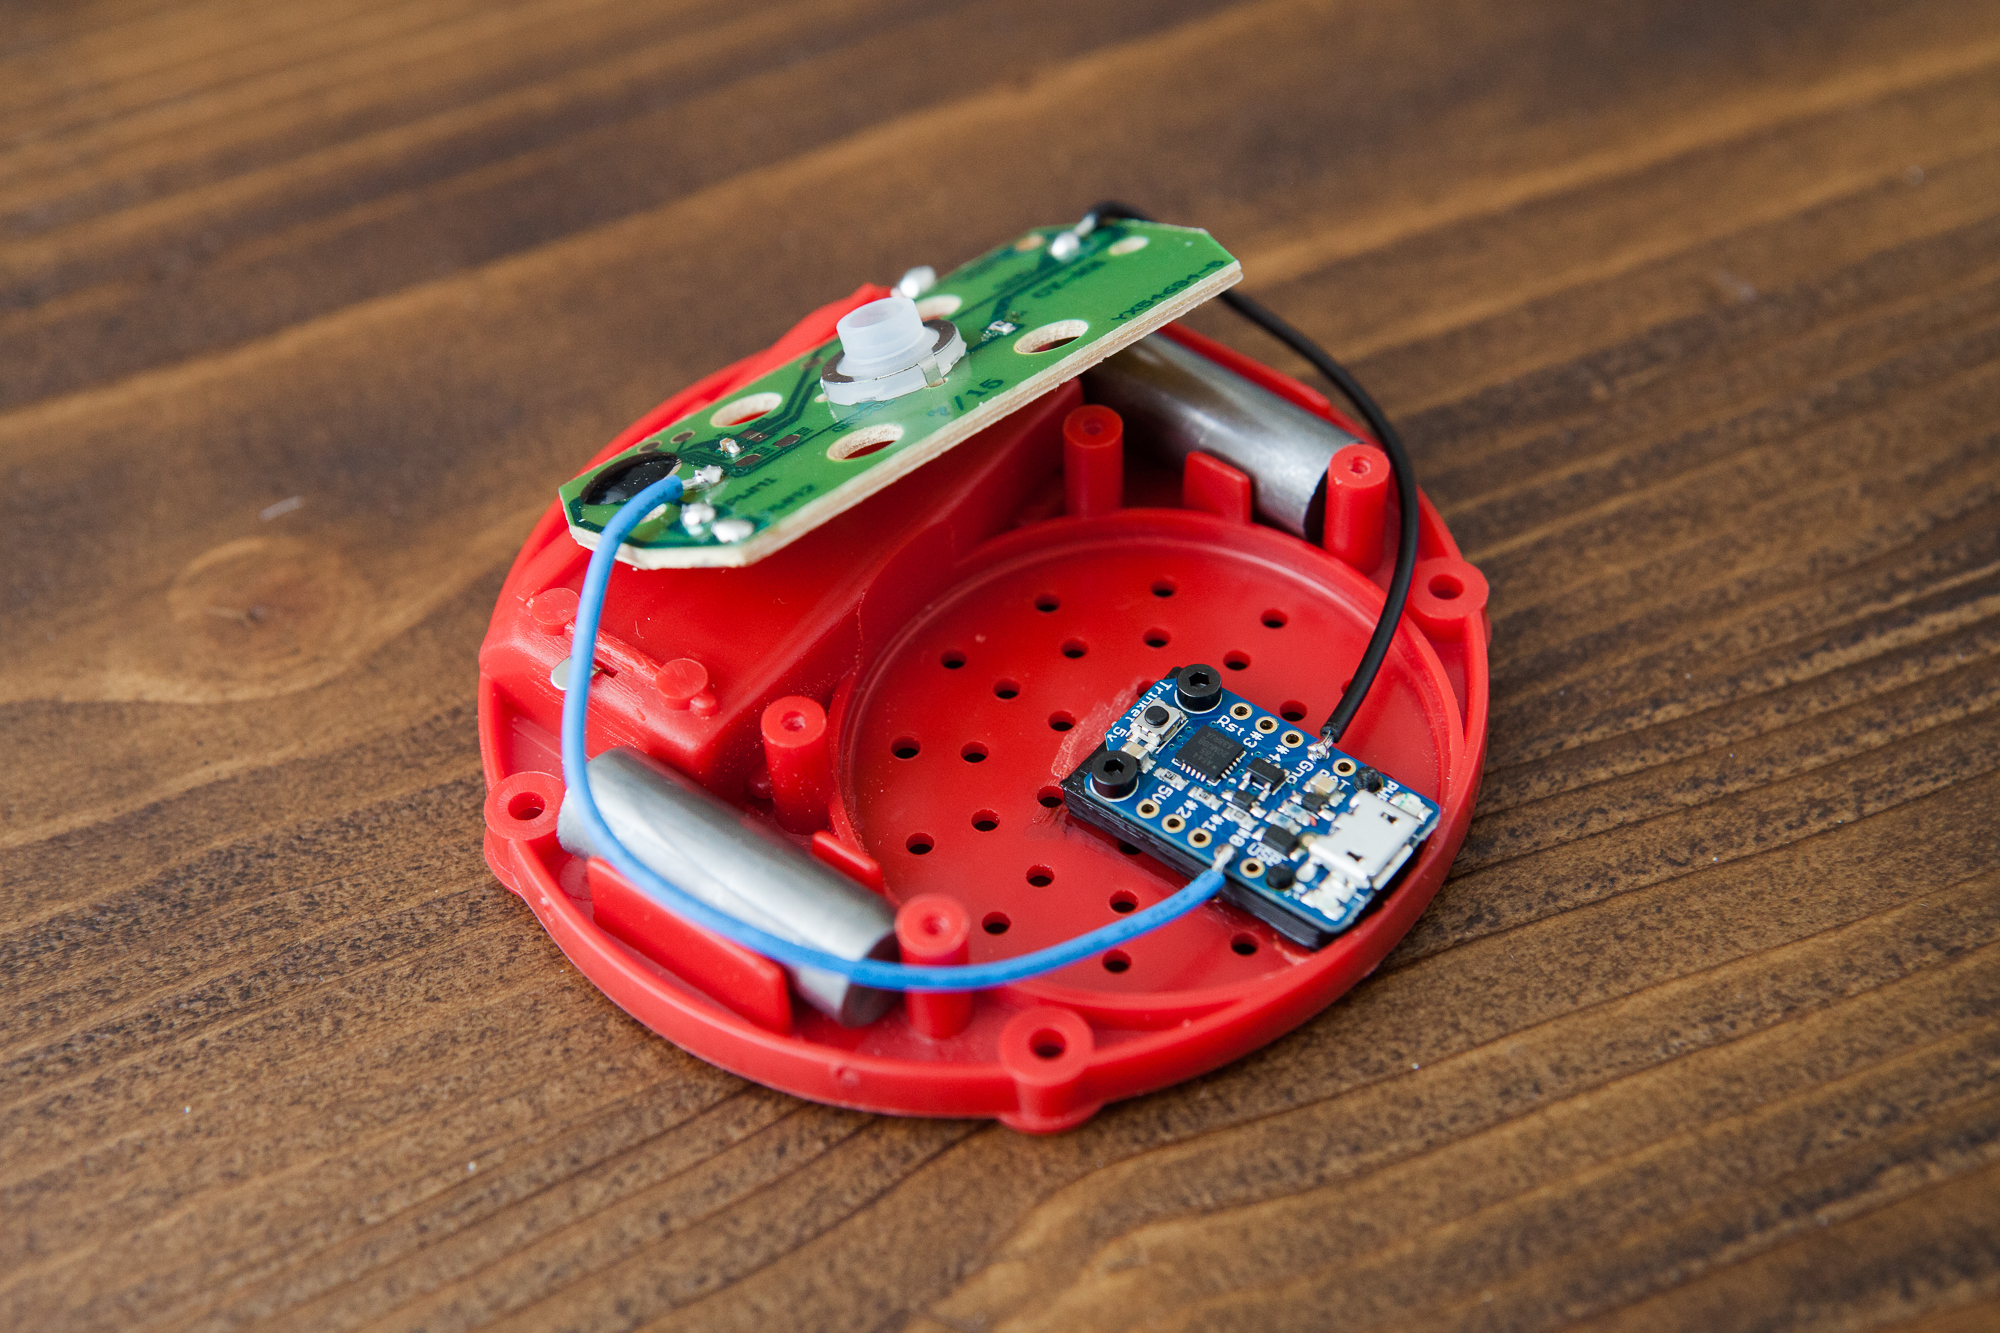
We don’t need all of these parts for this Twitch button, so let’s make some room for the microcontroller.
The area where the speaker sits is perfect – it’s large enough to fit most small microcontrollers, tall enough to have a few wires sticking out, and level with the back edge of the button. I used a Dremel to remove the small centering nub for the speaker, which gave me a ~50 mm diameter space to work with. Putting the microcontroller here makes the ‘easy’ text backwards, but we can fix that.
Adding Support
The microcontroller needs to be raised slightly so that the USB port sits above the button’s bottom lip. For this I designed and printed a small platform on my 3D printer out of ABS plastic. The platform has two indicator pins to align the Trinket and two small bolt holes sized for M2 screws. I attached the platform to the button’s base using a slurry made of acetone and ABS (a process known as ‘solvent welding’), and then bolted the Trinket in place.
Accessing USB
Using a Dremel, I very carefully cut a hole in the button’s outer ring. I based the size of the opening on the outer sizes of a micro USB cable’s plug. The opening is roughly 0.5″ wide by 0.4″ tall.

After roughing out the opening with the Dremel, I used a set of needle files to clean up and square off the opening. To make it a bit neater, I also designed a small flange to sit around the opening. I printed the flange out on my 3D printer and again attached it with solvent welding, being careful to avoid overspill around the edges.
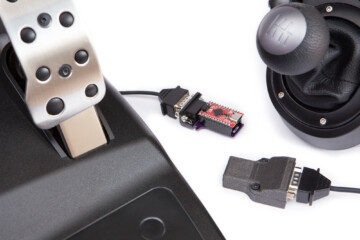
Button Wiring
Using the Trinket’s internal pullup made the actual wiring to the button easy. After unsoldering the battery and speaker leads from the button’s PCB, I connected the Trinket’s ground to the button’s ‘GND’ pin and the Trinket’s pin #0 to a pad opposite the button’s contact fingers. I then cut the traces leading to the audio circuit, giving a clean path between the Trinket’s input pin and ground. Again, see this post for more information on wiring this yourself.

With both the wiring and code done, I have a working ‘Twitch Clips’ button! But let’s not stop there, because the big red button still reads “easy”.
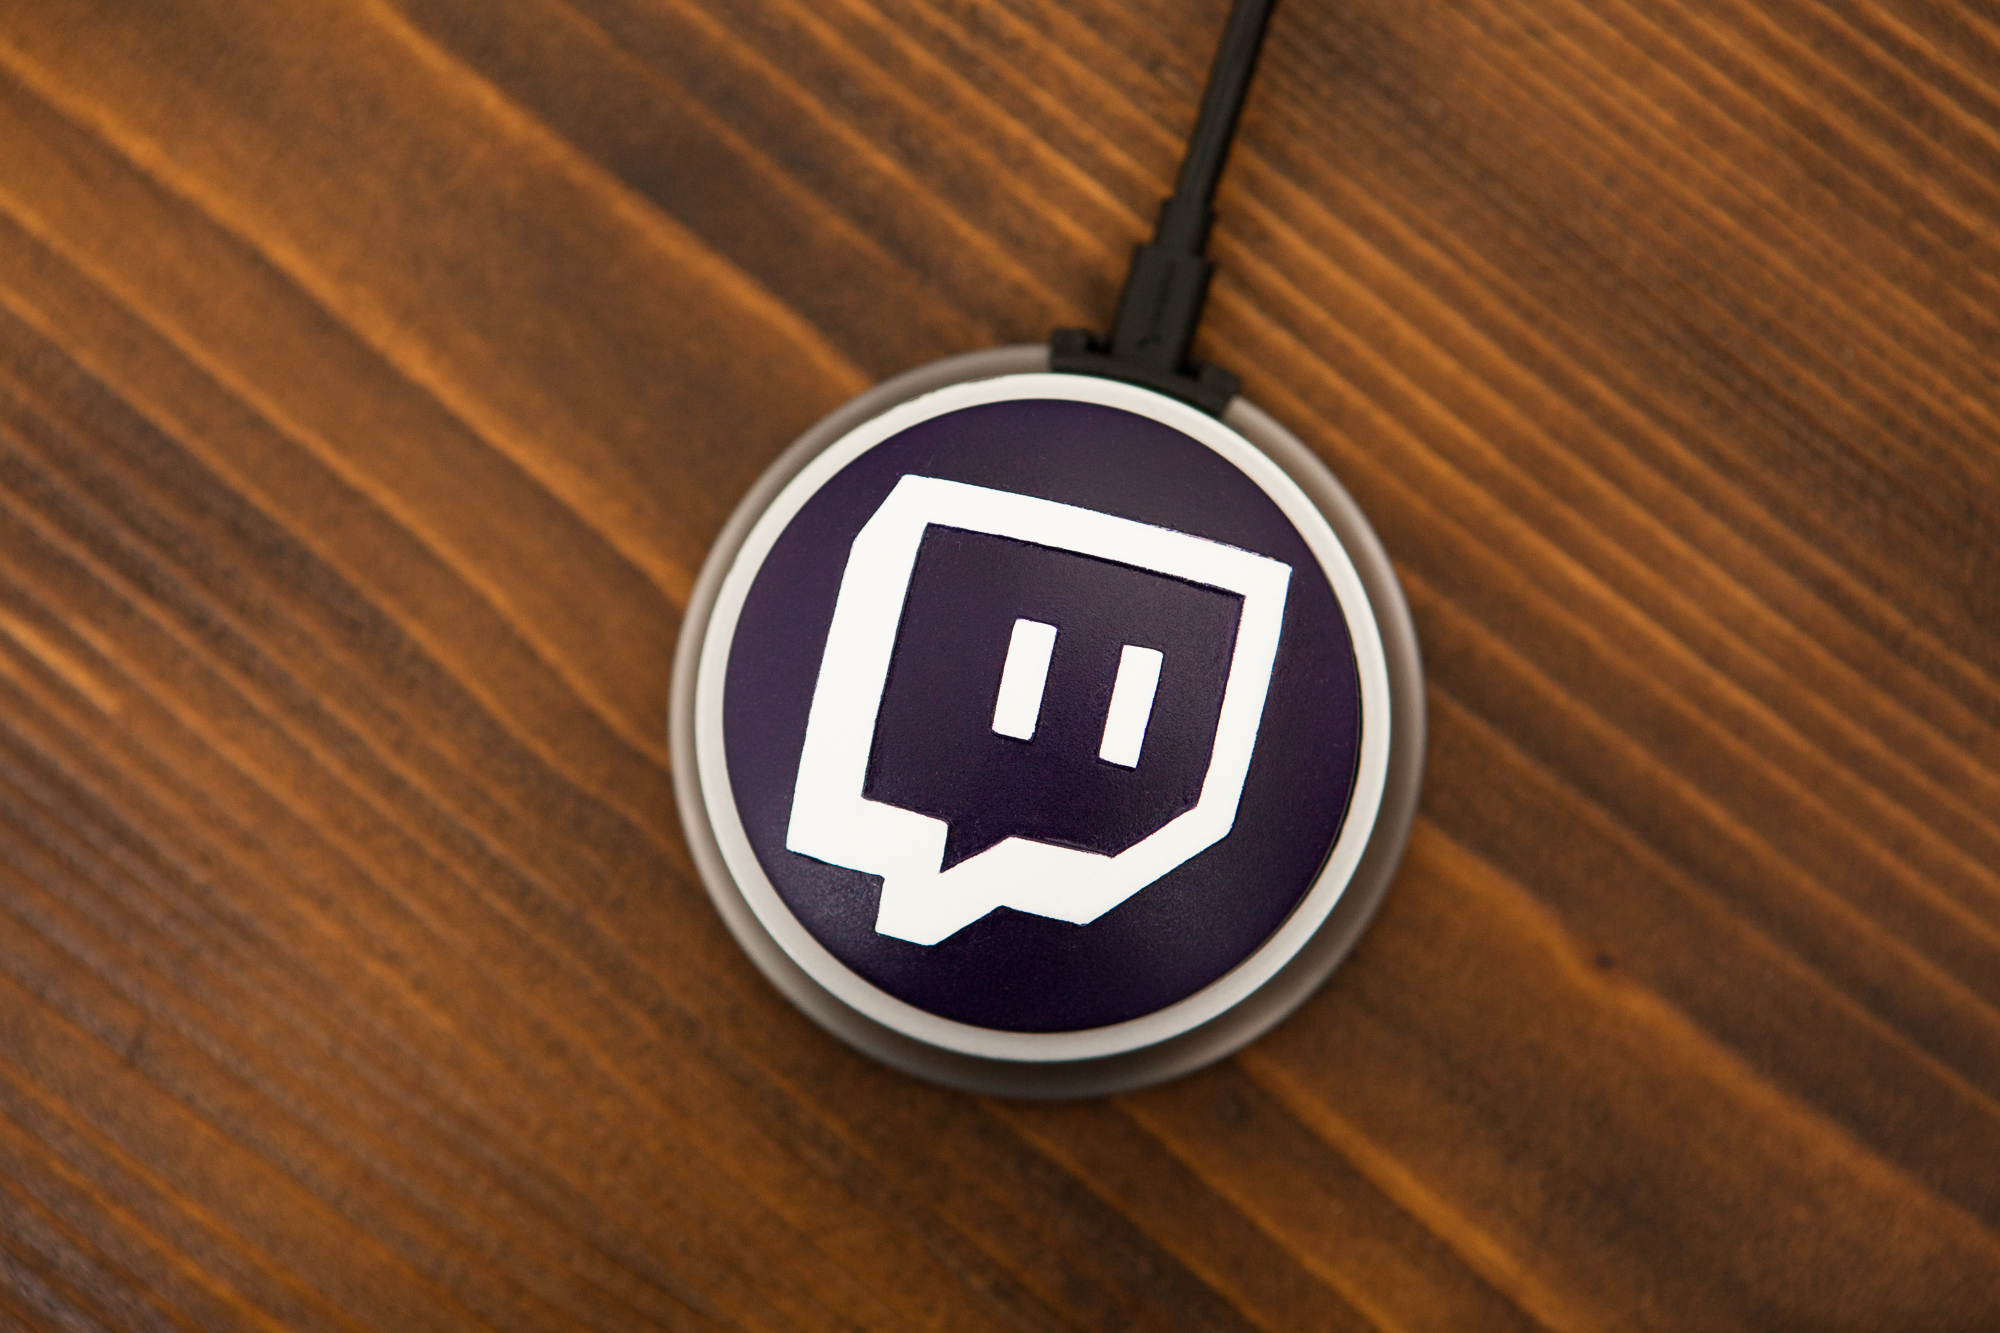
Meet Glitch

This is Glitch! Glitch is the Twitch mascot – a hard-edged text box with a pair of eyes. And I’m going to put Glitch on the button.
Luckily for me Twitch encourages use of their brand assets in making swag like this, so they’ve made a vector of the Glitch logo available as a download. You can find it on their brand assets page.
I could just paint on the logo or use a stencil, but I want it to be slightly embossed like the “easy” text to give it some depth. So I’ll need to make a 3D version of the ‘glitch’ logo.
Clearing
Of course there is already text in the way of where we want this logo to go! A few minutes and some coarse 80 grit sandpaper takes the text off. Easy! (sorry, I had to.)
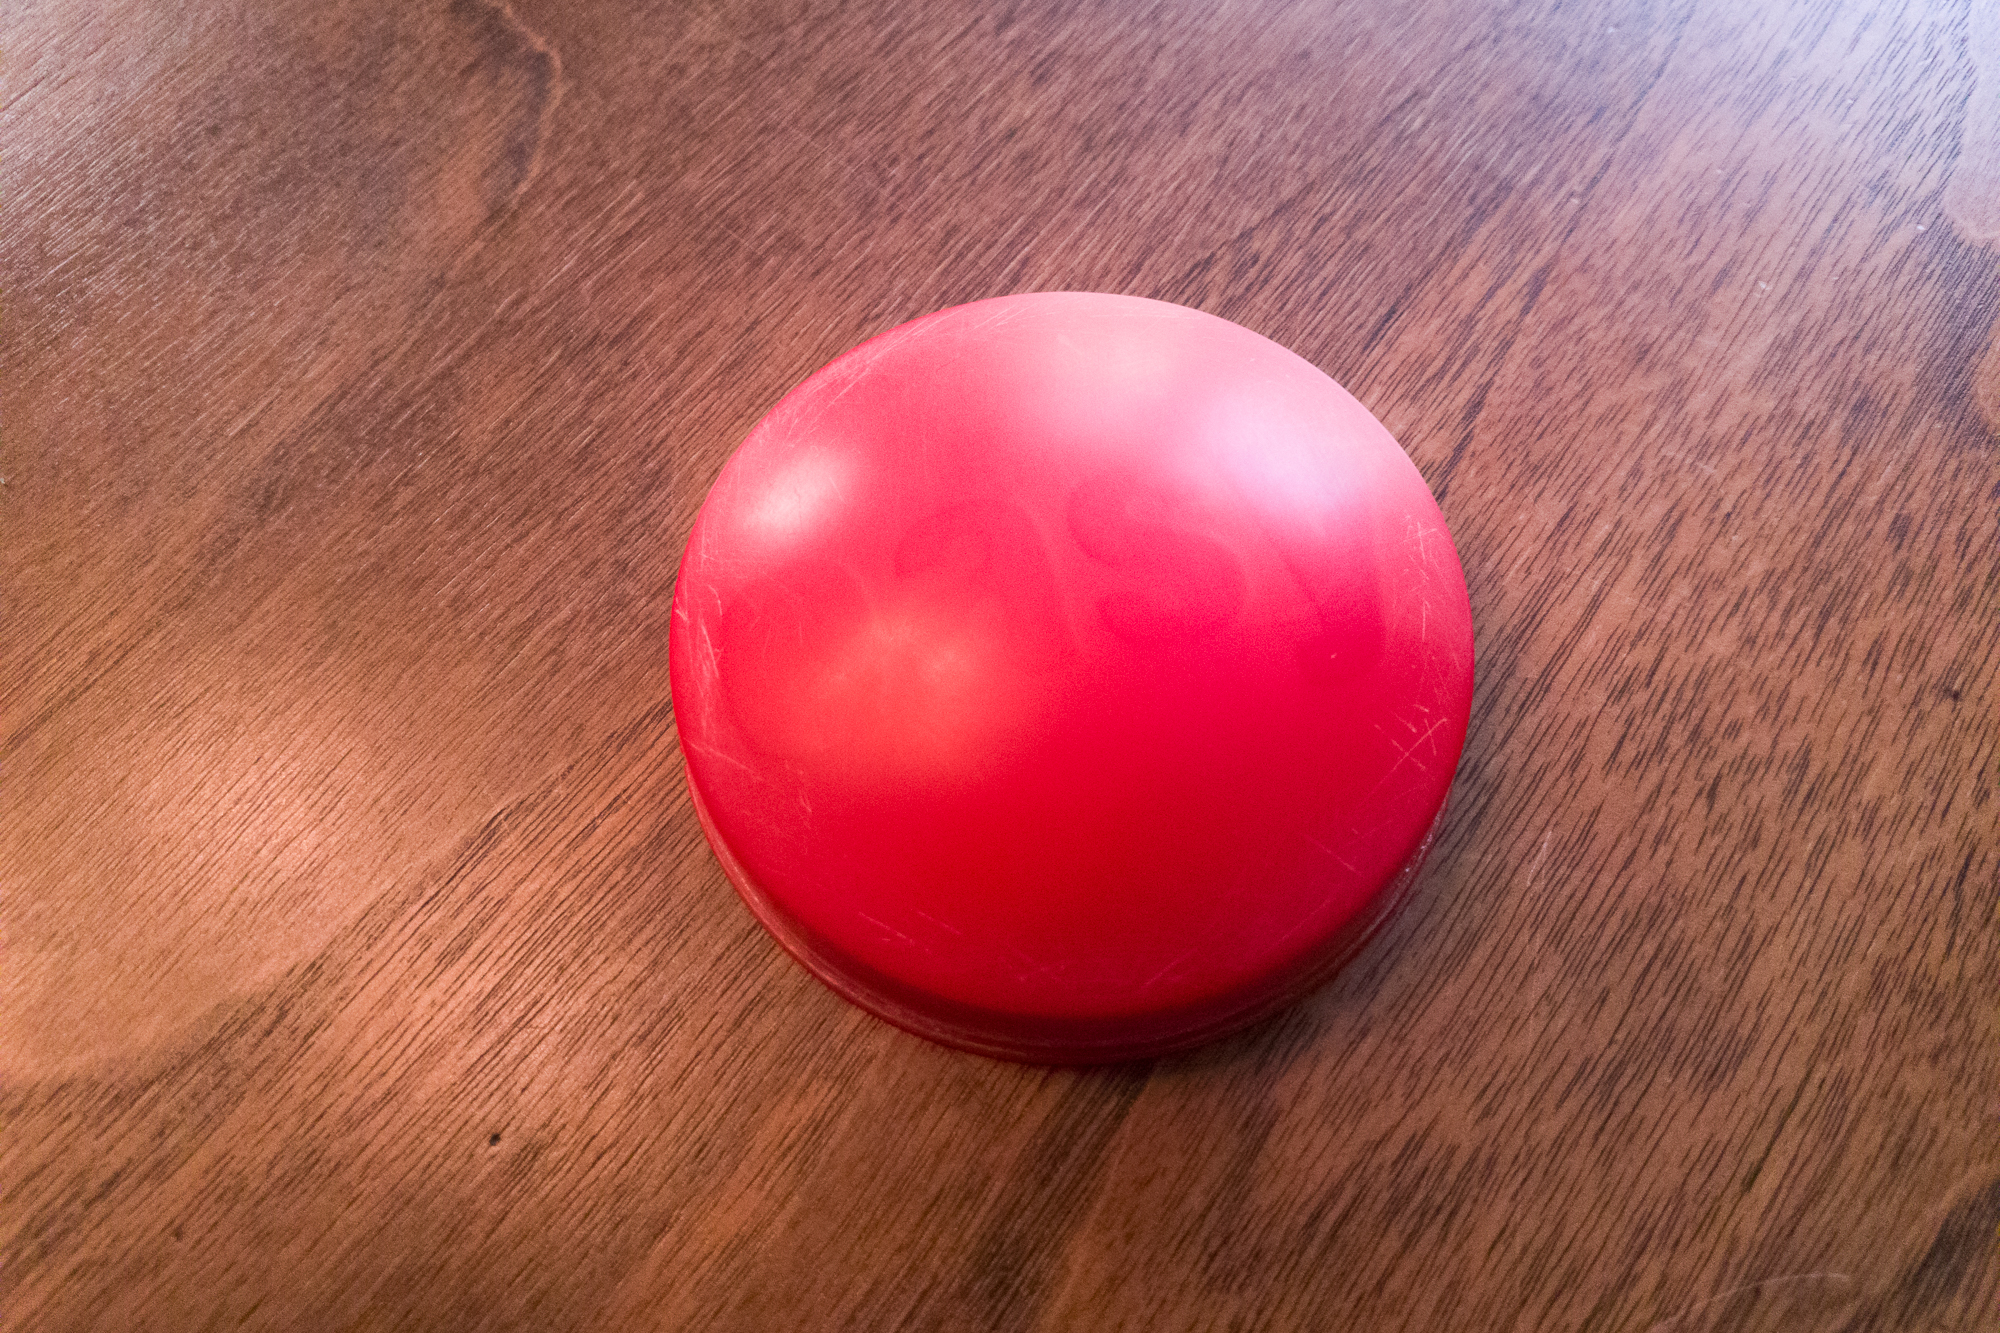
I went over the rest of the button with some finer sandpaper (320, then 600) to smooth out the scratches and rough up the sides for paint.
Embossing
First step to getting the logo on the button is sizing. In Adobe Illustrator, I drew a circle roughly the size of the button face and then resized the logo accordingly. I ended up with a logo that is 50 mm tall and ~47.8 mm wide, keeping the aspect ratio consistent.
I had some 0.030″ styrene sheet left over from another project, so I printed out a copy of the Glitch logo onto a piece of paper and taped the paper to the sheet with packaging tape. Then I cut it out using a pair of scissors (outside edges) and a craft knife (inside edges). The edges were then cleaned up with a bit of sandpaper and some needle files.
Styrene logo, before being cleaned up
The styrene is thin enough that it will flex to conform to the shape of the button without needing any heat. I made some thin sharpie marks for where I wanted it to go, and then laid down a thin bead of cyanoacrylate glue and held it firmly in place for about 30 seconds. There were a few tiny gaps on the outside edges that I filled with Bondo glazing putty.
Careful using a heat gun – the internal stresses from the initial injection molding will make the area with the letters pull away from the face, even if the letters have been sanded off completely.
Adding Color
After the Glitch pieces were glued on, I did one more pass with fine sandpaper and then coated the whole thing in plastic primer. I used two coats of filler primer to fill in some of the remaining scratches, sanded slightly (again), and then started with the detail paints.
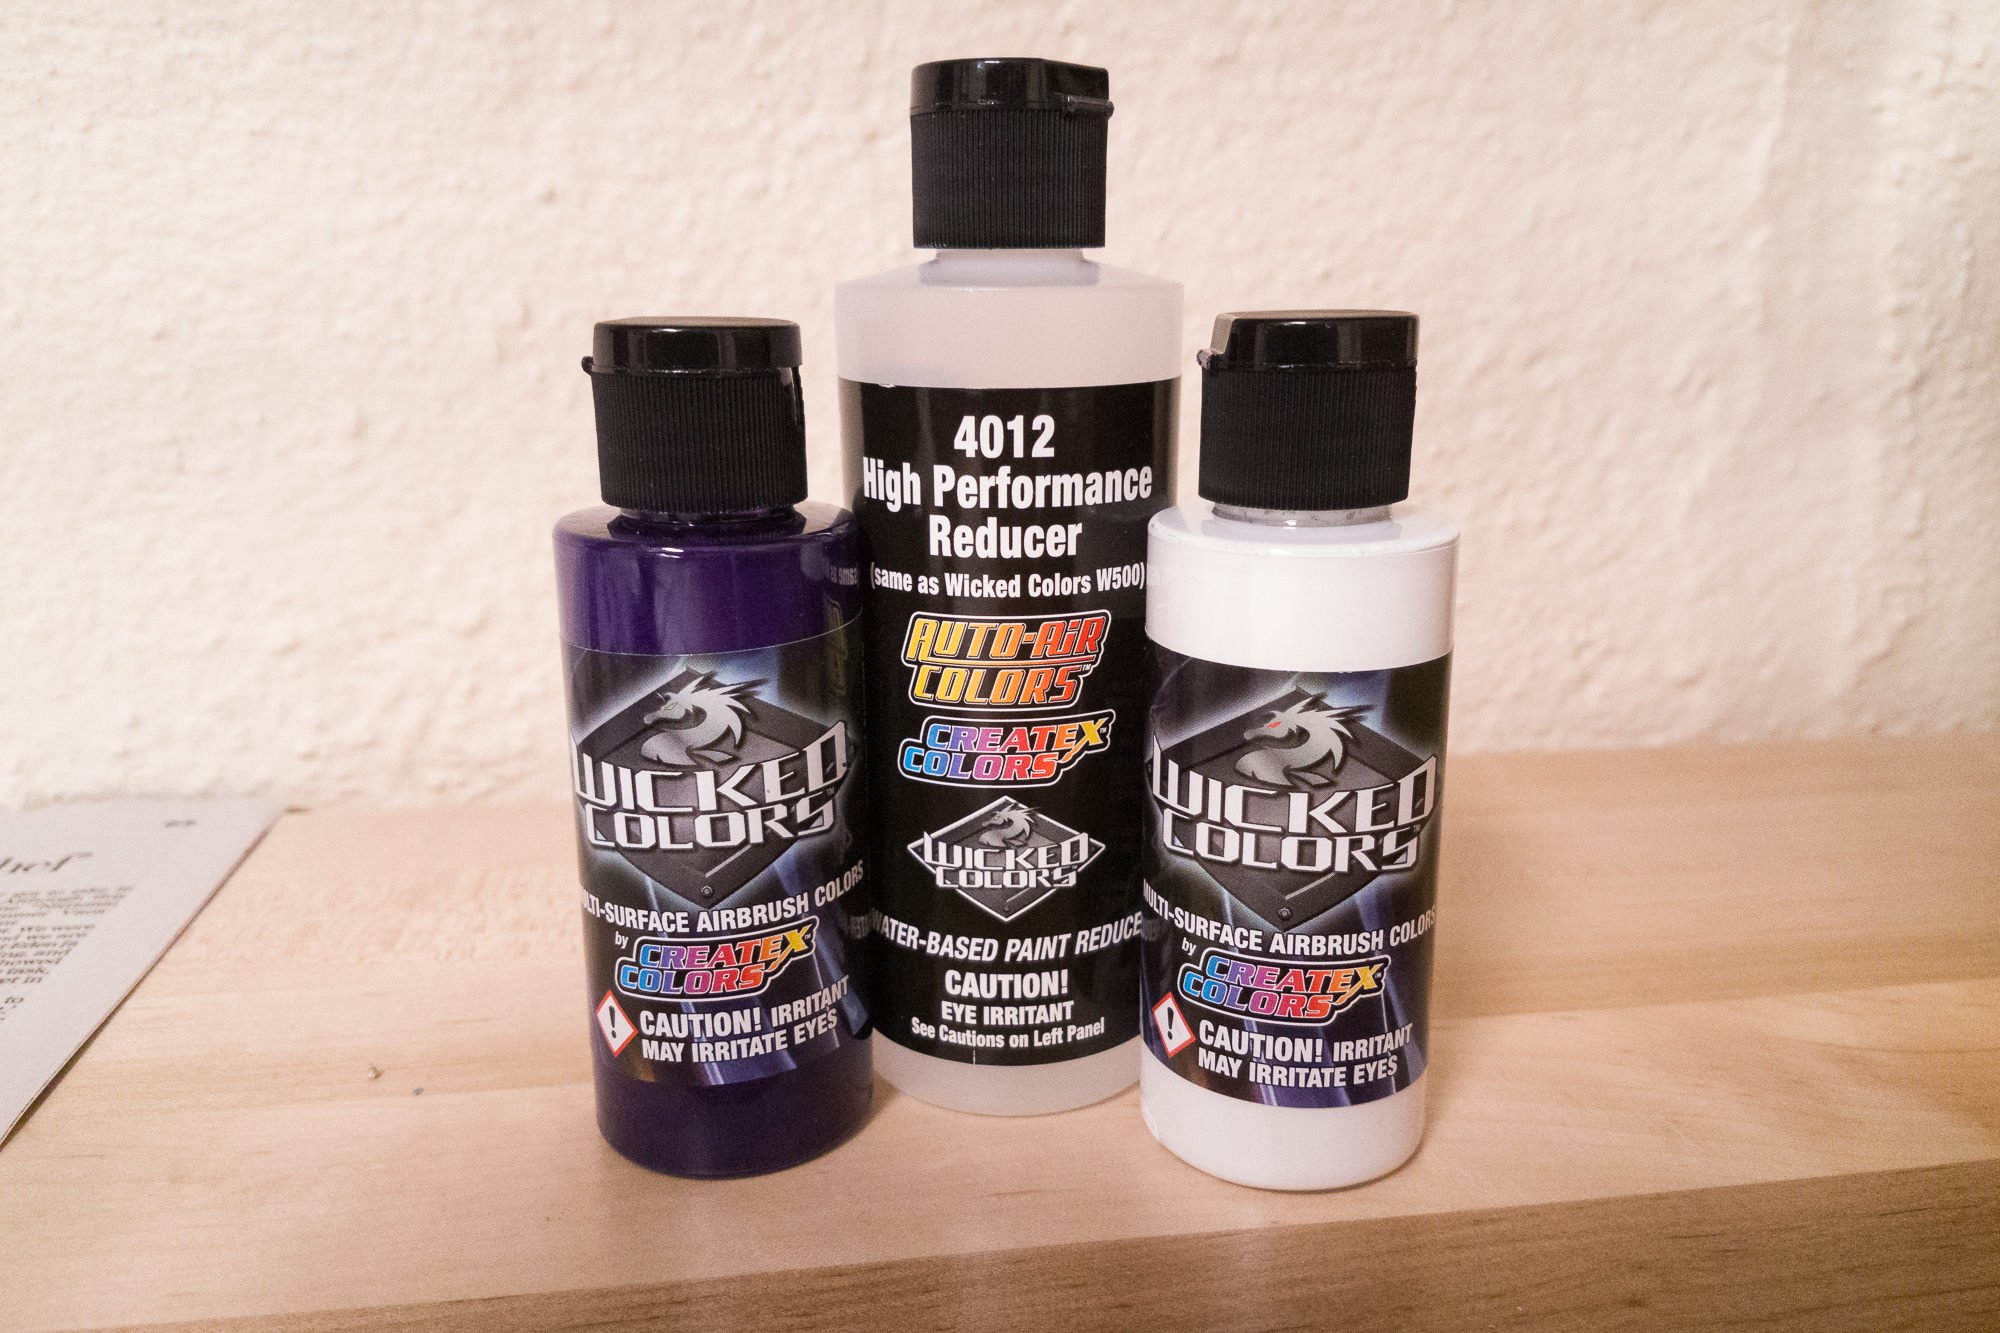
For both the body and the logo I used Createx Wicked colors through an airbrush. Now, I’m very new to using an airbrush, so I had to try this a few different times. But I found the Createx Wicked paints quite easy to spray, using about 25 PSI. I used ten drops of paint to one drop of reducer.
I started with Createx Wicked White as a bases, doing several light passes to build up a nice opaque color. After that I masked off the top of the logo with some basic 3M painter’s tape, using a few small strips and overlapping them at the edges.


The rest of the button was covered with Createx Wicked Violet, built up slowly (although all sprayed at the same time). After letting the violet dry, I pulled up the masking and used some 800 grit sandpaper to clear off the few tiny specks of paint that found their way through the tape overlaps.
The painted button top was finished with a coat of Crystal Clear acrylic enamel.
Conclusion
That’s it! The button was reassembled and works beautifully. A button press instantly makes a clip, so long as the stream’s window has focus.
While I’m happy that I had a chance to remake this and the electronics are solid, I wish my paint skills were up to snuff. The white turned out nicely, although the purple is both too dark and a little rough. The color is easy to fix (I should’ve used a test piece), and I think the roughness comes down to my airbrushing technique. It’s likely a combination of too much air, being too far away, and perhaps a bad reduction on the paint.
Although I think I know how to fix it, I started the paint over too many times that I decided to accept the dark, slightly uneven paint. Perhaps I can return to this project (again!) once my paint skills have developed a bit more.
Here is a fairly-complete parts list. For full disclosure, note that some of these are Amazon Affiliate links which help fund the content on this site. Thank you for your support!
You can download the Glitch logo from Twitch’s website, and you can find the Trinket platform and USB molding on Thingiverse.
Supplies:
- Staples Easy Button
- 5V Adafruit Trinket
- 0.030″ Styrene Sheet
- Cyanoacrylate Glue
- Bondo Glazing and Spot Putty
Paint:
- Rust-Oleum Painter’s Touch Flat Gray Primer
- Rust-Oleum Automotive Filler Primer Spray
- Createx W500 High Performance Reducer
- Createx Wicked Colors – White
- Createx Wicked Colors – Violet
- Krylon Crystal Clear Acrylic Coating

2 Comments
Clips PM · January 5, 2018 at 5:00 pm
Hi Dave,
I work on the Clips team at Twitch. This is a really reaaalllyyyy cool project 🙂 Just wanted to mention that we recently released a clips creation API. The documentation can be found here: ttps://dev.twitch.tv/docs/api/reference#create-clip
Cheers,
Clips PM
Dave · January 6, 2018 at 7:42 pm
Wow, thanks! I’m glad you like it. I’ll have a look at the API, it’ll definitely come in handy if I ever get around to making an updated version of the project.