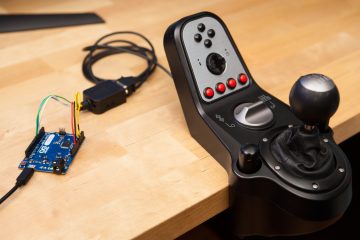
While MIDI is serial communication, it is a standardized protocol and is treated differently by most operating systems. But because it’s just serial data, it’s possible to “re-route” these MIDI messages to a generic serial device like an Arduino using two small pieces of software.
Software
This is something I figured out while working on the musical floppy drive project. For testing purposes, it was quicker and easier to send data via serial than it was to configure one of the Arduinos as a dedicated MIDI device.
You’ll need two pieces of software to make this work: loopMIDI and Hairless MIDI to Serial Bridge.
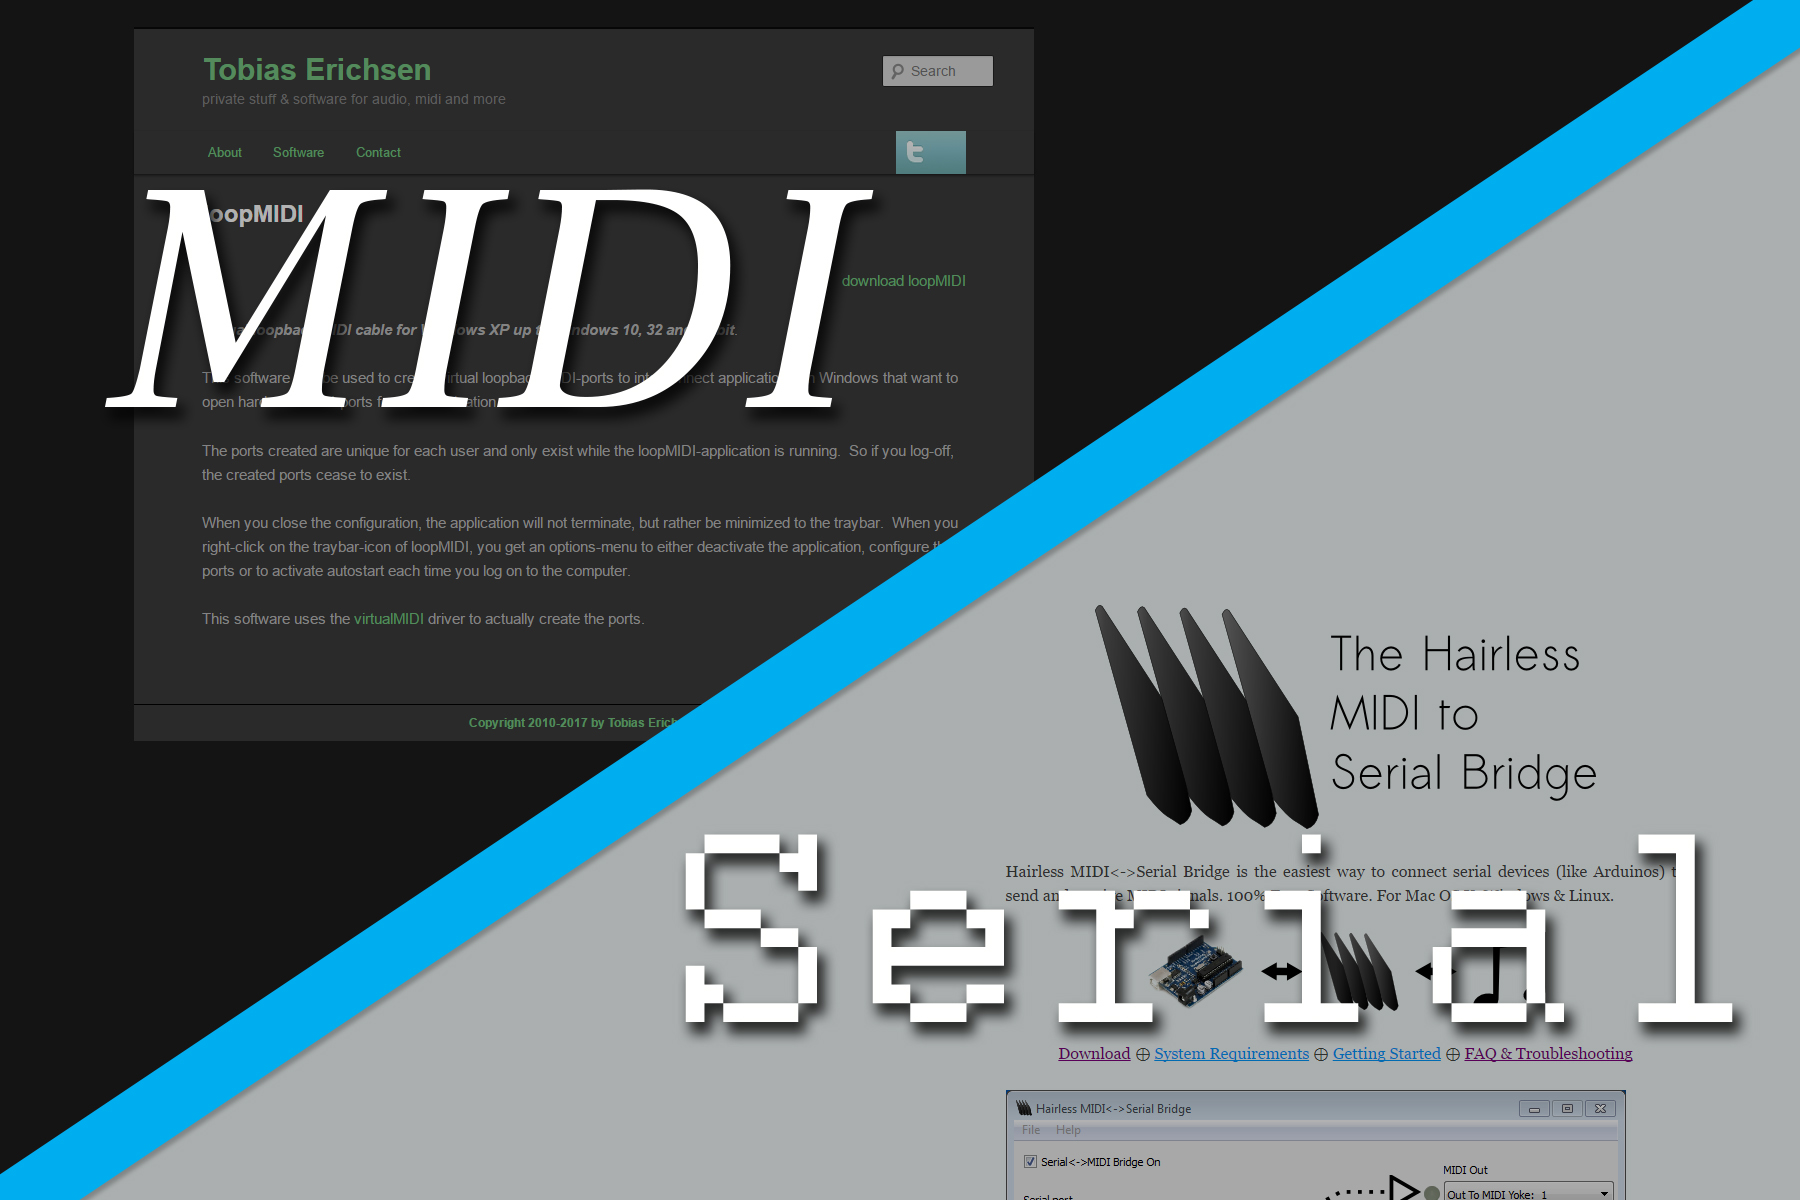
loopMIDI

Digital Audio Workstation (DAW) software isn’t built to do this out of the box. First, it needs a MIDI device to send data to. That’s where loopMIDI comes in.
loopMIDI by Tobias Erichsen is a program that enables you to create virtual MIDI ports on your PC. You can download the latest version, as of this post’s writing, here. With a virtual MIDI port, you now have an address to send MIDI messages to from your program of choice.
After installation, start the program and create a virtual port (the name doesn’t matter). In your DAW, select the newly created port as either a MIDI input or output and you’re ready to go.
Be aware that each port is simultaneously a virtual IN and a virtual OUT, so messages pushed through to output will show up as input (it’s a loop!). If you need to do simultaneous input and output via serial, create two virtual loopMIDI ports.
Hairless
The Hairless MIDI to Serial Bridge is a small program that redirects MIDI signals to and from a serial port. You can download the latest version for your operating system here.
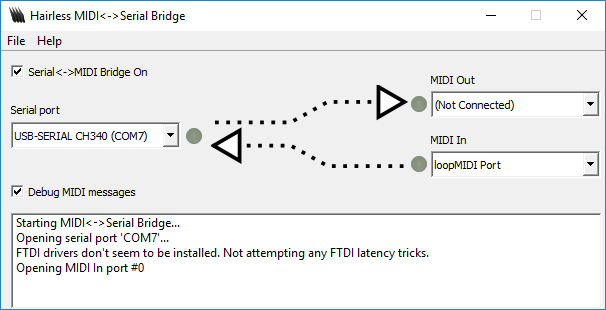
Hairless doesn’t need to be installed on Windows, so extract the download and launch the program. The data direction arrows make setup a snap: select the MIDI ports going into and out of the serial device, and select your serial port. You can configure the serial baud rate in the Hairless preferences under the ‘File’ menu.
Again: Because the virtual ports in “loopMIDI” are shared between in and out, if you want to simultaneously send and receive you should create two separate virtual ports.
Conclusion
That’s it! With both loopMIDI and Hairless running, try sending some messages from your serial device or your DAW of choice. You should see the loopMIDI data counter increment and the individual messages display in the Hairless debug window.
If you’re having trouble, check the data indicators in both programs to make sure data is flowing. Also double-check that your baud rate in Hairless is set properly for your device, and that you’re connecting to the correct serial port. Note that if you change MIDI ports while transmitting you will need to disable and then re-enable the serial bridge (the checkbox in the upper-left).
For more information about properly formatted MIDI messages, I recommend reading this tutorial.

4 Comments
Baddger · February 27, 2019 at 5:00 pm
Thx, with this I was able to test my Arduino keyboard.
Abram · July 19, 2024 at 11:44 am
Any capability to map keyboard sensors to serial out to Midi Controller?
Any software/hardware solution available?
Dave · July 19, 2024 at 5:24 pm
Most DAWs have the ability to convert a desktop keyboard into MIDI and route messages to any MIDI port, including the virtual one used in this article
Daniel · December 13, 2024 at 9:36 pm
Just if anyone is wondering Hairless is not supported on newer Mac Os’s. I found this python alternative which works well.
https://github.com/raspy135/serialmidi