For my latest project I needed to film some footage in front of a greenscreen so I purchased some additional lighting: a pair of Neewer 660 LED video lights. These lights are a great budget option for videography but there’s one problem: the power supply. To drive the matrix of 660 individual LEDs the lights come with a standalone 15V, 3A power supply “brick” which connects to the unit via a barrel jack on the back. When the lights are raised up on a light stand this power supply dangles, only supported by the barrel jack and the soldered power wires within. This stresses the barrel jack and the power supply’s wiring which makes it more prone to failure.
To solve this problem, I designed and built a 3D-printed light stand mount for the Neewer 660 light’s power supply.
Stock Solutions
I’m certainly not the first person who’s ever needed to attach a device to a light stand, so predictably there are a number of existing off-the-shelf solutions to this problem.
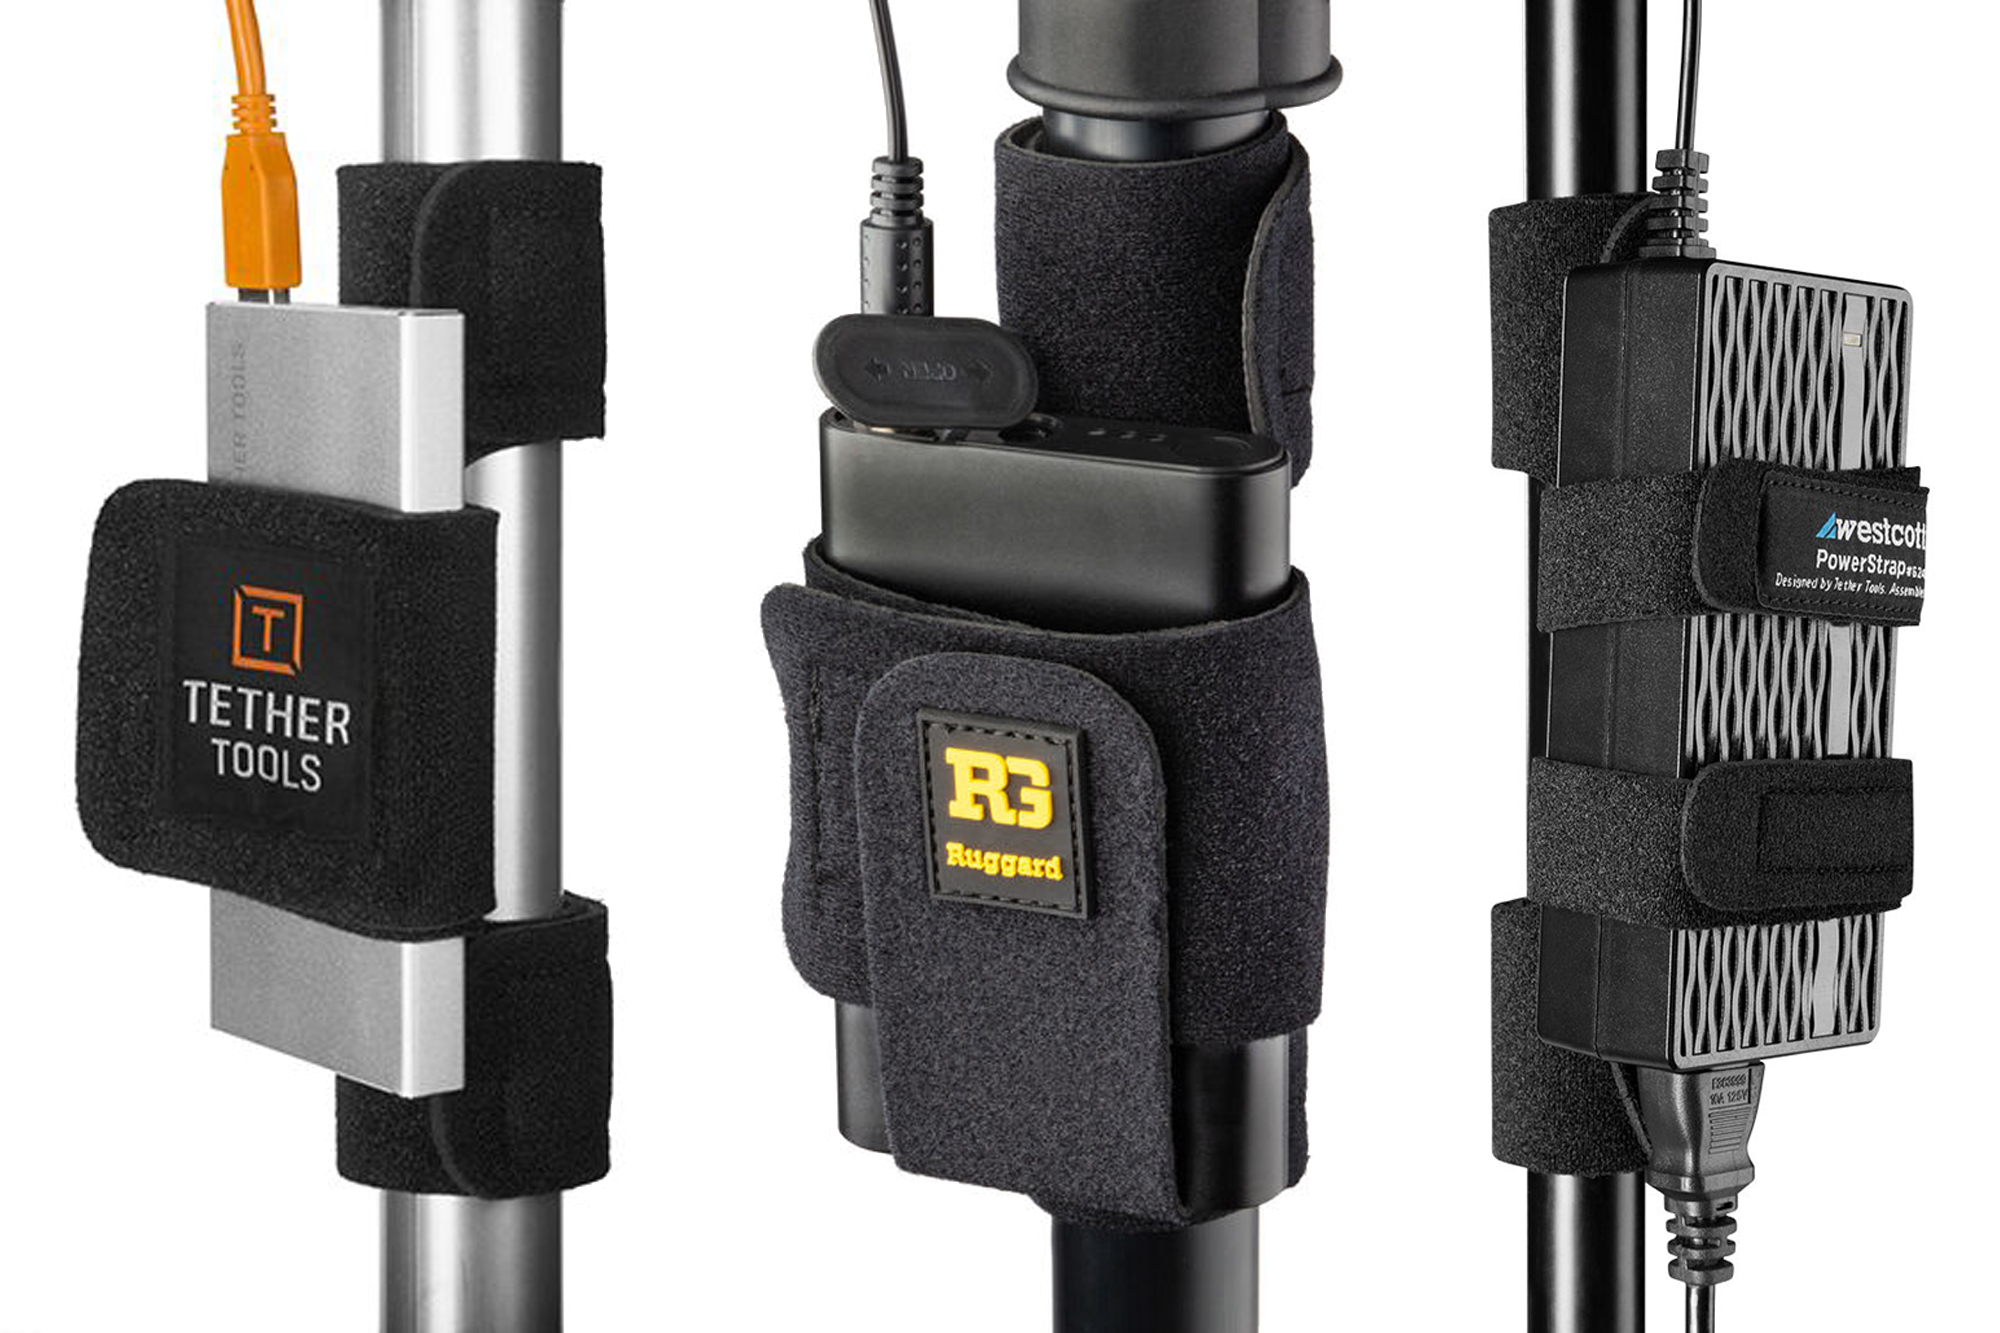
In my research I found the Tether Tools StrapMoore, the Ruggard MS-100, and the Westcott PowerStrap. These are all variations on the same flexible design: a central rubberized band that wraps around the device you’re attaching, and two rubberized fabric straps above and below that wrap around the leg of the light stand or tripod.
These devices are around $15 to $20 USD, which seems like a good price for a decent piece of kit. But considering that’s nearly 30% of what I paid for the Neewer lights themselves, I decided to build something a little more budget-friendly.
The Design
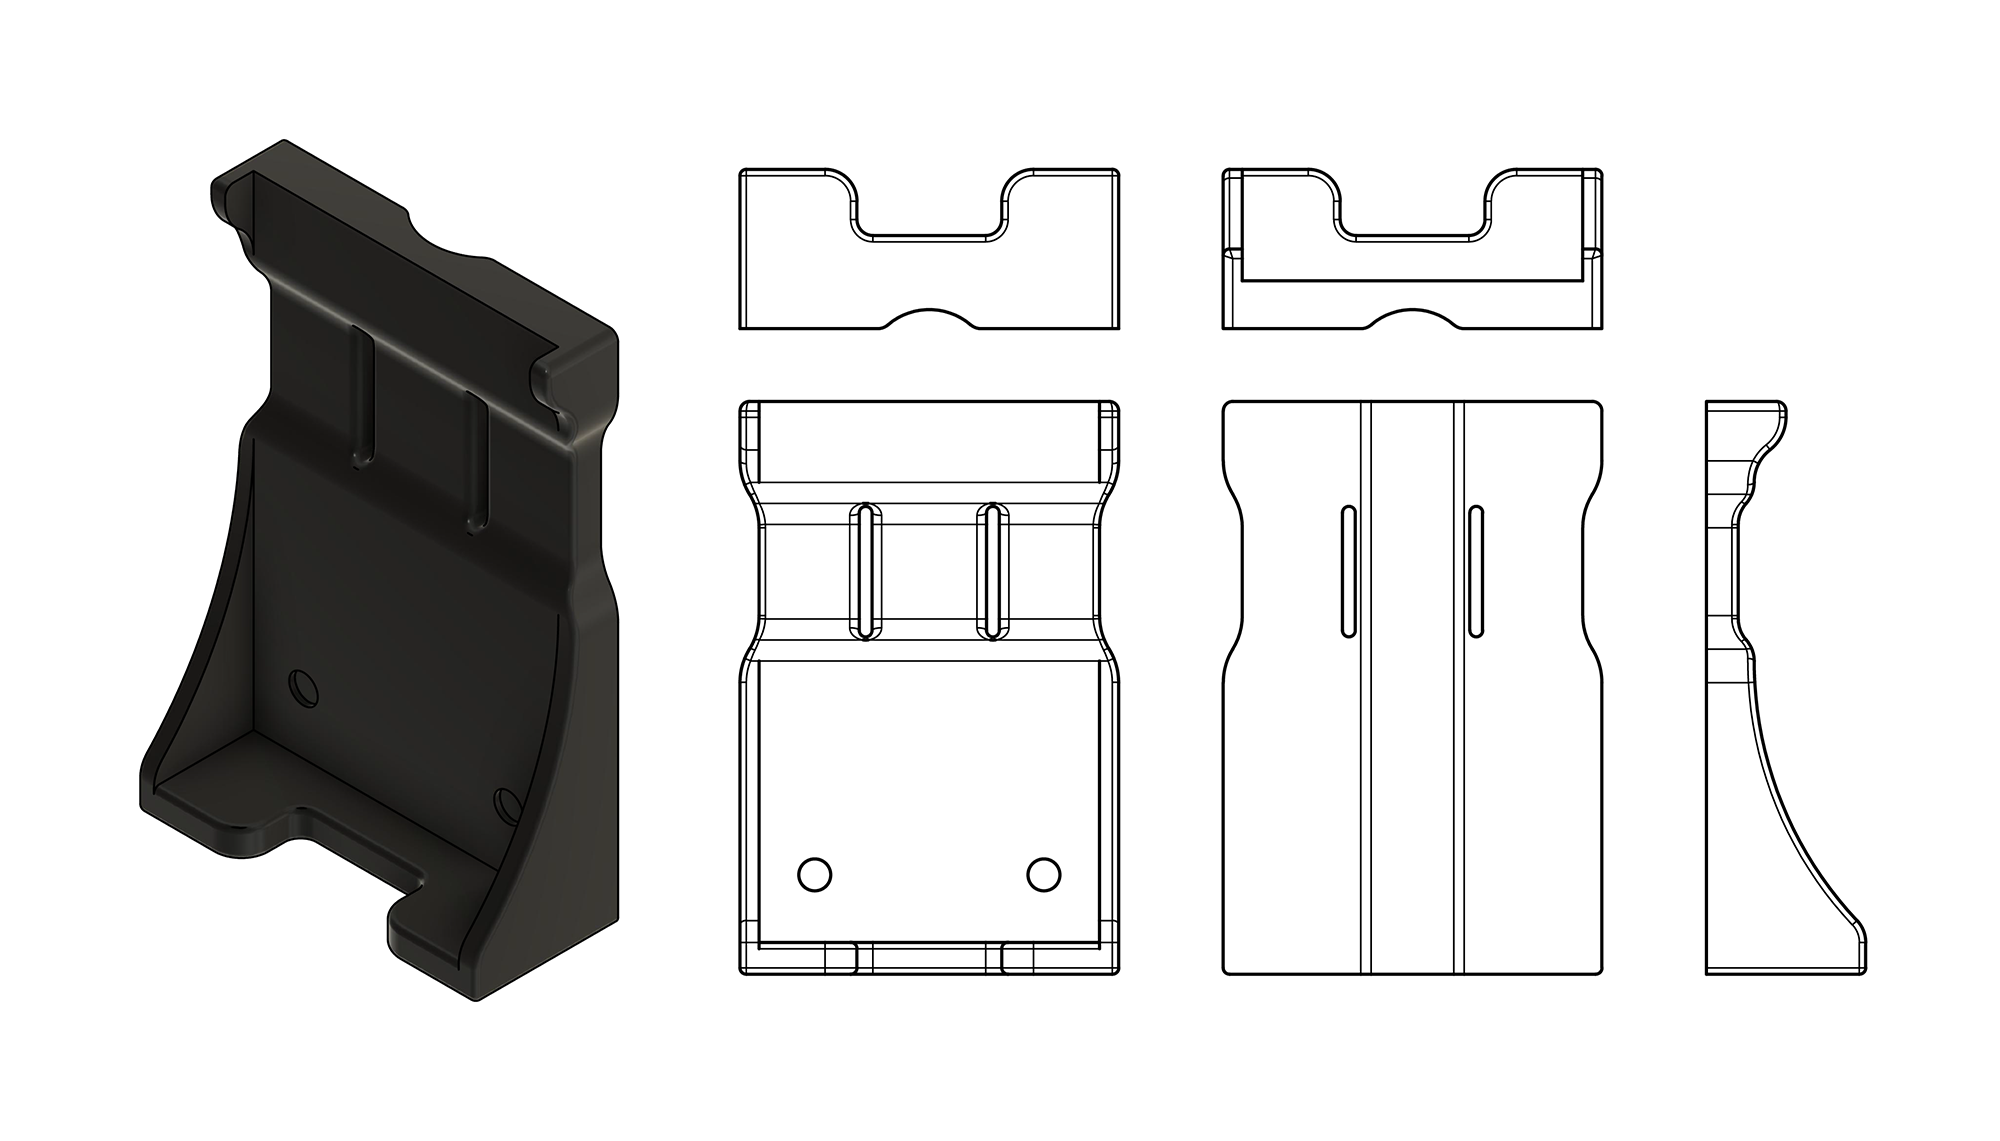
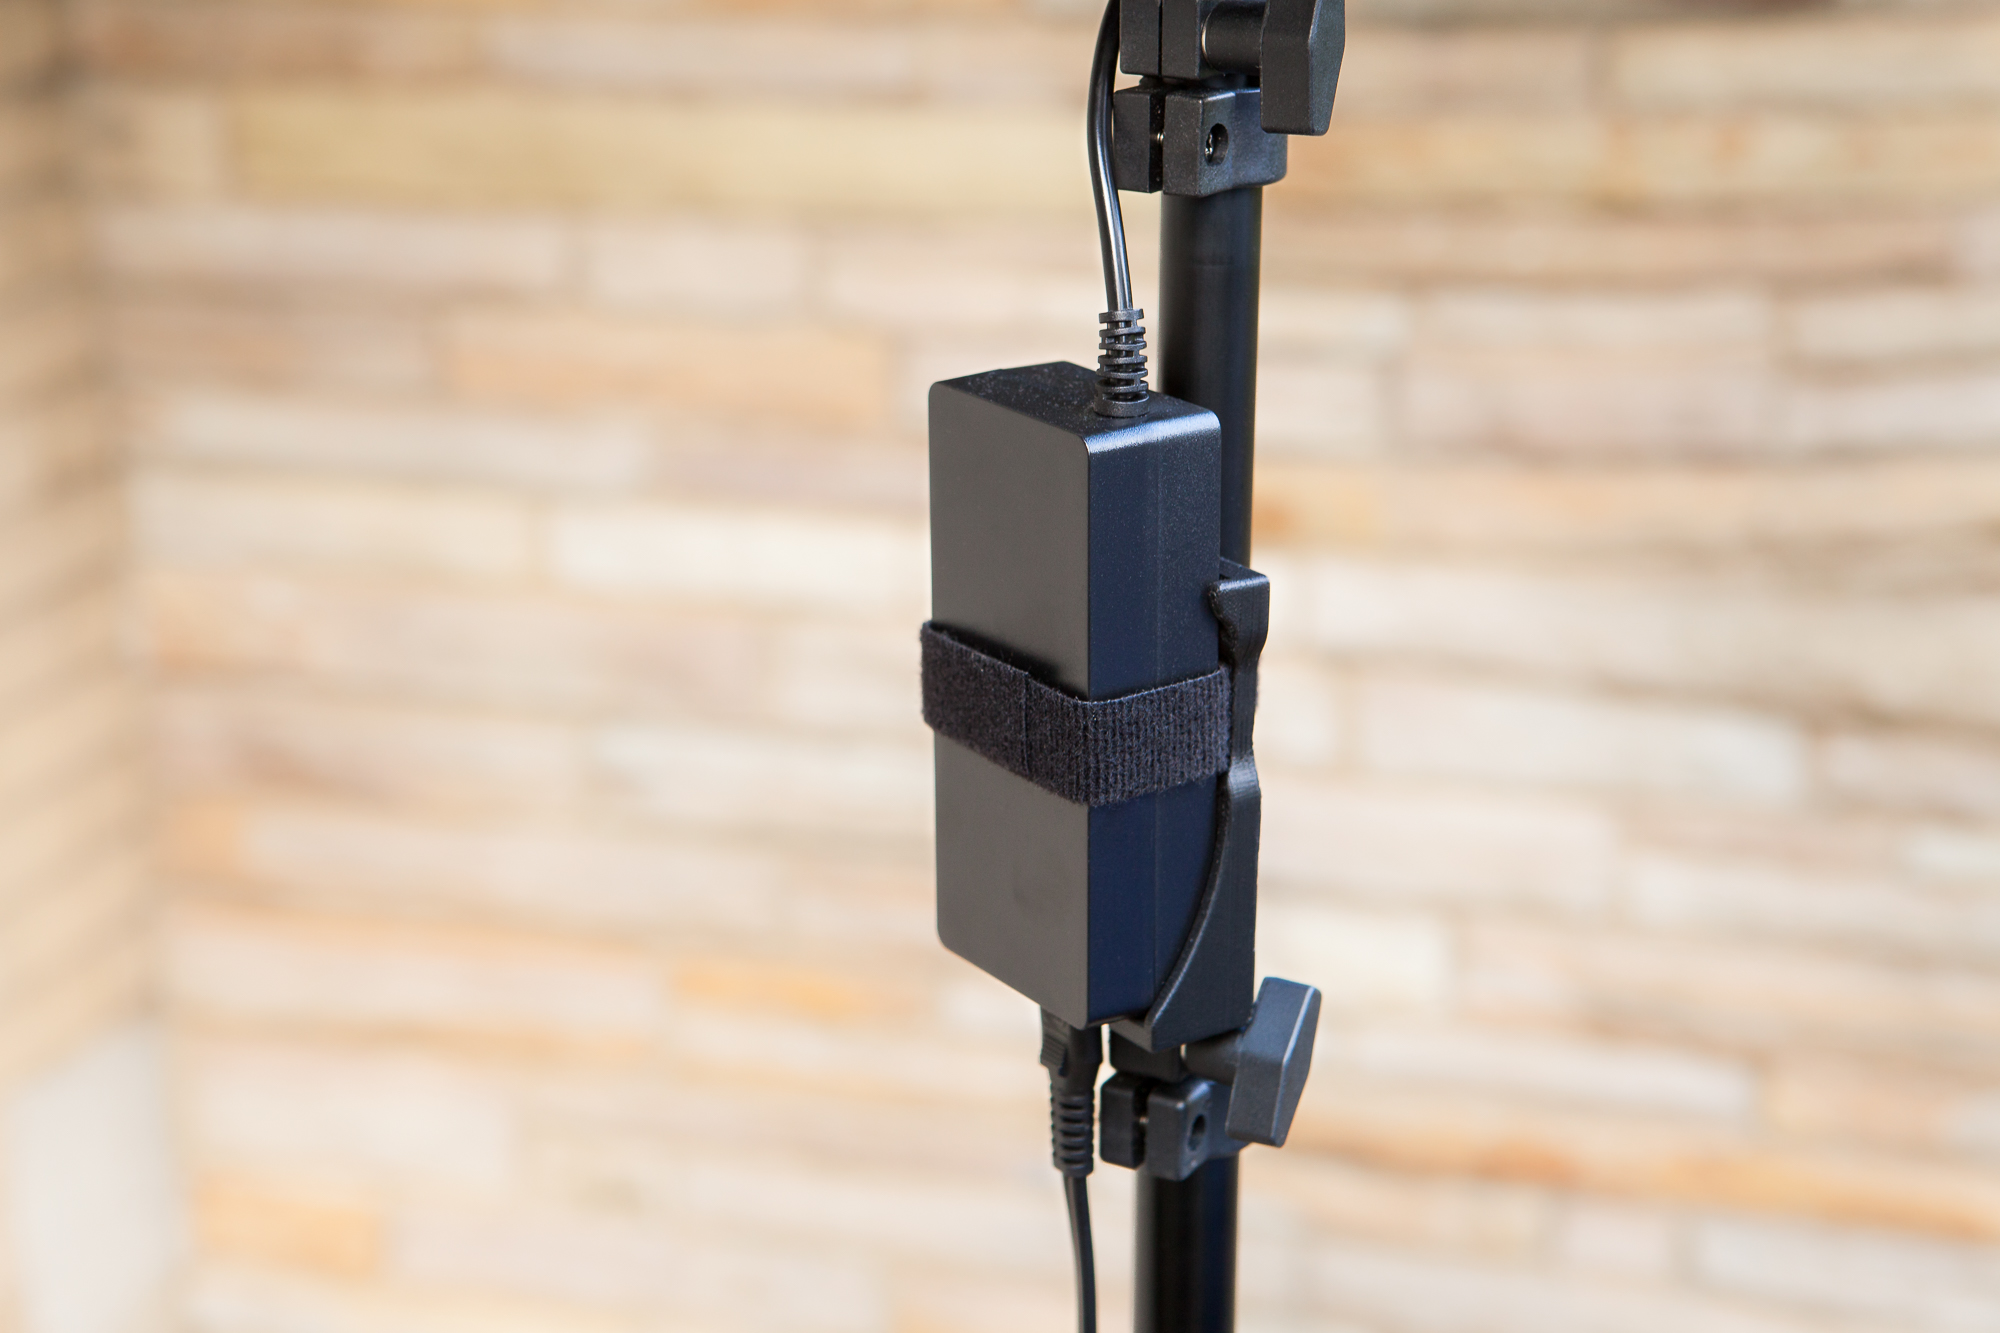
My solution is a 3D printed ‘sled’ for the power supply that attaches to the light stand with a single 3/4″ Velcro tie. The power supply sits on a flange coming off of the mount’s base and is restrained by that same Velcro tie, threaded through two slots in the rear of the mount and wrapping around the front of the supply. The mount also includes two small ‘ears’ at the top to hold the power supply vertically, while the rear has a semi-circular channel to align with the light stand’s column. Each mount took about 4 hours to print out of ABS on my Printrbot.
Originally I tried to build something similar to the design of the StrapMoore, using two pieces of Veltex hook-and-loop fabric sewn together with ‘hook’ patches on each end. Unfortunately this didn’t work as well as I’d hoped, as the Veltex was lacking the rubber coating on the back of the Tether Tools version which keeps everything in place.
Although the 3D printed design is also missing this rubberized coating, it’s held close enough to the center axis of the light stand that the bottom flange can rest on the segment tensioners. The mount just slides along the shaft whenever the light stand is raised or lowered.
Final Thoughts
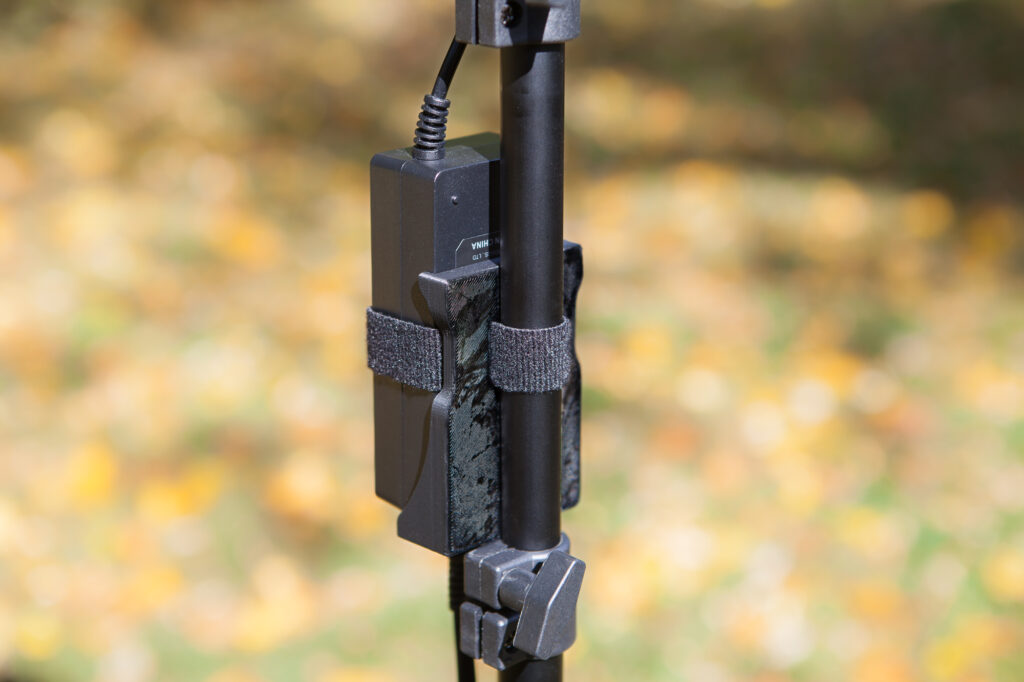
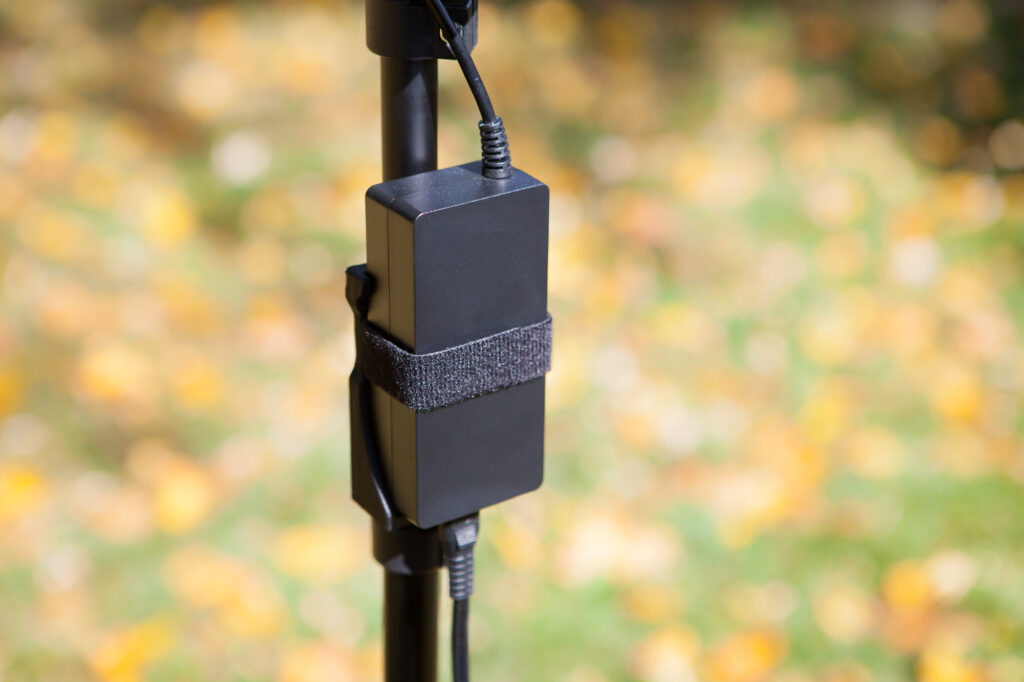
Success! The power supply is now supported and there is no more stress on the wire connections. But although this design is functional it’s not without its issues.
For one, because the light stand mount and power supply share the same tie it’s difficult to tighten snugly and the supply hangs a bit away from the mount (~1/16″). The geometry is also a little chunky and could be simplified to save on filament and printing time. And because it’s rigid and wider than the power supply itself, it doesn’t fit neatly into the existing cutouts of the light’s foam case. That’s one place where a fabric version would be clearly advantageous.
Though as a cost saving measure I think these were an excellent choice. Since I had the filament on hand and the Velcro ‘One Wrap’ left over from another project many years ago, these adapters were effectively ‘free’ to build. Though even if I had to purchase a roll of the Velcro ties new (~$7) I still would have come out well ahead of the retail cost for two off-the-shelf mounts.
I don’t know how standardized these power supply bricks are, but presumably this light stand mount could be used for other power supplies as well. Please leave a comment below if you’ve tried this with another brand or model of PSU.
Now it’s time to put these to use and make some more YouTube videos!
Parts List
The design is available on Thingiverse if you’d like to make one of these yourself. Here’s what I used for mine:
- Hatchbox 1.75 mm Black ABS Filament (~23 g)
- Velcro One-Wrap Roll, 3/4″ x 12′ (one 9″ strap for each)
Happy building!
This article contains Amazon affiliate links. As an Amazon associate I earn from qualifying purchases.