I recently purchased my first VR headset! It’s a Samsung HMD Odyssey+, one of the Windows Mixed Reality sets from a few years ago which I bought second-hand. It may not be spectacular, but it’s good enough to noodle around in Beat Saber every now and again.
There’s just one problem – my desktop is against the wall, and it’s a real pain to reach around to the back of the PC to plug in the headset. Not to mention that the added distance from the back of the PC to the front of the desk uses up a significant portion of the cable length and reduces your play area accordingly.
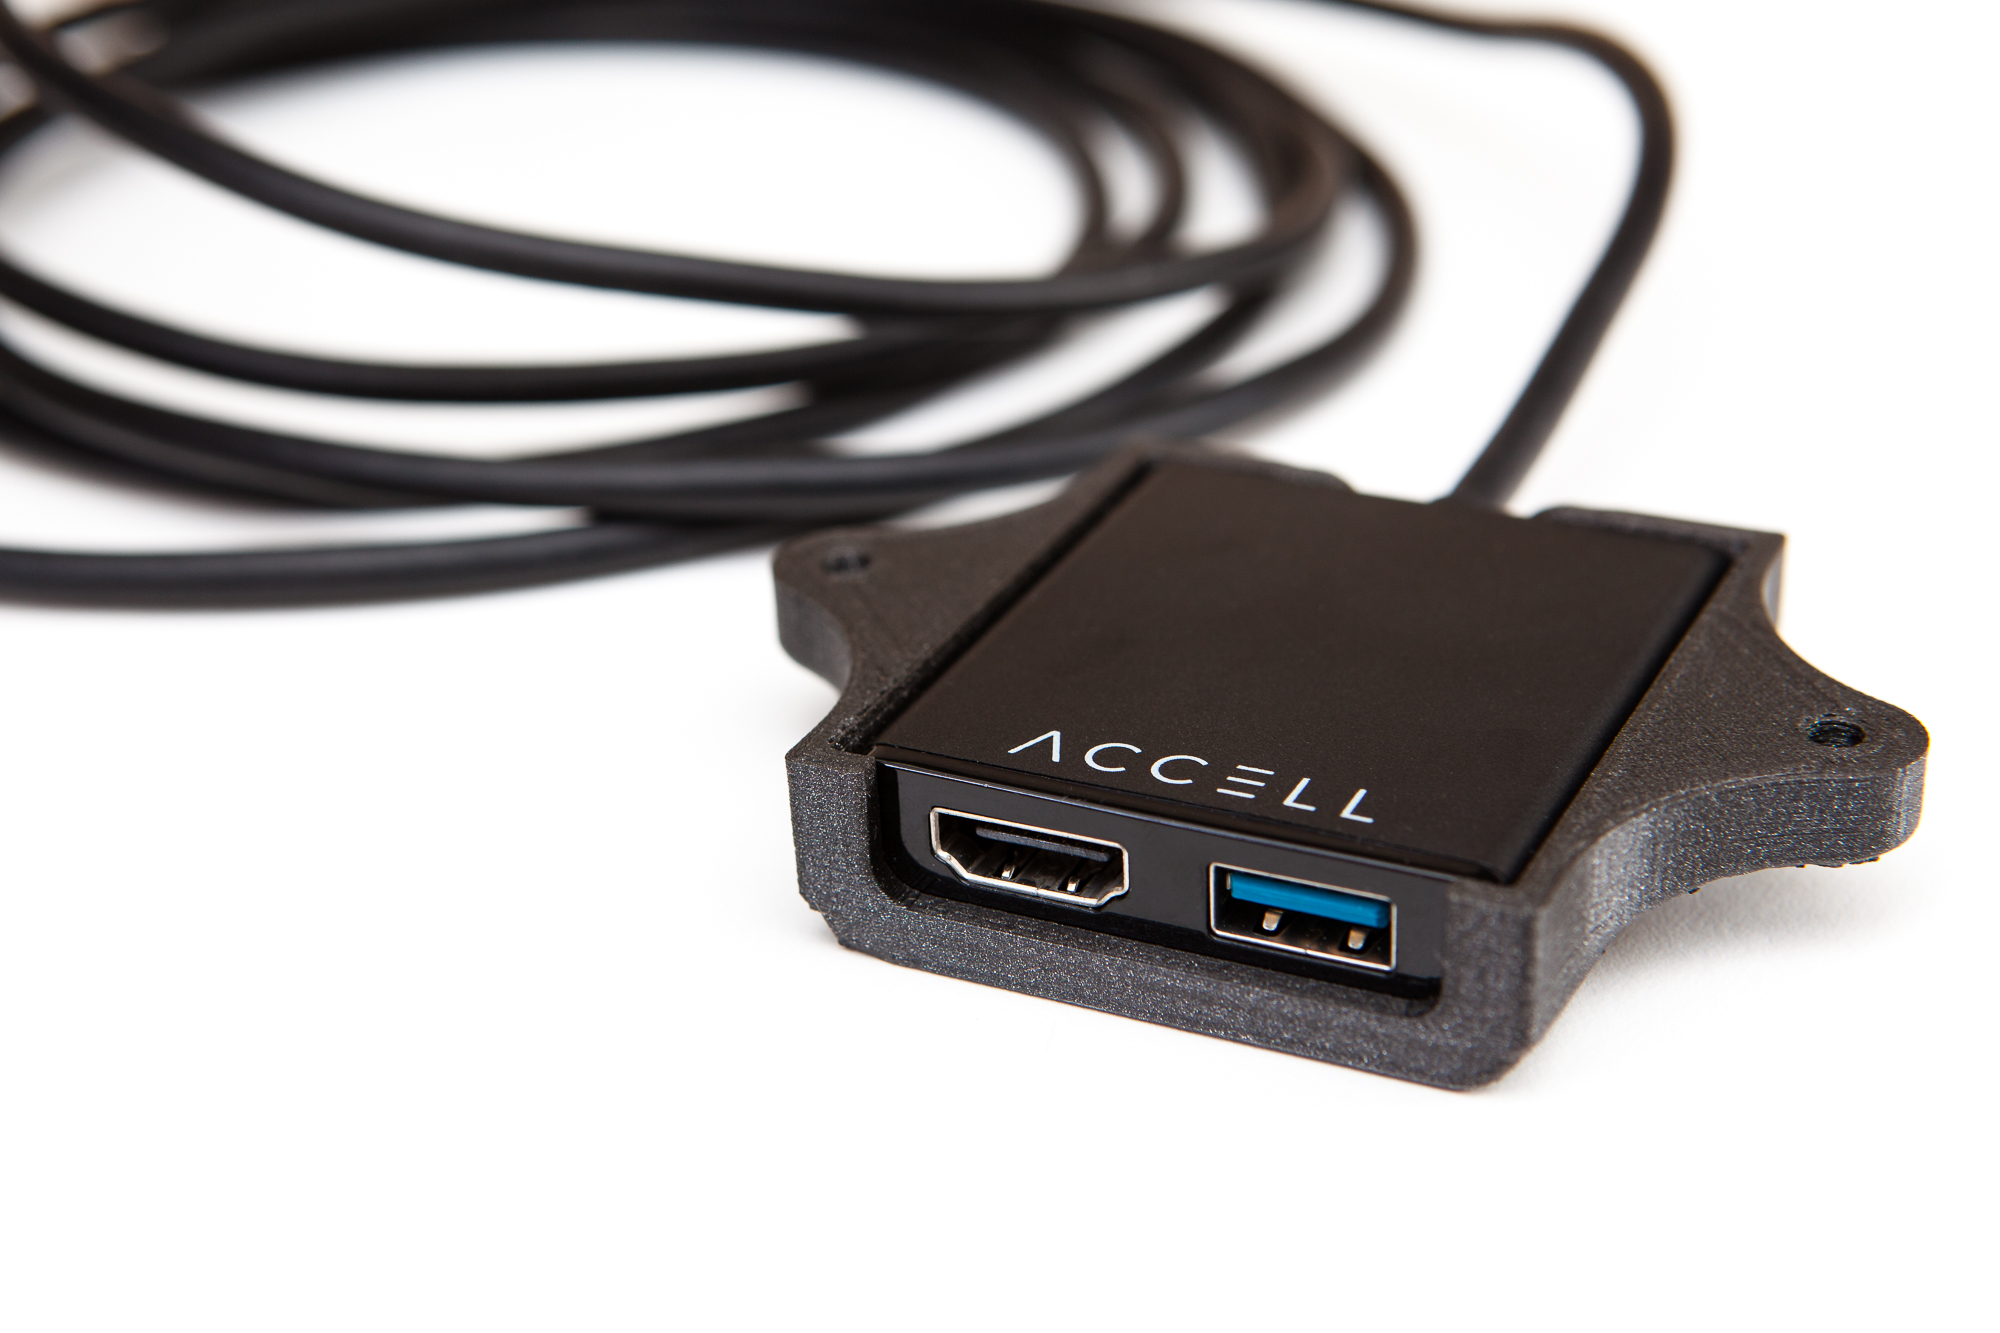
To fix this issue I ended up buying a VR breakout adapter which connects to the USB-C port on my GPU and splits into the HDMI and USB 3.0 ports required for the headset. Now I’m going to integrate it into my desk by building a 3D printed under-desk mount.
3D Design
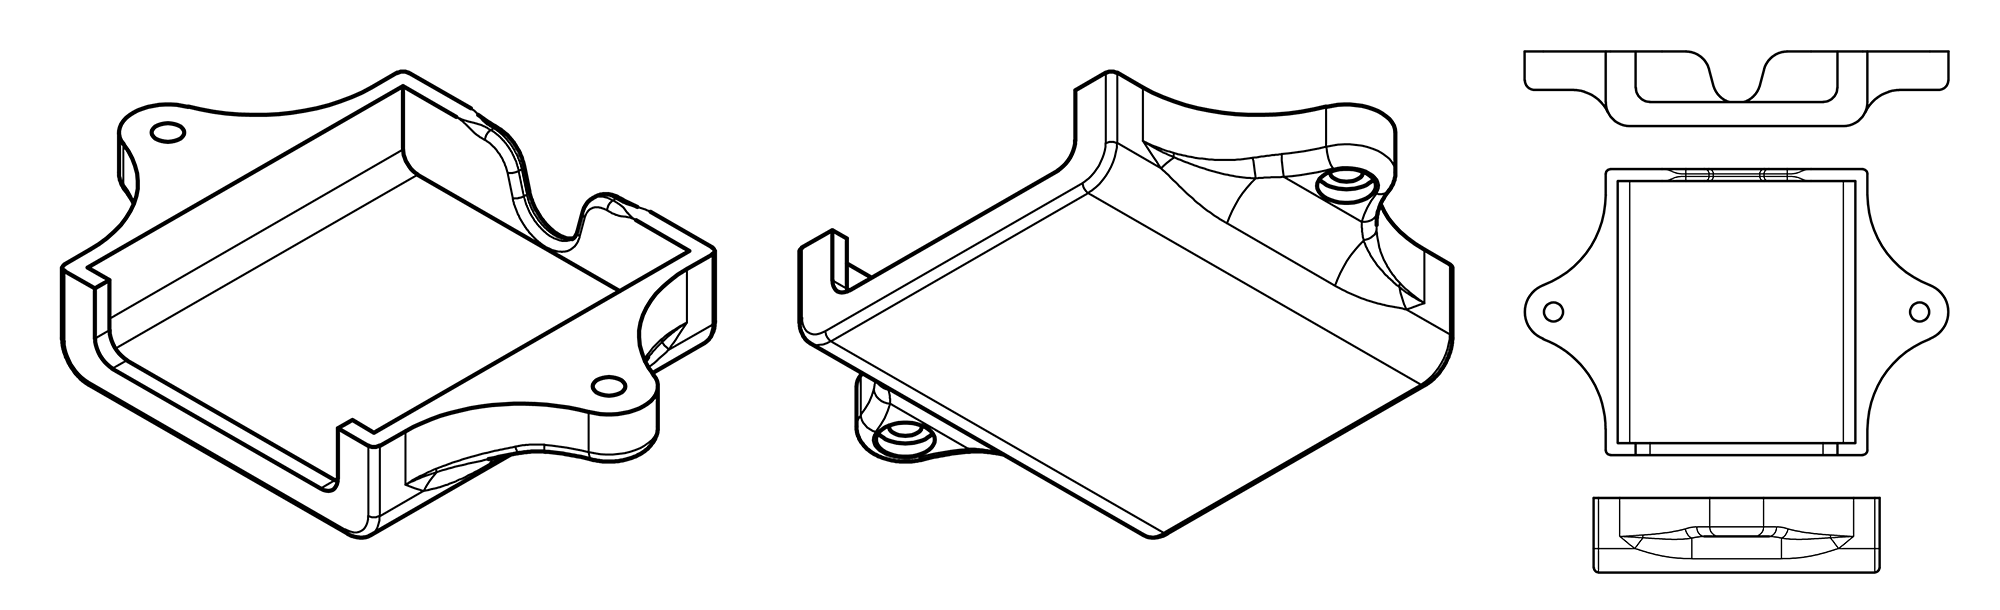
I started by making a mock-up of the Accell VR adapter itself, which is 54 x 49 mm and with a cable 7 mm in diameter coming out the back. My plan is to make the mount open on the top, so the adapter can drop right in but be fully constrained once it’s bolted into place under the desk.
In Fusion 360 I offset the perimeter of the adapter by the wall width (2.5 mm) and extruded upwards to create a sort-of bathtub. I then created U-shaped cutouts in the front and back for the I/O ports and cable respectively. The front cutout has an overlap of 3.5 mm on the sides and 1 mm on the bottom to prevent the adapter from sliding forwards. This leaves just enough space for the connectors while keeping the adapter secure.
To finish the design I added two counter-bored mounting points on either side, on center and about 3″ apart. These are slightly wider than necessary but are at a standard width in case I ever want to swap out this mount for another and re-use the same holes in the desk. The extra width also gives me a little wiggle room if I need to reprint with thicker walls later on for strength.
Installation
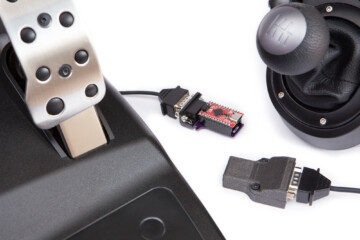
The mount was printed out of glitter black PLA on my old Printrbot Simple Metal with the “bathtub” facing upwards. The adapter goes in smoothly at a slight friction fit and is perfectly level with the top of the mount. That means it’ll be solid and won’t wiggle around once the mount is attached.
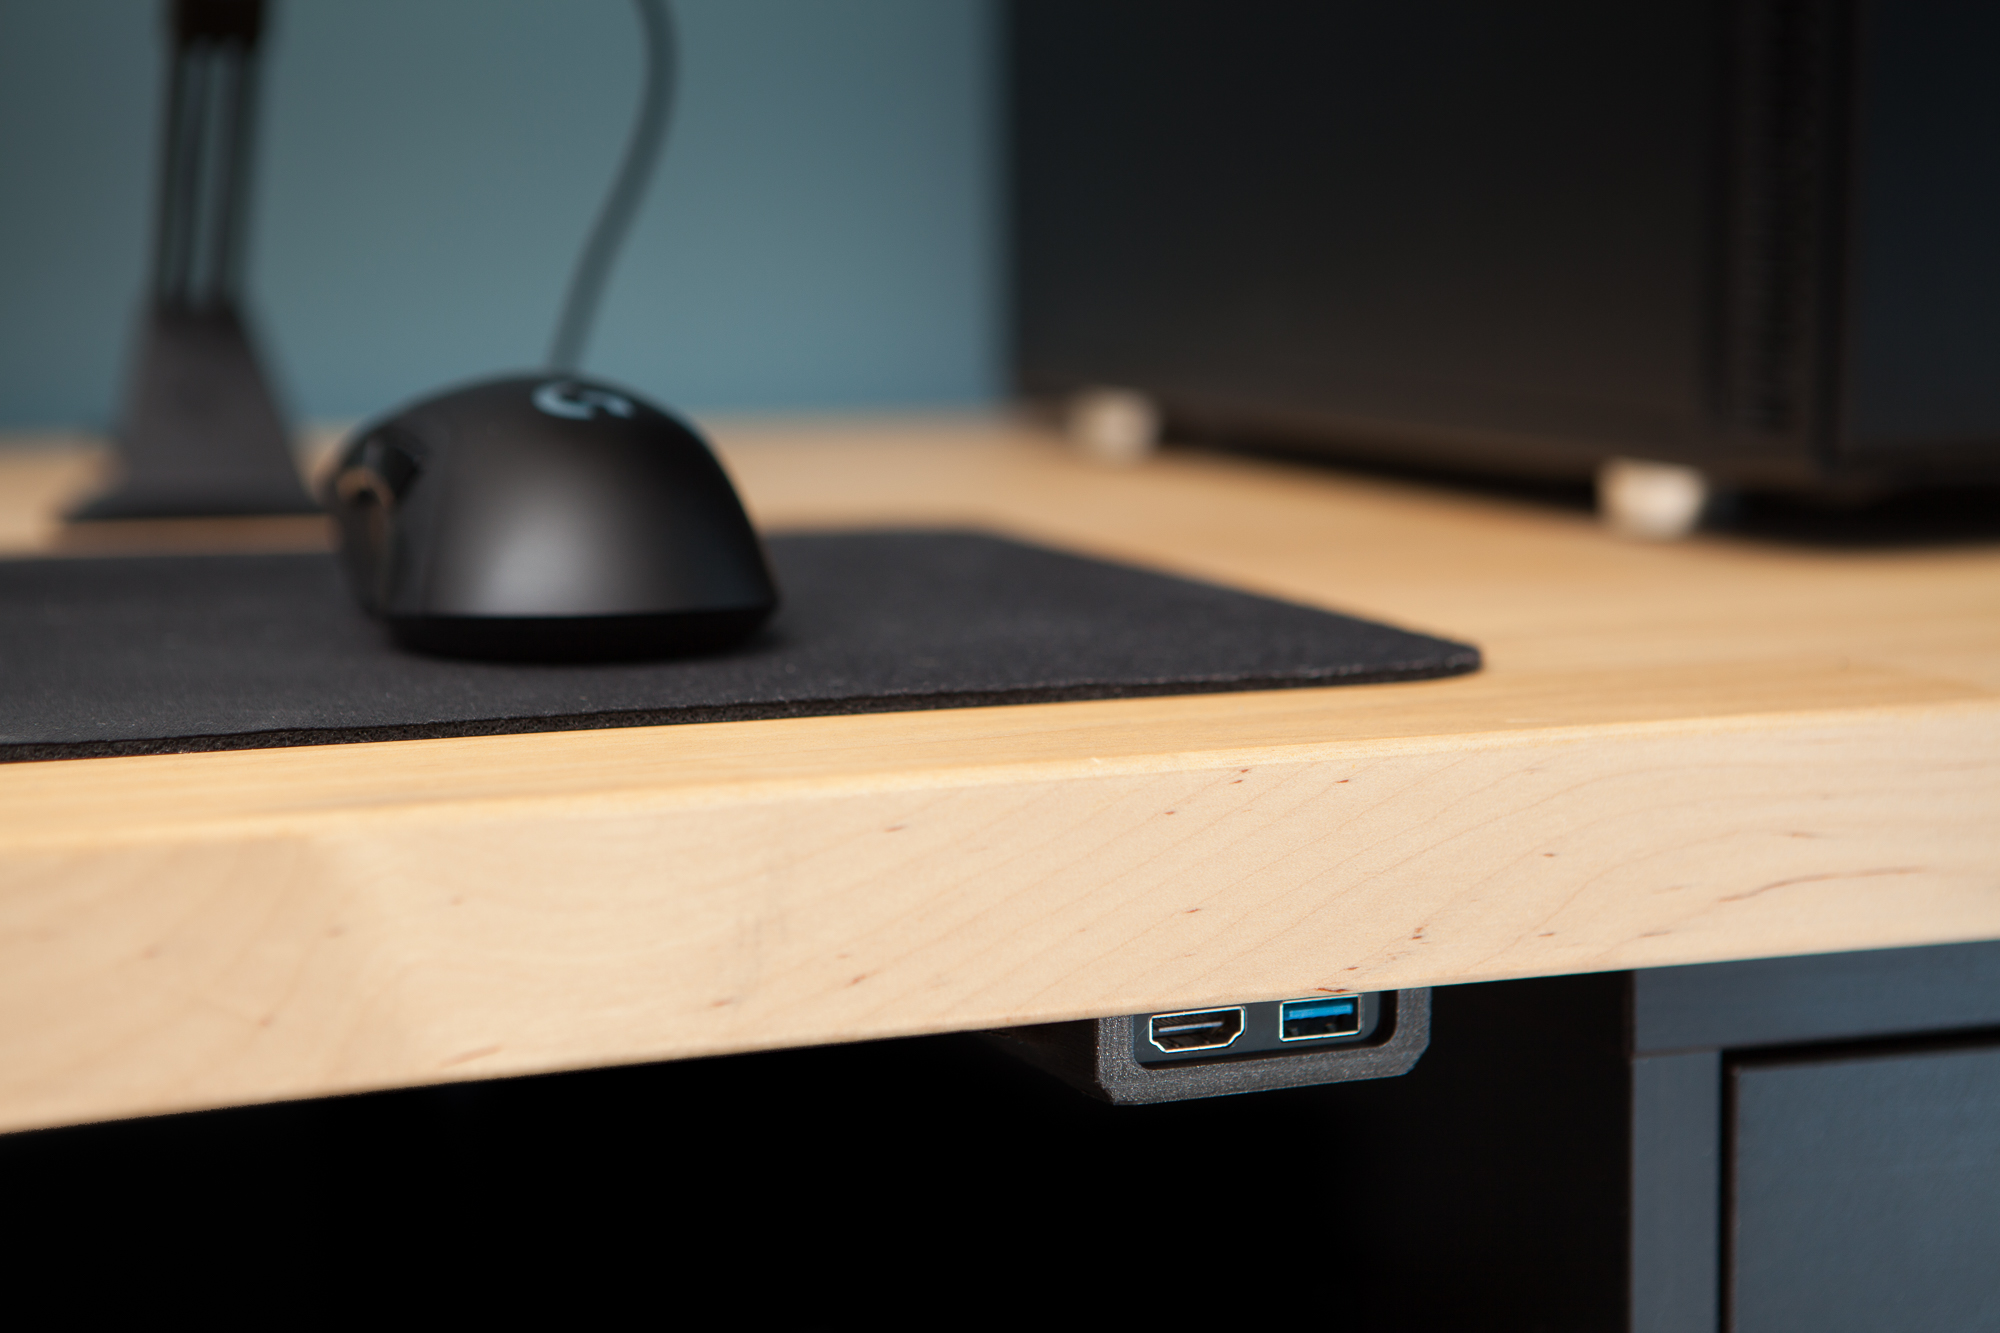
I used two #6 wood screws I had on hand, 3/4″ long, to secure the mount to the desk. The front face of the mount is set back about 1/2″ so that it’s still accessible but a little hidden from view. And again having it away from the edge gives me a little adjustability if I want to reprint the mount with a thicker front wall thickness.
Behind the mount I added two adhesive zip-tie mounts to secure the cable to the underside of the desk. I then connected the headset, loaded up Beat Saber, and knocked out a few songs before my morning coffee was even cold. Project complete!
Download
Want one of these for yourself? The design is open source! You can find the STL free to download on Thingiverse.
This article contains affiliate links. As an Amazon Associate I earn from qualifying purchases.