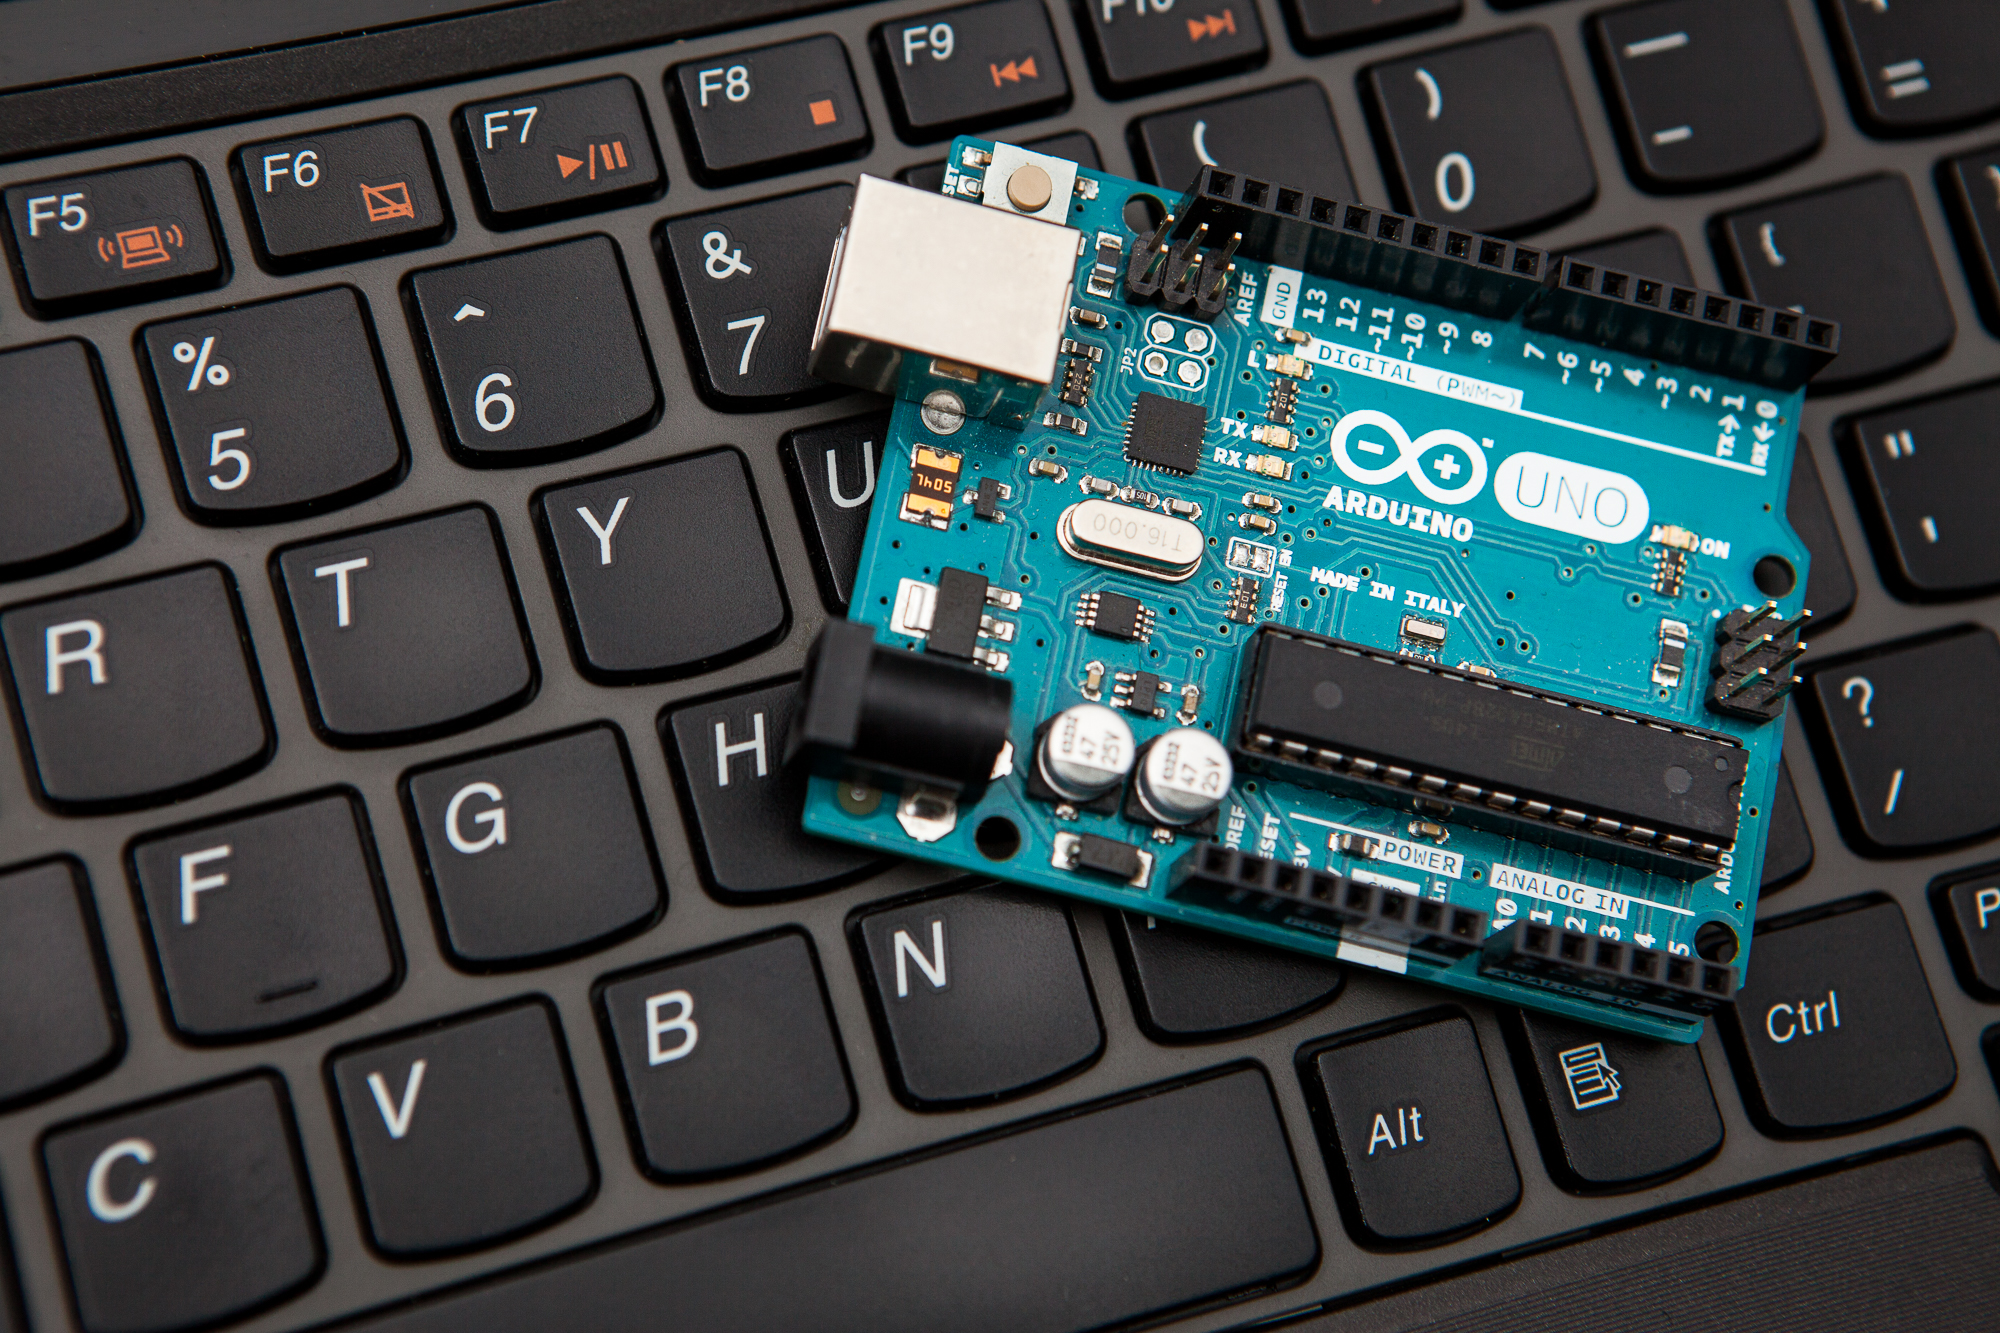
As I keep working on a number of custom controllers using Arduino boards, I noticed that I tended to build the same sort of data structures every time; things to make it easier to write my own code using the built-in Arduino libraries. One of these bits I kept rebuilding was a wrapper class for the keyboard and mouse libraries that kept track of the keys I was using and their associated output states so that I could set them with a single line of code. Now instead of building yet another version of the same thing for my next project, I decided to turn it into a library instead.
The Arduino’s USB HID libraries work great – they make it easy to send Keyboard, Mouse, or Joystick inputs from your sketch, but they don’t do a great job of keeping track of which inputs you’re using and their state. At best this means you have to write some extra code with dedicated variables for the output key and output state with a group of ‘if’ statements to handle changes. At worst it means you’re spamming button presses to the PC and causing all sorts of other unintended behavior.
For example, here is some code borrowed from a friend’s project that presses a keyboard button when an analog stick moves into a given range:
boolean aPressed = false;

void loop() {
	int stickY = analogRead(A0);

	if (stickY < -300) {
		if (aPressed == 0){
			aPressed = 1;
			Keyboard.press('a');
		}
	}
	else {
		if (aPressed == 1) {
			aPressed = 0;
			Keyboard.release('a');
		}
	}
}
The 12 lines that make up the if statements to see whether to ‘press’ or ‘release’ the key were repeated for every input in the project. That’s a lot of repeated code that is a pain to write and even messier to read.
HID Buttons
For my own projects with HID buttons I tried to build a more elegant solution: a small class that keeps track of the key and button state, and only calls the HID output function when the state changes. You can see variations of this in the DJ Hero Lucio project and in the code for the Stream Cheap keypad. Seized by inspiration the other week, I reworked a version of this into an Arduino library that can be used in any sketch.
Using classes greatly reduces the amount of code the user has to write to track the state of a given HID button. Here’s the same code above, written using an HID_Button object:
#include <HID_Buttons.h>

KeyboardButton moveLeft('a');

void loop() {
	int stickY = analogRead(A0);
	moveLeft.set(stickY < -300);
}
The object keeps track of the key being pressed (in this case ‘a’) and the state of the output, so you only need to call the ‘set’ function to accomplish everything in the longer code above. Implementing a joystick to ‘WASD’ program only requires 7 more lines of code, compared to 40 with the long form ‘if’ statements above.
Features
The library has all of the typical functions you need to manipulate button outputs:
- Press
- Release
- Set
- Toggle
- Write
Since each object also keeps track of its own button’s information, you can also read the button’s state or the key value. All button objects are also inserted into a linked list, so it’s possible to reset all of them by calling releaseAll. This function is tied to each HID type, so if you’re making a composite device you can release the buttons of one HID type without affecting another – such as releasing all keyboard keys without letting go of the mouse buttons.
At the moment the library supports Keyboard, Mouse, and Joystick buttons, although I’ve included a guide for adding additional HID types.
Download
The library is available on GitHub and can also be downloaded through the Arduino IDE’s Library Manager (search for “HID Buttons”). Enjoy!

13 Comments
László · May 20, 2020 at 3:44 pm
Hello,
Nice work.
If I am using multiplexer and store the state of the buttons in a matrix, how can I use with this libary ?
Background: I plan to do a 32 button -box for DCS and to avoid issues with multi pressed buttons, I have to use multiplexers.
So my plan to read the 32 state in to an matrix and using this info in this libary to sent to PC.
All examples what I found is working with direct analouge inputs (pins) and I not sure how to change the code to use stored (in matrix ) states of buttons…
BR,
László
Dave · May 20, 2020 at 6:31 pm
Hi László,
You would probably create a two-dimensional array of HID_Button objects (Keyboard, Mouse, Joystick, or mixed) and then run a set of nested loops to iterate through both the columns and rows. Then retrieve the button state from the multiplexer (or however you’re storing it) and pass that to the ‘set’ function for the current object in the array:
The
getState()function here is a dummy function that returns the button state as a boolean when passed the button coordinates (row and column). You could also replace it with an array directly (i.e.boolean state = state[i][j];). I hope that helps!Good luck,
Dave
László · May 21, 2020 at 12:58 am
Dear Dave,
Thank you very much!
Exactly this kind of help (structural explanation) what I searched for!
Now much easier to use this libary!
Thank you again!
BR,
László
Fred · July 3, 2022 at 9:25 am
Hello,
I installed it but i get the follow message
Arduino:1.8.19 (Windows 10), TD: 1.56, Board:”Arduino Uno”
exit status 1
‘KeyboardButton’ does not name a type
Dave · July 3, 2022 at 9:28 am
Hi, that error is because the Arduino Uno does not natively support HID output. The library is not compatible with it.
Fred · July 3, 2022 at 9:31 am
Hello,
Thanks for your quick answer.
What can i do to let it work
Because i look for a code to with switches wit hold fuction to play realistic automatic in ETS2
Regards,
Fred
Dave · July 3, 2022 at 9:37 am
The easiest solution is going to be buying another Arduino, like an Arduino Leonardo or an Arduino Pro Micro.
If you have a genuine Uno with a 16U2 microcontroller onboard you can use the Hoodloader project to add HID support, but it’s much more of a pain to use than getting a board that works how you need it to.
Fred · July 3, 2022 at 9:36 am
W’ll this code work on a TeensyLC ?
Dave · July 3, 2022 at 9:38 am
It should, yes.
Fred · July 3, 2022 at 9:40 am
I already tried, I get the same message
Dave · July 3, 2022 at 9:43 am
For the Teensy, make sure you’re using a USB mode (in the “Boards” menu) that includes Keyboard output.
Fred · July 3, 2022 at 9:52 am
Thank’s a lot . Thant works, Now only find out that it have a hold function.
Fred
Fred · July 3, 2022 at 12:04 pm
Hello,
Last question. Maybe you can/will help me.
You have in your example Key “c” Now i like to have that he give only the shift- or ctrl command. How can i do this
Fred