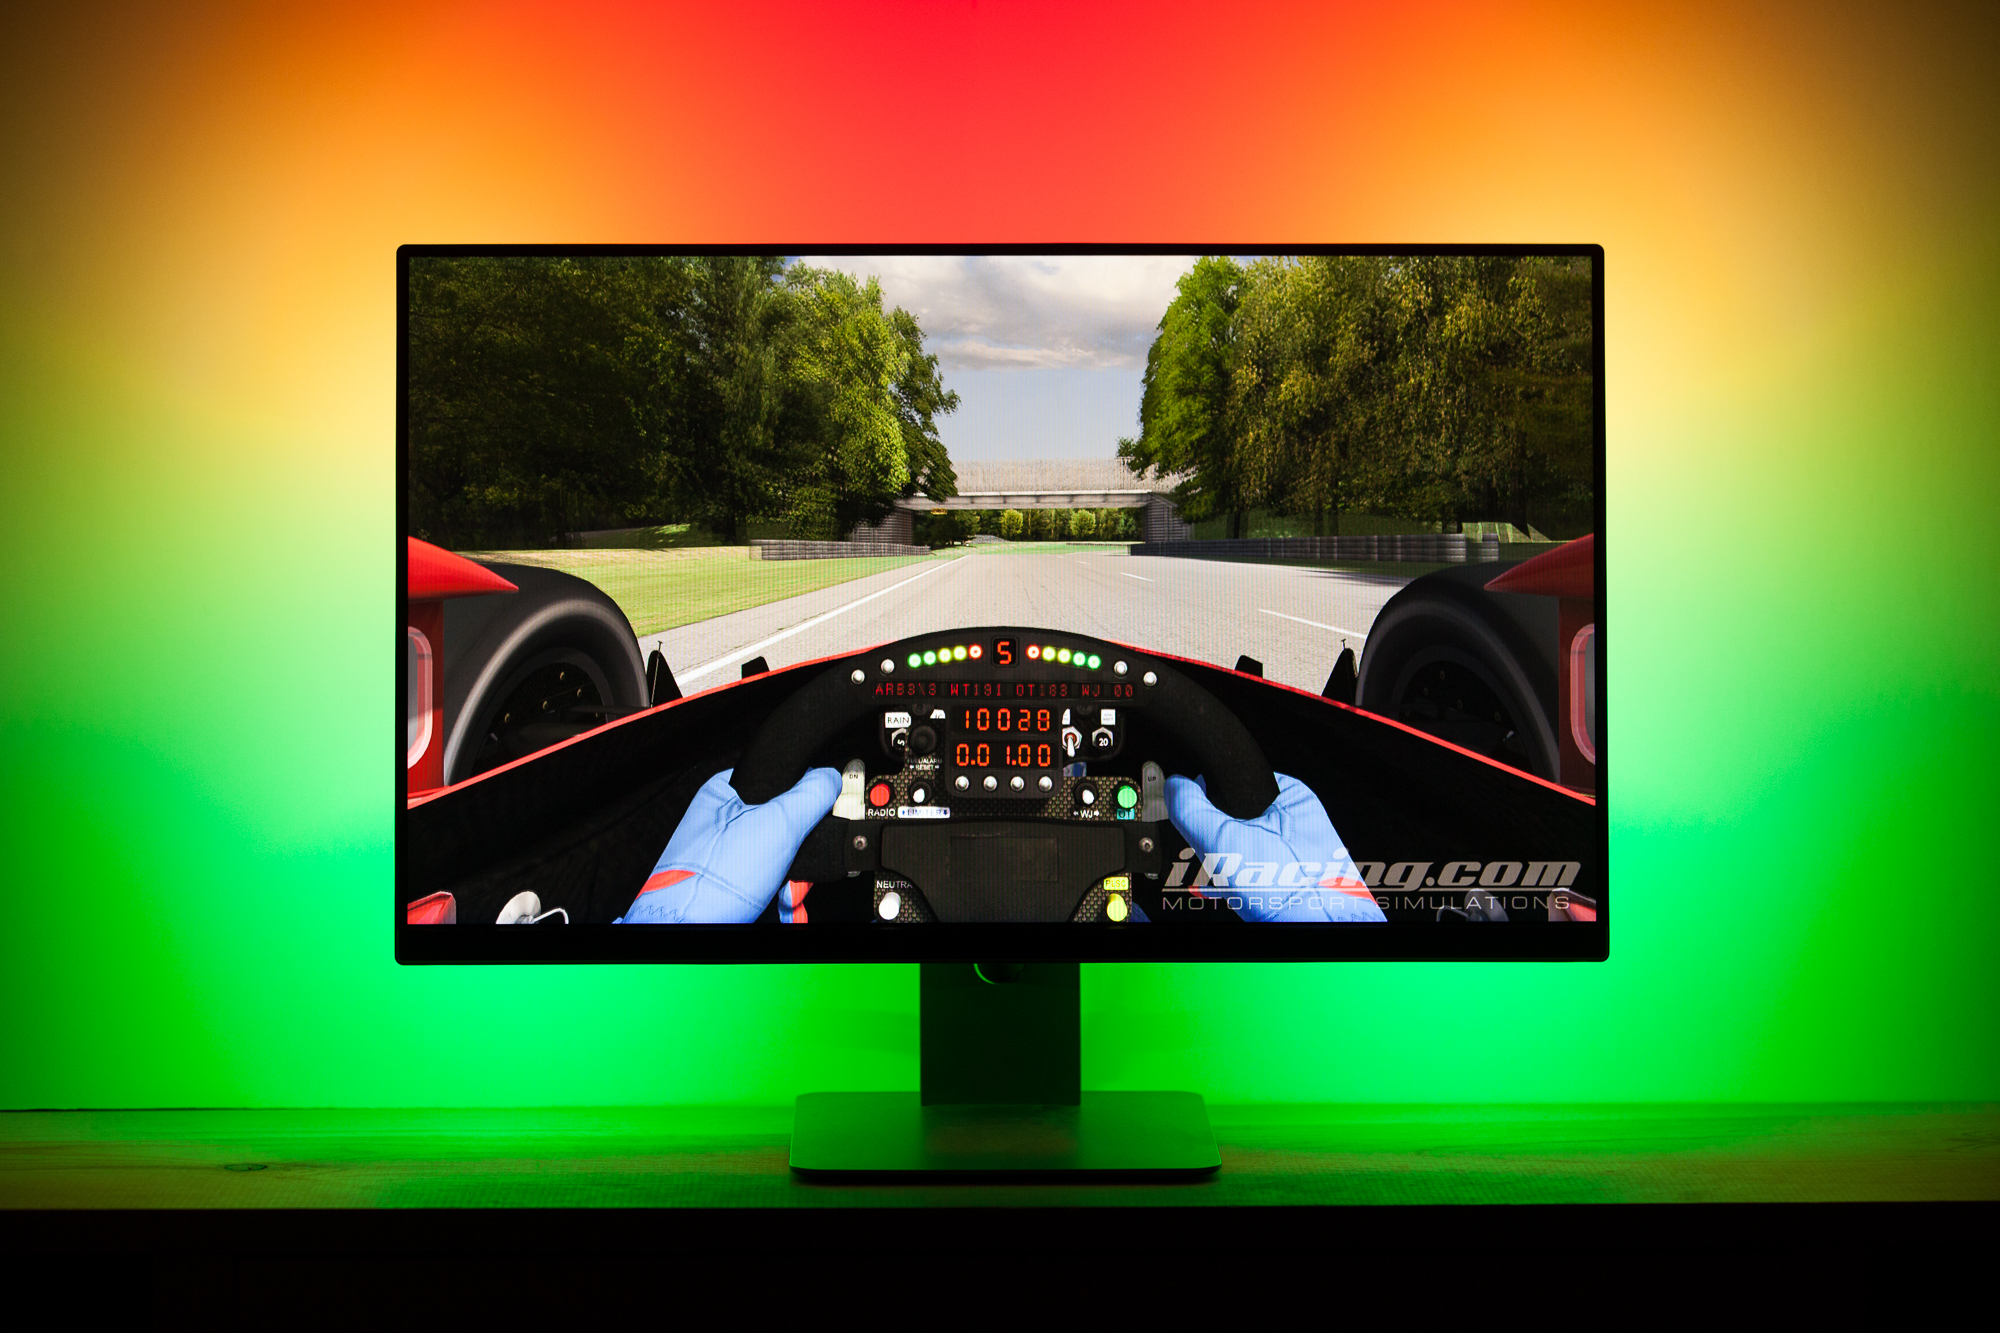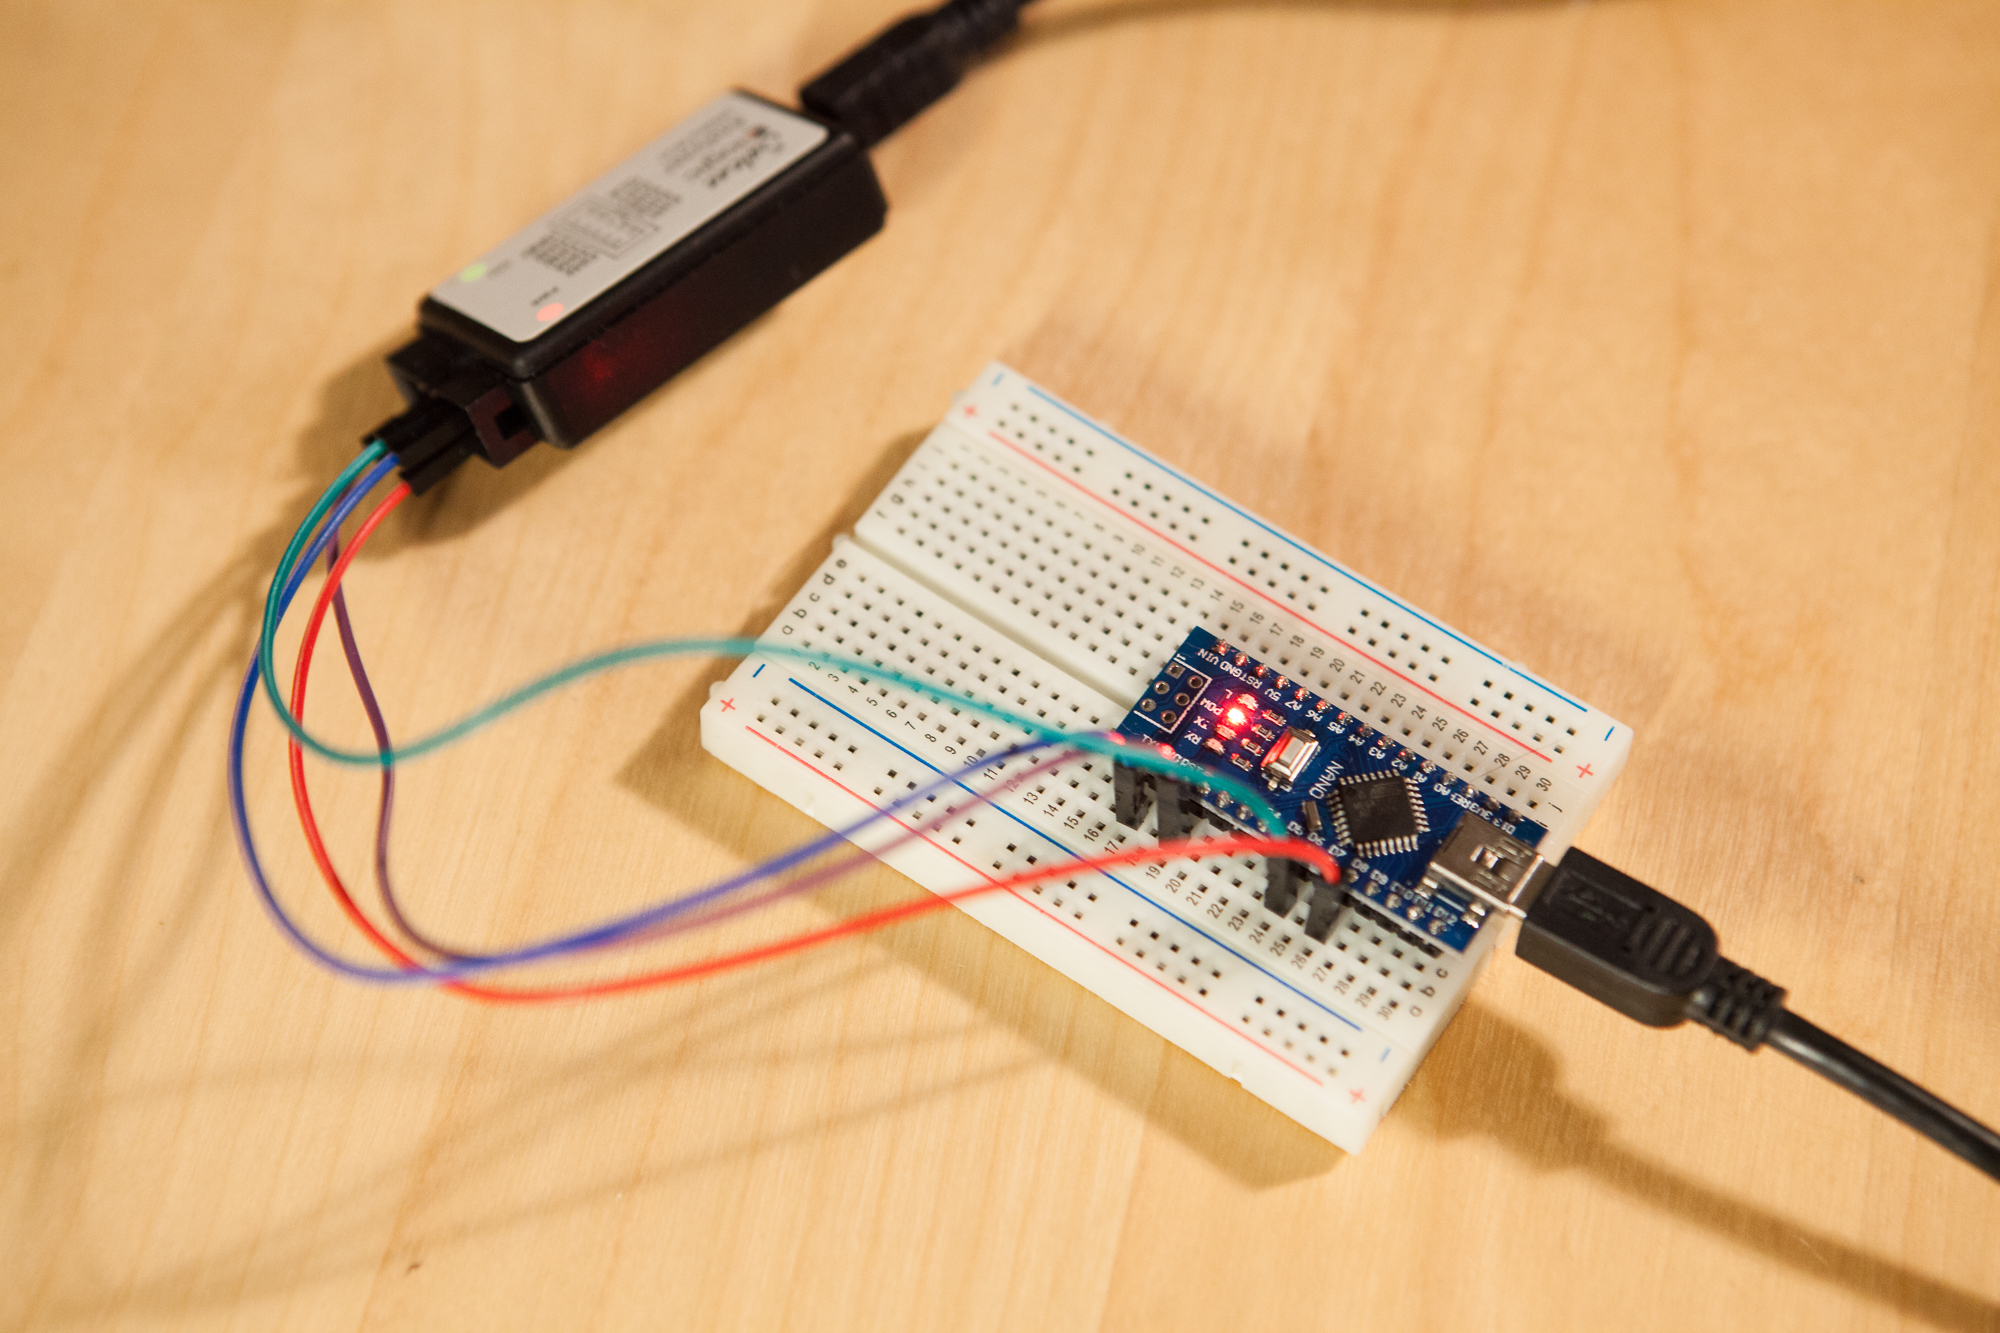
Since I’m experimenting with increasing Adalight framerate, the first step was to try driving the Arduino Nano with a faster serial baud rate.
Unfortunately, Prismatik only supports three baud rates: 9600, 57600, and 115200. But after talking with Patrick Siegler, he pointed out a way to use your own custom baud rate for Adalight or Ardulight devices.
Updated: 2018-06-18
The latest version of Patrick Siegler’s unofficial fork of Prismatik, version 5.11.2.16, adds support for baud rates faster than 115,200 in the setup wizard. Unless you’re using an atypical baud rate, the process described in this article is unnecessary.
I’m leaving this post up for posterity. The original article continues below.
Note that I’m running Patrick Siegler’s unofficial fork of Prismatik, version 5.11.2.11. If you’re running a different version of the software, this method may not work for you.
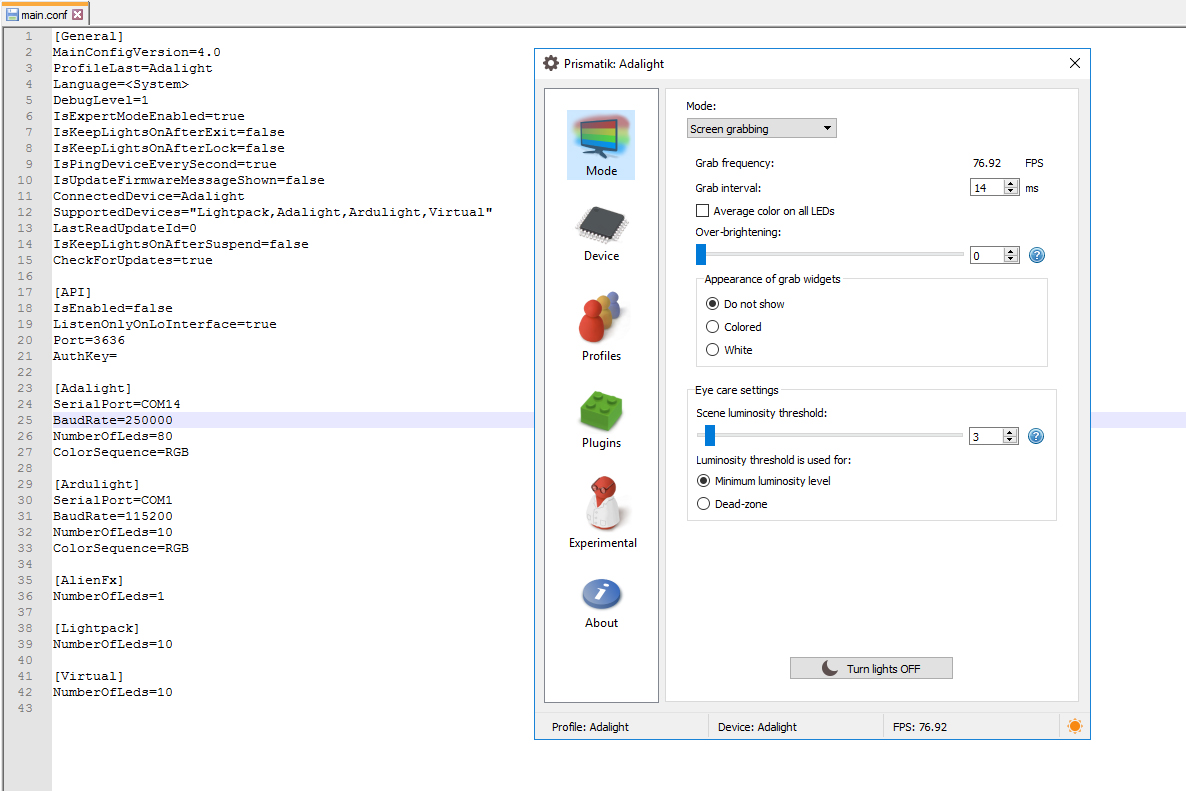
Main.conf
In Prismatik, the baud rate for 3rd party devices (Adalight, Ardulight, Boblight, etc.) is stored in a file entitled “main.conf”. This file can be found in your user folder on Windows, at %UserProfile%\Prismatik\main.conf.
Open the file in your text editor of choice (I’m using Notepad++) and scroll down until you see the section on Adalight:
[Adalight]
SerialPort=COM14
BaudRate=115200
NumberOfLeds=80
ColorSequence=RGB
Although there are only three baud rates available in Prismatik, the software doesn’t verify that a baud rate is valid when loading it from the configuration file. So you can edit this file to use any baud rate you like, and Prismatik will attempt to open the serial port.
To increase the framerate on my Adalight setup, I’m using a custom baud rate of 250000. I edited the file to match the new baud rate:
[Adalight]
SerialPort=COM14
BaudRate=250000
NumberOfLeds=80
ColorSequence=RGB
After saving the file, I opened Prismatik and the new baud rate was automatically loaded. That’s it!
Conclusion
I’ve successfully tested the following baud rates with this method:
- 230400
- 250000
- 460800
- 500000
- 921600
- 1000000
If you’re trying to increase the framerate of your own ambilight, I’d recommend bumping up the baud rate as a first step. I would also recommend reading my posts on increasing and calculating Adalight framerate to see what baud rate would work best for your setup.