
We’re done! The ambilight is in place behind my monitor and has been running great. To finish up, I wanted to reflect a bit on what I learned and talk about where to go from here.
This post is part of a series on creating a DIY ambilight using Adalight and WS2812B LEDs. Check out the project page here.
Things Learned
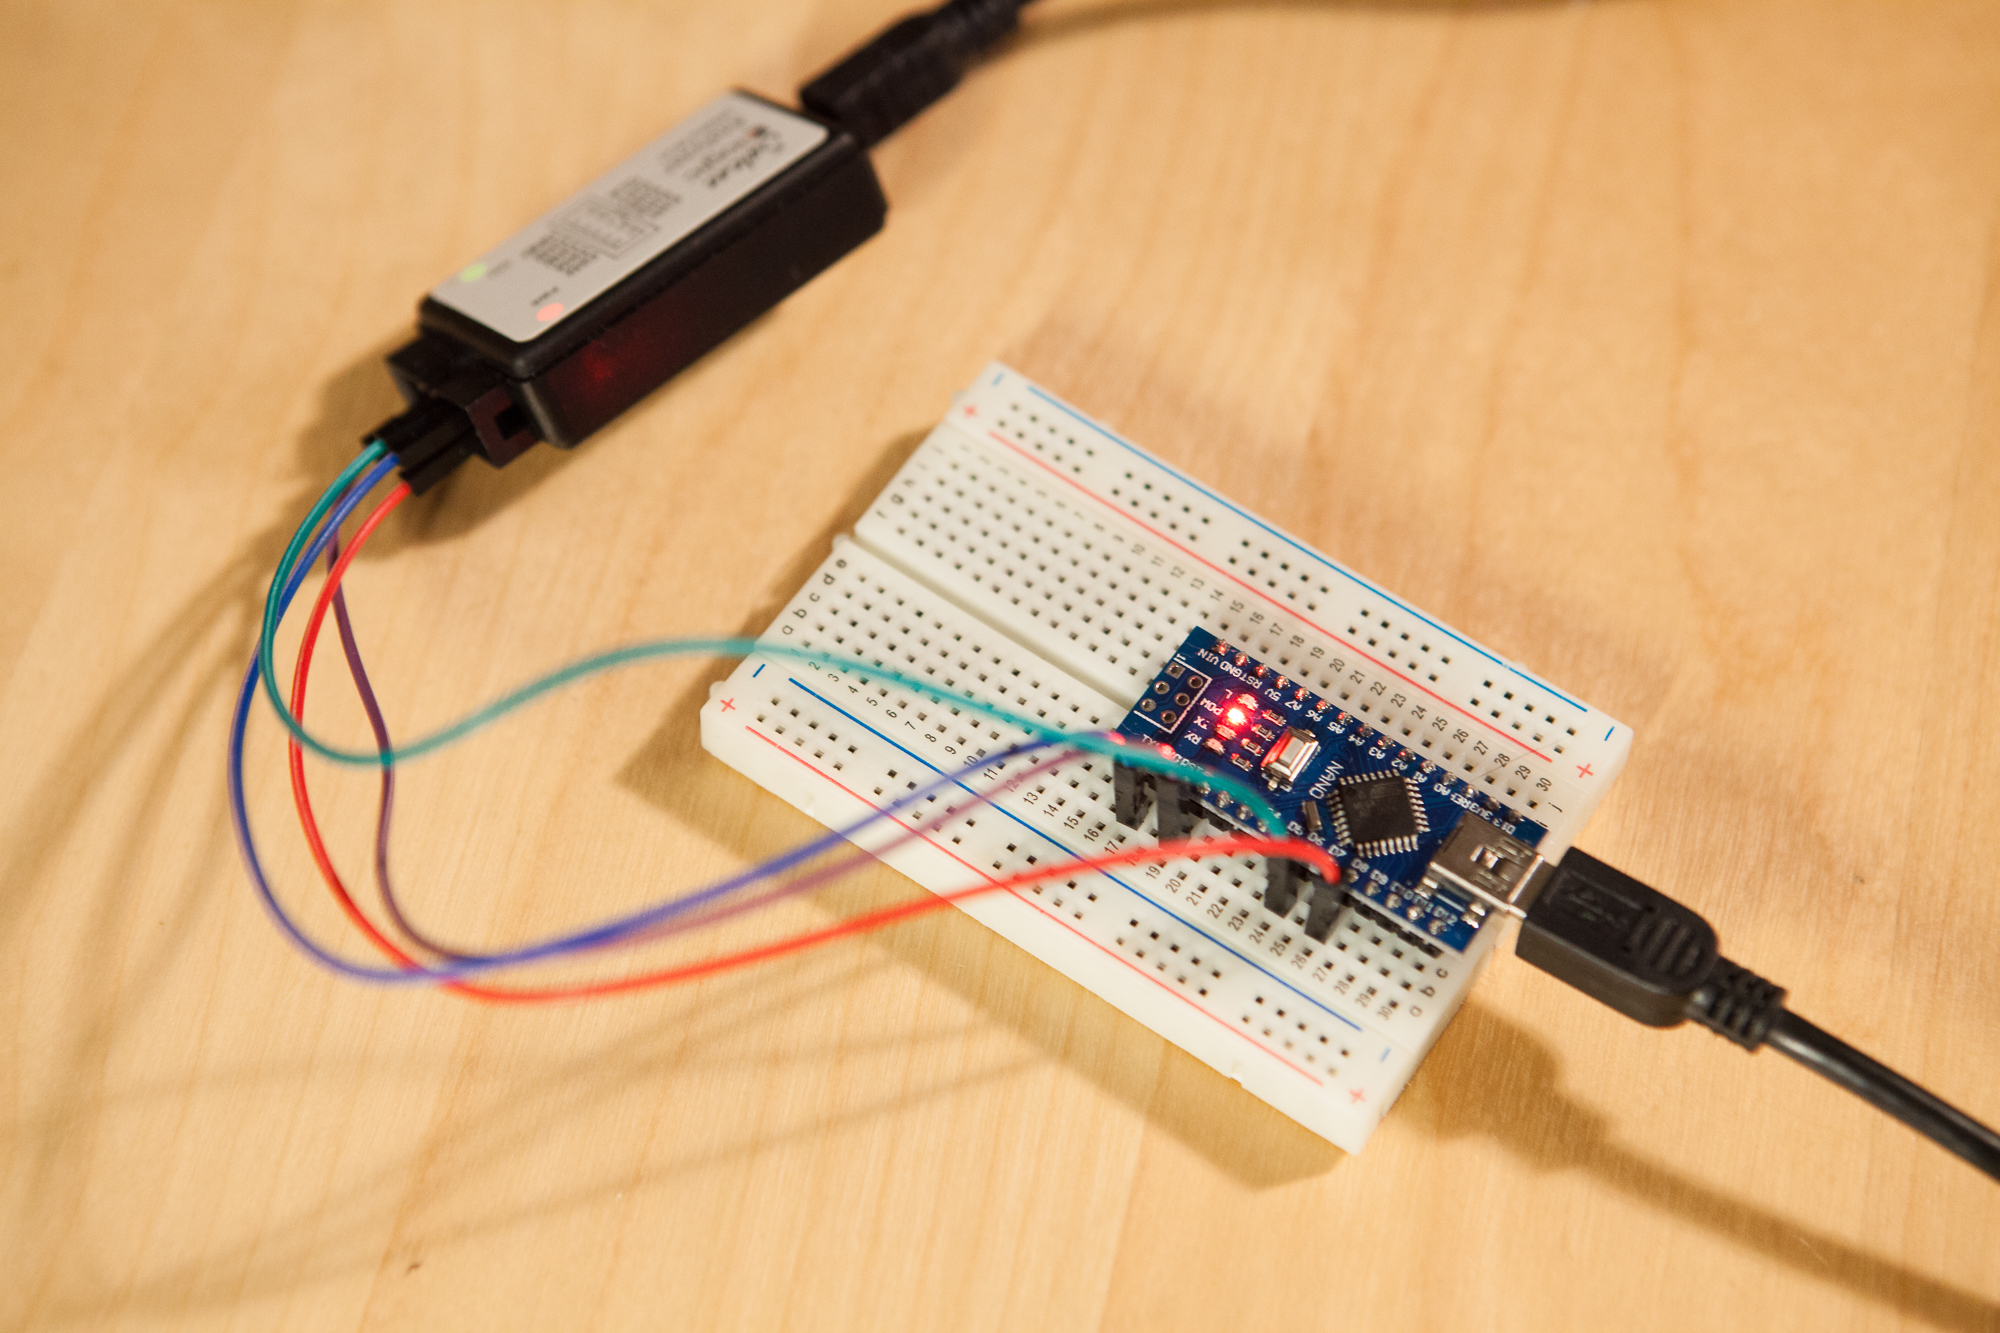
Although I had gotten my feet wet with addressable LEDs for the ‘Footwell NeoPixels’ project (which is currently on the back burner…), this was my first finished project using them. For being so inexpensive, they are powerful and ridiculously easy to use. Look for more projects featuring them in the future.
On the software side, I learned quite a bit about serial structure and speed. I also learned how to use Git, created a Git repository for my own Adalight software, and contributed to a few open source projects along the way.
I also learned how to design a PCB using Eagle and how to etch copper clad boards at home. Although Eagle is now defunct (thanks Autodesk!), I’m sure I can transfer the basic ideas to another CAD program.
Further Improvements
As with any project, there is more I’d like to do with this eventually.
Top of my list is extending the LED leads so the monitor can be tilted through its entire range. This isn’t an issue at the moment, but it’s poor design to build something that adds unintentional limitations to the existing hardware.
I’d also like to design and build a version 2 PCB, which ditches the Arduino Nano and has all of the Atmega components onboard. I’d also like to add a few other things, such as:
- Headers for the LED leads
- Calibration setting jumper
- Checksum status LED
- Multiple LED data output leads (for expansion)
Prismatik, as useful as it is, could also use some attention to improve the color calibration UI and add more advanced support for the Adalight protocol. I’ve submitted feature requests to psieg’s fork, but I may find myself contributing some code to that project in the future.
Conclusion
In the words of the great Porky Pig, “ble, ble, ble, that’s all folks!” Thanks for following along. Onto the next!


41 Comments
Jim Wells · June 24, 2017 at 6:09 pm
one of the best walk throughs i have read regarding the set up and configuration of the leds for ambilights
you color recreation is as good as i have seen , i will be using this for a guide line for me own set up coming soon , I will be using this along with https://github.com/CalcProgrammer1/KeyboardVisualizer
check out his videos for some great ideas . Keep up the great work and attention to detail !!!
Dave · June 25, 2017 at 8:22 am
Thanks Jim!
Daniel · December 3, 2017 at 12:06 pm
Hi, thanks for the very thorough tutorial!
You mentioned on further improvement, that you are looking at expandability. I currently have one screen and would like to add a TV to my setup. What I would like to do is to have the PC monitor for gaming and the TV for films. Both of the screens will be equipped with Ambilight. But That when I watch a Film and turn off the Pc Monitor only the LEDs from the TV would light up, and vice-versa. Is this currently possible with the Arduino configuration? Thanks in advance!
Daniel
Dave · December 3, 2017 at 8:52 pm
Hi Daniel! That’s a PC software limitation, not an Arduino one. The capture software I’m using (Prismatik) currently does not support multiple monitors / ambilights, although you may be able to find software that does.
Daniel · December 7, 2017 at 1:54 pm
Ok, thanks for the comment. I´ve set up my Ambilight already on one monitor :). I have also increase the bud rate for better FPS perfomance in games. Everything works perfectly
Daniel · March 12, 2018 at 3:58 pm
Hi Dave,
I´ve been trying to find a solution for letterbox movies, but I don’t find any info online for Prismatik. Do you know any workaround?
Cheers,
Dani
Dave · March 12, 2018 at 4:37 pm
Not really. In theory it’s working as intended, as the colors aren’t at the edges of the display so there’s no reason to extend them.
You could create another preset with the grab zones manually moved to the edge of the letterbox zone, but you would have to do that by hand.
Dom324 · February 23, 2018 at 2:06 pm
Hi Dave!
I was thinking about DIY Ambilight for pc, and eventualy I found your (awesome) project. Now I´ve got everything ordered, but I have few questions regarding the connection:
1. If I want to connect strip from both sides to power, I just connect the beginning cables to +5V and GND and second par of cables too to +5V and GND? Data wire should be connected only from one side, right?
2. How should be capacitor connected? From +5V power supply to one leg of the capacitor to the strip and from GND to second leg of the capacitor to strip?
Thx for your work, your projects are great!
Dave · February 23, 2018 at 2:18 pm
Hi Dom!
1. Exactly right. The strip should be labeled with “Data In (DI)” on one side and “Data Out (DO)” on the other. Make sure you’re wiring the data connection to the right side or it won’t work.
2. Yes, the capacitor is wired in parallel to the power lines. Most electrolytic capacitors are polarized, so be sure to connect the longer lead to 5V.
Best of luck!
Dom324 · February 25, 2018 at 3:52 am
Really thanks Dave.
I´ll paste here link for Youtube, once my Arduino comes and I get Ambilight working.
Dom324 · March 19, 2018 at 2:16 pm
So the Arduino came and Ambilight is working. I just need to do calibration and change position of the monitor – currently monitor is in corner and one wall behind monitor is green, and that green wall really affects colors from Ambilight – in the bad way. Every color has a greenish tinge. Once I get those things sorted out, I´ll post there a video.
Adi · May 15, 2018 at 9:33 pm
Dave, I was hoping you might have some insight on a problem I’m having. I did a build like yours using an Uno R3, and it’s working minus one small issue. A ten led section of my leds don’t turn off regardless of if they’re off in Prismatik or Prismatik is disconnected. They do react to color and change appropriately, but they never go off. I’m kinda flummoxed. Is this a hardware thing? Something weird in my config in Prismatik?
I appreciate any help, thanks.
Dave · May 15, 2018 at 9:35 pm
How many LEDs are you running, and what is your baud rate?
Konrad · September 5, 2018 at 12:54 pm
Hello Sir,
Great project, I’ll be tackling it soon myself. I have a question tho. Have you ever done any research whether it is possible to launch two Prismatiks at once if someone wants to put Ambilight on two monitors (with two arduinos of course)?
Dave · September 5, 2018 at 5:05 pm
You cannot launch two instances of Prismatik unfortunately. You can spread the capture zones across monitors to use a single Arduino with a long strip, but I don’t believe there’s an easy way to replicate this setup with multiple monitors.
Fabio · December 20, 2018 at 5:52 am
Hello, thank you for your inspiration, now I’ve set up my 24” pc monitor AND my 55” lg oled tv with 100 led, and THAT is breathtaking! I will post soon a video about that. The only thing now is that the TV is driven by an Arduino Uno connected to my Windows pc with Prismatik, the downside is that I need the PC on in order to control the light. I found an android app that successfully connect to prismatik remotely with the API fully functioning, so now I can both control the lights with the video source from the PC and the phone app. My next idea was to transfer the “prismatik job” from the pc to a small android mini-pc to serve as a always on home-hue-media hub. Do you think that would be than possible to feed that hub via USB or with LAN (through the remote APIs) with the video data (talking again of 30 to 60fps) ?
Thank you again for your amazing and clean job!
Dave · December 20, 2018 at 7:32 pm
Glad you found the information useful!
Not sure I entirely follow what you want to do, but you can definitely centralize the light management of multiple lights under one PC. Though it’s easier if the “grab” calculations are local to the video source to keep the data throughput down.
It’s been awhile since I worked with the Prismatik API, but from what I remember it’s not possible to get the current colors for each LED, only to write them. Keep that in mind when you map out how everything flows together.
Adi · December 20, 2018 at 10:22 pm
Hey Dave. Not sure if I’m now double posting, my comment disappeared, could be antispam, who knows.
I’m wondering if there’s any chance you have suggestions on interfacing Prismatik or the Arduino itself with Smartthings. The only negative of moving over from static bias to this is that I can’t simply plug them into a smart switch and trigger them with a wall switch or Google Assistant. This gets particularly bad in the living room that doubles as a guest room and has an always on PC.
Since Smartthings can control over lan, but not Telnet I’m thinking the best strategy would be something like this: https://github.com/jgillman/lightpack-prismatik-http-api running on a Pi and a Smartthings device handler could fairly easily send on/off commands. That being said, my programming competence runs out roughly with setting up projects other people have built and documented, so any suggestions would be much appreciated.
Dave · December 20, 2018 at 10:51 pm
Hey Adi!
Yep, your first message got caught in the spam filter. No worries on that.
To make sure I’m understanding you: you’re trying to figure out how to turn the ambilight on/off using a smart home manager? I’ve never messed with Smartthings myself so I’m not sure how much I can help. If the device handler allows you to configure a websocket request you could do it all within that, otherwise that API looks like a good option. You could run it in the background on the PC and avoid using the Pi to make things easier.
If you just want to turn it off there’s a lot of options, although putting the LED power supply through a smart outlet is probably the easiest. If you want finer control (modes, colors, profiles, etc.) and the hub software doesn’t support it, you’d need some sort of relaying device to translate commands into websocket commands (again the http API you found could work). I’m sorry I can’t be of more help, I know next to nothing about how the Smartthings system works.
Adi · January 5, 2019 at 5:27 pm
Wow, so suuuper shitty me there. Sorry, posted then immediately went to Florida to do disaster relief with minimal connectivity and even less personal bandwith.
Basically, yeah. As best I understand it smartthings can’t handle Telnet, which I think is what I understand the Prismatik plugin is setup for, hence the server somewhere. I’d be happy for it all to be contained on the PC, though I suppose an argument could be made for the Pi which is truly always on, as opposed to 95% on.
Ideally, yeah It’d be great to actually control profiles and colors etc, but just taking care of the on/off would solve 99% of use cases I have. My impression though was that just powering off the ac adapter wasn’t a consistent solution. Having tested pulling the plug it doesn’t come back on consistently and seems to disconnect the Arduino (going by the windows device removed sound that plays). I’m not 100% sure why that’s happening, the Arduino is hooked to the USB and the lights via the data and ground pins. Since it’s powered over USB I would have thought there’d be no impact of pulling what seemed like it’d amount to an extra ground.
Adi · January 5, 2019 at 5:30 pm
The other reason I was leaning toward the Pi, is that given my minimal competence, if I were capable of making small changes to an existing server, and making that work, it’d be a lot easier than starting from less/nothing heh
Dave · January 10, 2019 at 7:51 am
If you switched the microcontroller to something Internet-enabled you could even put all of the IoT functions on the microcontroller itself, though that would require some legwork to get up and running.
If pulling power from the device is causing issues then yeah, I think that http API would be your best bet. Although if the device is working as an ambilight already I think the Pi would be overkill, just because it has to run through the computer regardless. You could still tweak things on the fly on the PC, it’s just a different platform.
Adi · January 13, 2019 at 5:30 pm
That’s definitely something I’ve considered, there is some manner of support for some of the internet enabled pis/shields but I’ve been concerned that maybe my competence runs out far short of that.
Any ideas on the power situation? I tried hooking the pi up to an ac adapter as well, but it still toggles off when power is pulled from the lights. Restarting Prismatik fixes it, but I’m not sure anyway to automate that.
Dave · January 17, 2019 at 12:38 pm
It’s hard to comment on the power issues without being there looking at everything. I’d say if pulling the power is causing you headaches I’d just look for software workarounds in the meantime.
Ilucha · January 25, 2019 at 6:48 am
Hey Dave, I had your Ambilight project on my radar for a while now. First time I saw it, I was blown away by how awesome it looked and the fact, that it was a DIY for the most part.
Long story short, I made my own Ambilight and can not be any happier! Thank you for all the information and explanations! My Ultrawide 34′ monitor is now an absolute dream to work/watch/game on.
As I have every part multiple times lying aroudn here, I am ready to do another one for the familiy etc. 🙂
Finally, maybe you should do a TL;DR section, because it is quite overwhelming when you go through all your information and chapters.
Dave · January 25, 2019 at 7:59 pm
Hey there! Thank you for the compliments, I’m so glad you found the information useful!
I have thought about putting together a more condensed overview of the whole project, though I’ve never gotten around to it. Perhaps I’ll find some time this year to rework the series, or perhaps even take another crack at the project and improve it! I just need to finish up some of my (many) in progress projects first.
Ilucha · January 27, 2019 at 9:50 am
Yea, maybe add a chapter where only the steps needed to get the strips working are shown. For more detailed information there are the other chapters which you have now.
I know there are tutorials etc. for ambilight for TVs but maybe you want to get a shot at that?
Either way, thanks for all the hard work 🙂
Sebastian · March 10, 2019 at 10:37 am
Based on your Diagram I “designed” a pcb.
Here is the project page: https://easyeda.com/X30N/Adalight-WS2812B-PNI
Would be great if you could look at it and give me hints to improve it.
Could I sell the pcbs that I didn’t use? In case I want to sell them I want to be on the safe side in regards of copyright and licensing
Dave · March 10, 2019 at 8:20 pm
Hey there! I’m not really comfortable giving you feedback on the PCB especially if you’re intending to sell it. But make sure you’ve done your due diligence with the trace width calculations so you don’t accidentally start a fire!
Strictly speaking no, you can’t sell the PCBs because they’re explicitly based off of my design and I haven’t licensed the design as open source. That being said, it’s a pretty basic design and if you do decide to sell a few boards I’m not going to chase you down. Just make sure they’re safe to use!
Sebastian · March 11, 2019 at 7:26 pm
Thanks for your reply.
I asked mostly for hints, because my first prototype pcb that I ordered for me alone gave off the magic smoke.
At least with the second version I am pretty confident that I wouldn’t burn ( because this time I made calculations.)
selling was just an idea to try minimize my cost (ordering the 5 pcb with the 2 oz copper layer costs 24€ with shipping.) and waste.
The quantity would be between 4 and 8. 4 would be only the new ones with the working powerline. 8 would include my first attemp that I would manually modify (cutting of the powerline. to get a board with only the line for ground and data) to make it save.
TheChadillac · March 20, 2019 at 6:16 pm
Hi Dave, like many others that have read/seen your work here I applaud you for taking the time to document this for everyone, its very helpful. After reading through all of it, I’ve decided to give it a shot and make my own. I do have a few questions if you don’t mind. My setup consists of a Nano, 180 leds (WS2812B) and (2) 5V 10A power supplies. My question is regarding the wiring. I’ve read so many guides/videos but most of them are all different so I’m a little confused. My strip has a 3 pin jst connector with an additional 5v+ and ground wires off the input with a 3 pin jst output connector on the end of the strip. Both power supplies have a barrel connector provided. This is how I have it hooked up:
* The barrel connector +’ve is connected to the 12v/5v lead on the LED string.
* The barrel connector -‘ve is connected to both the GND lead on the LED string and a GND pin on the Arduino, same side as the data line.
* The data line (labelled ‘Din’ on my LEDs – the middle one) is connected to pin 6 (labelled D6 on the Arduino).
I’m using your custom “Adalight-FastLED”, the current version of the “FastLED” library and Patrick’s version of Prismatik. I am getting flickering LED’s along with random issues. Is this due to only using one power supply? Do I need to run power somewhere else along the strip? I can provide some pictures if needed.
Thanks in advance!
Dave · March 20, 2019 at 9:56 pm
Hey there!
180 LEDs is a lot, especially if you’re only powering from one point, so my guess is that you’re experiencing voltage drop along the strip. Here’s what I would do:
* Replace the Adalight-FastLED sketch with one of the FastLED example sketches (ignore Prismatik entirely for now)
* Write a single solid color to the first ~60 LEDs repeatedly, check for flicker.
* Increase the number of LEDs to write the color to by 10 (70, 80, 90, etc.), check for flicker.
* Solder additional power points every ~60 LEDs (start, 60, 120, end) and tie them to 5V / GND. Repeat the above tests.
I’d also try using only the single 5V power supply at a lower overall brightness to cut down on the load. If you’re using two supplies in the final setup make sure you separate the load so the supplies aren’t fighting each-other (e.g. put 90 LEDs on one, 90 LEDs on the other and tie all the grounds).
I hope that helps!
Chad · March 21, 2019 at 1:06 am
Wow, thanks for the fast reply Dave, I wasn’t expecting that. So there must be something wrong on the software side. If i hookup the power supply directly to the lights there is no flickering of any kind, it just goes through different colors/cycles etc without any issues. As soon as I introduce the Nano I get randomness. I’ve tried a few of the different FastLed examples but none of them seem to work, I get random colors, some flicker, some are off, some change etc. When I set the amount of LED’s in the sketches to say 60, still all 180 lights light up. Stupid question but if I set the amount of lights to 60 shouldn’t the software only work to the first 60 lights in the strip? Is there maybe a specific sketch that you know of for me to try? Here is the strip I bought, https://www.amazon.com/gp/product/B06XNJSKXN/ref=ppx_yo_dt_b_asin_title_o04_s00?ie=UTF8&th=1 whats weird is that it’s labeled as WS2812B but in the description it says this “The WS2812B strip, every 5050 RGB SMD built-in(embedded) one WS2811IC Chip”, does this mean I should be choosing WS2812B or WS2811 in the sketches? Actually as I’m typing this I just tried that and getting the same results for each. I’m not sure what to try. I don’t think power is the issue here as I said above cause the lights all function normally when just plugged directly into the PSU.
Dave · March 21, 2019 at 8:48 am
I’m not sure I understand. You’re saying that the LEDs light up and cycle smoothly through patterns even if you don’t connect a microcontroller to them?
Chad · March 21, 2019 at 10:54 am
I’m sorry, yes you are correct, I have them plugged into one of those cheap microcontrollers off Amazon.
Dave · March 21, 2019 at 11:51 am
Unless I’m misunderstanding you – you cannot use more than one microcontroller to control the strip simultaneously, they’ll interfere and you can potentially damage one (or both) of them.
Chad · March 21, 2019 at 12:15 pm
Sorry I was unclear. I’m not using two of them together. I was just trying to make a point that I don’t think power is my issue as the lights function perfectly fine with the cheap micro-controller from Amazon. If I take that out of the equation and just use the Nano I’m experiencing the issues I described above, thats why I believe its software related or maybe some sort of ground issue??
Chad · March 21, 2019 at 12:26 pm
I decided to take a picture of how I have it wired, figured that would be the easiest. Have a look here, https://imgur.com/0dp0zRr Using the barrel connector of the power strip I have power and ground connected to red and white of the strip, then I have the Nano plugged into the jst connector of the strip.
Dave · March 21, 2019 at 1:06 pm
Those solder connections look very poor – it’s likely that the signal isn’t getting through intact. I would practice some more with your iron and then try to touch them up.
It’s very unlikely to be a software problem. FastLED is widely used and the example sketches are pretty bulletproof.
Chad · March 21, 2019 at 9:33 pm
Dave, thank you, that was the issue. I re-soldered the connections on the Nano and now its working. Now I need to work on getting the syncing correct. I’m not sure if I need to increase the baud rate and the grab interval but the delay is pretty bad. Maybe because of the 180 lights? Any recommendations for settings etc? I’m using your custom code.
Thanks again for all your help.
Dave · March 22, 2019 at 9:18 am
I’m glad to hear you got it working. If you look at the project page for the ambilight there are a few addendum posts describing the data throughput and how to increase the framerate. In short: increase the baud rate, reduce the number of LEDs, and don’t push Prismatik too hard. See those posts for more detail.