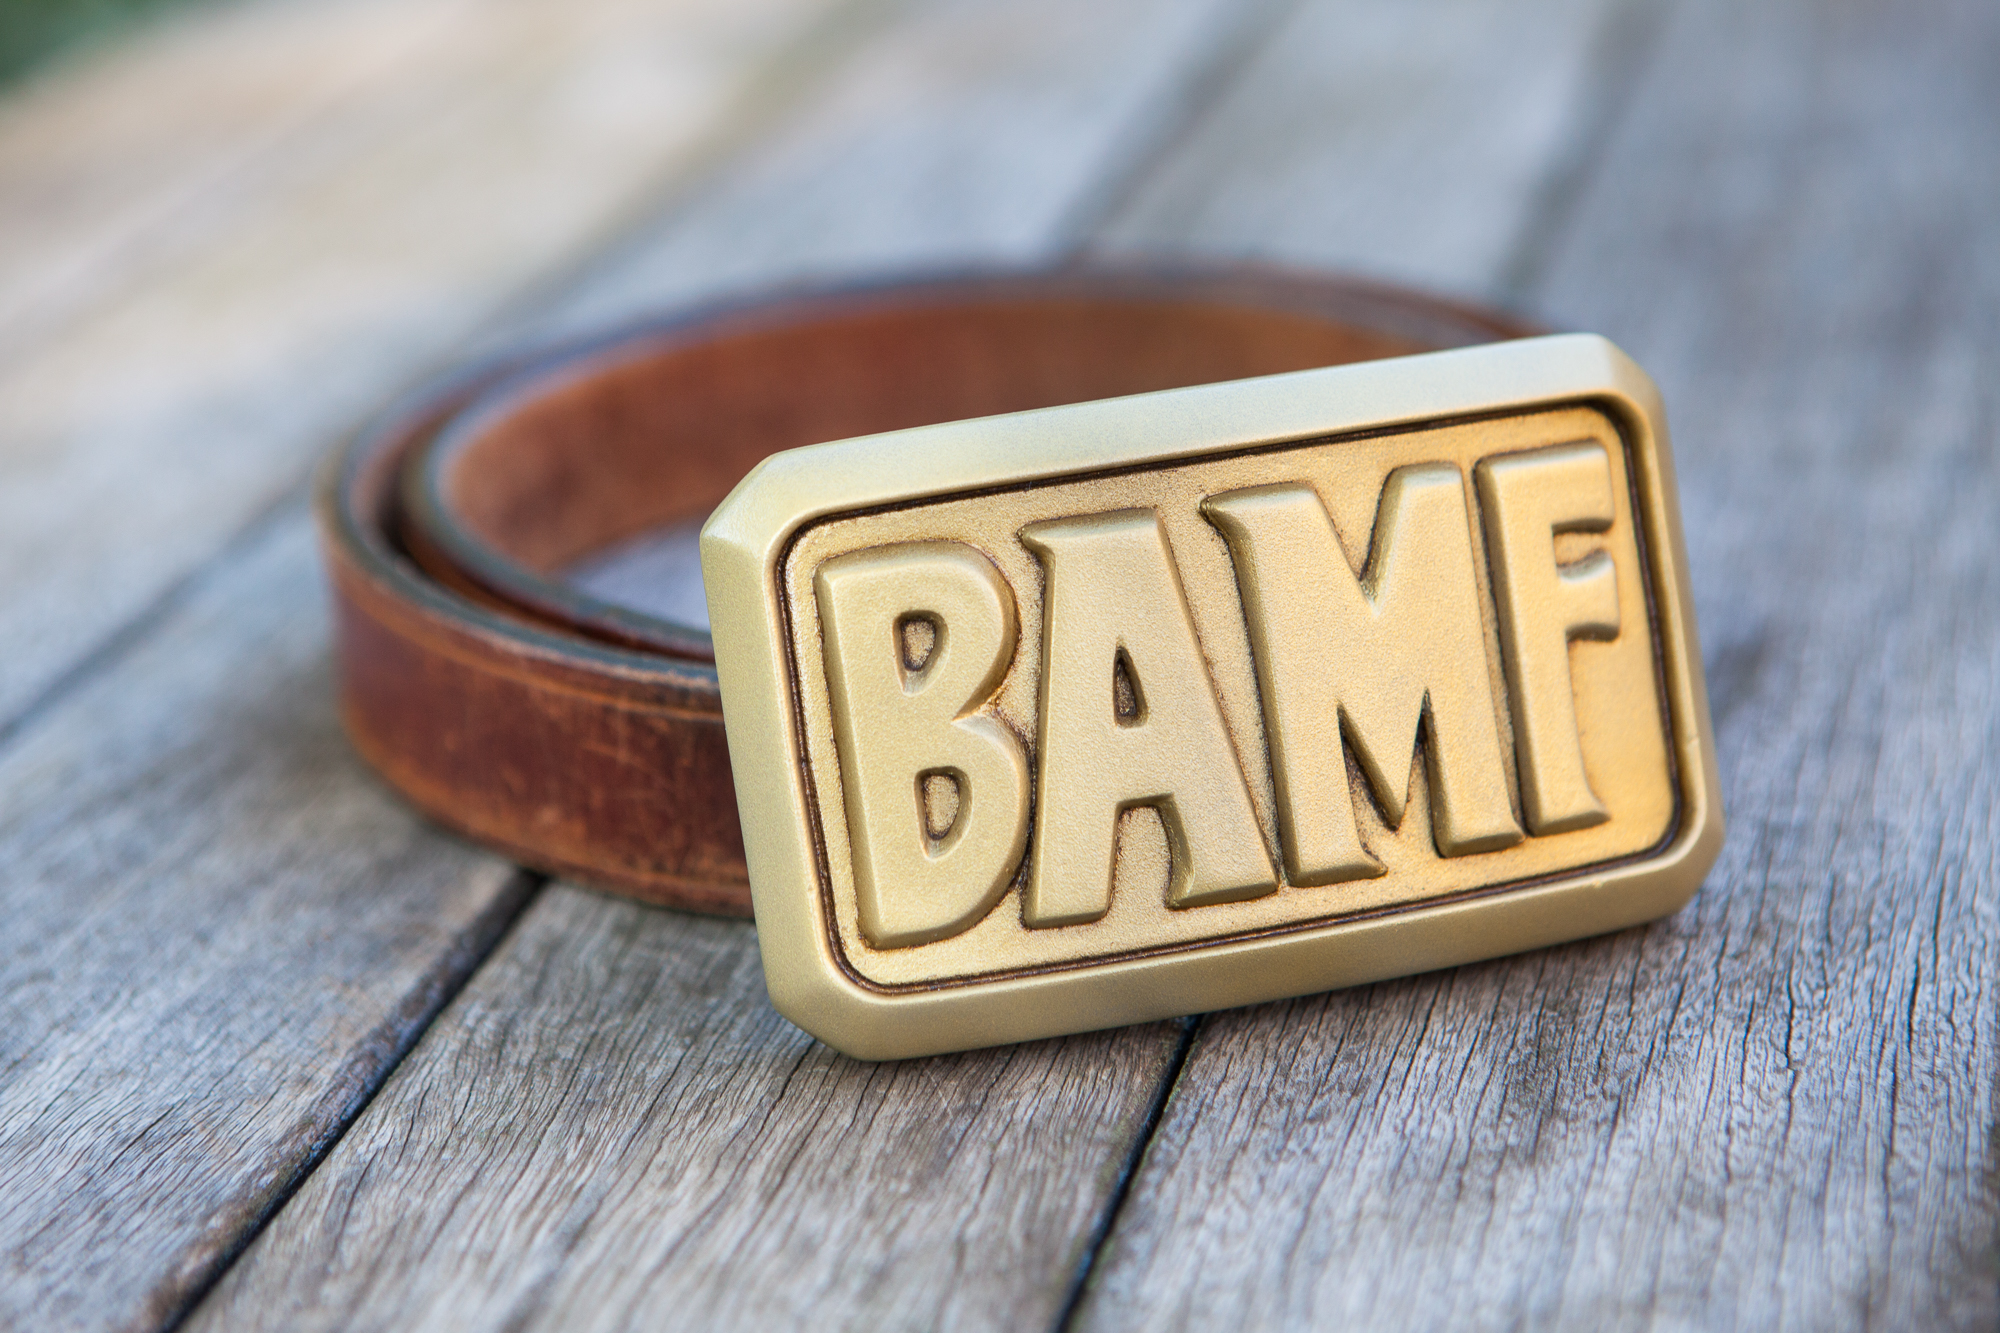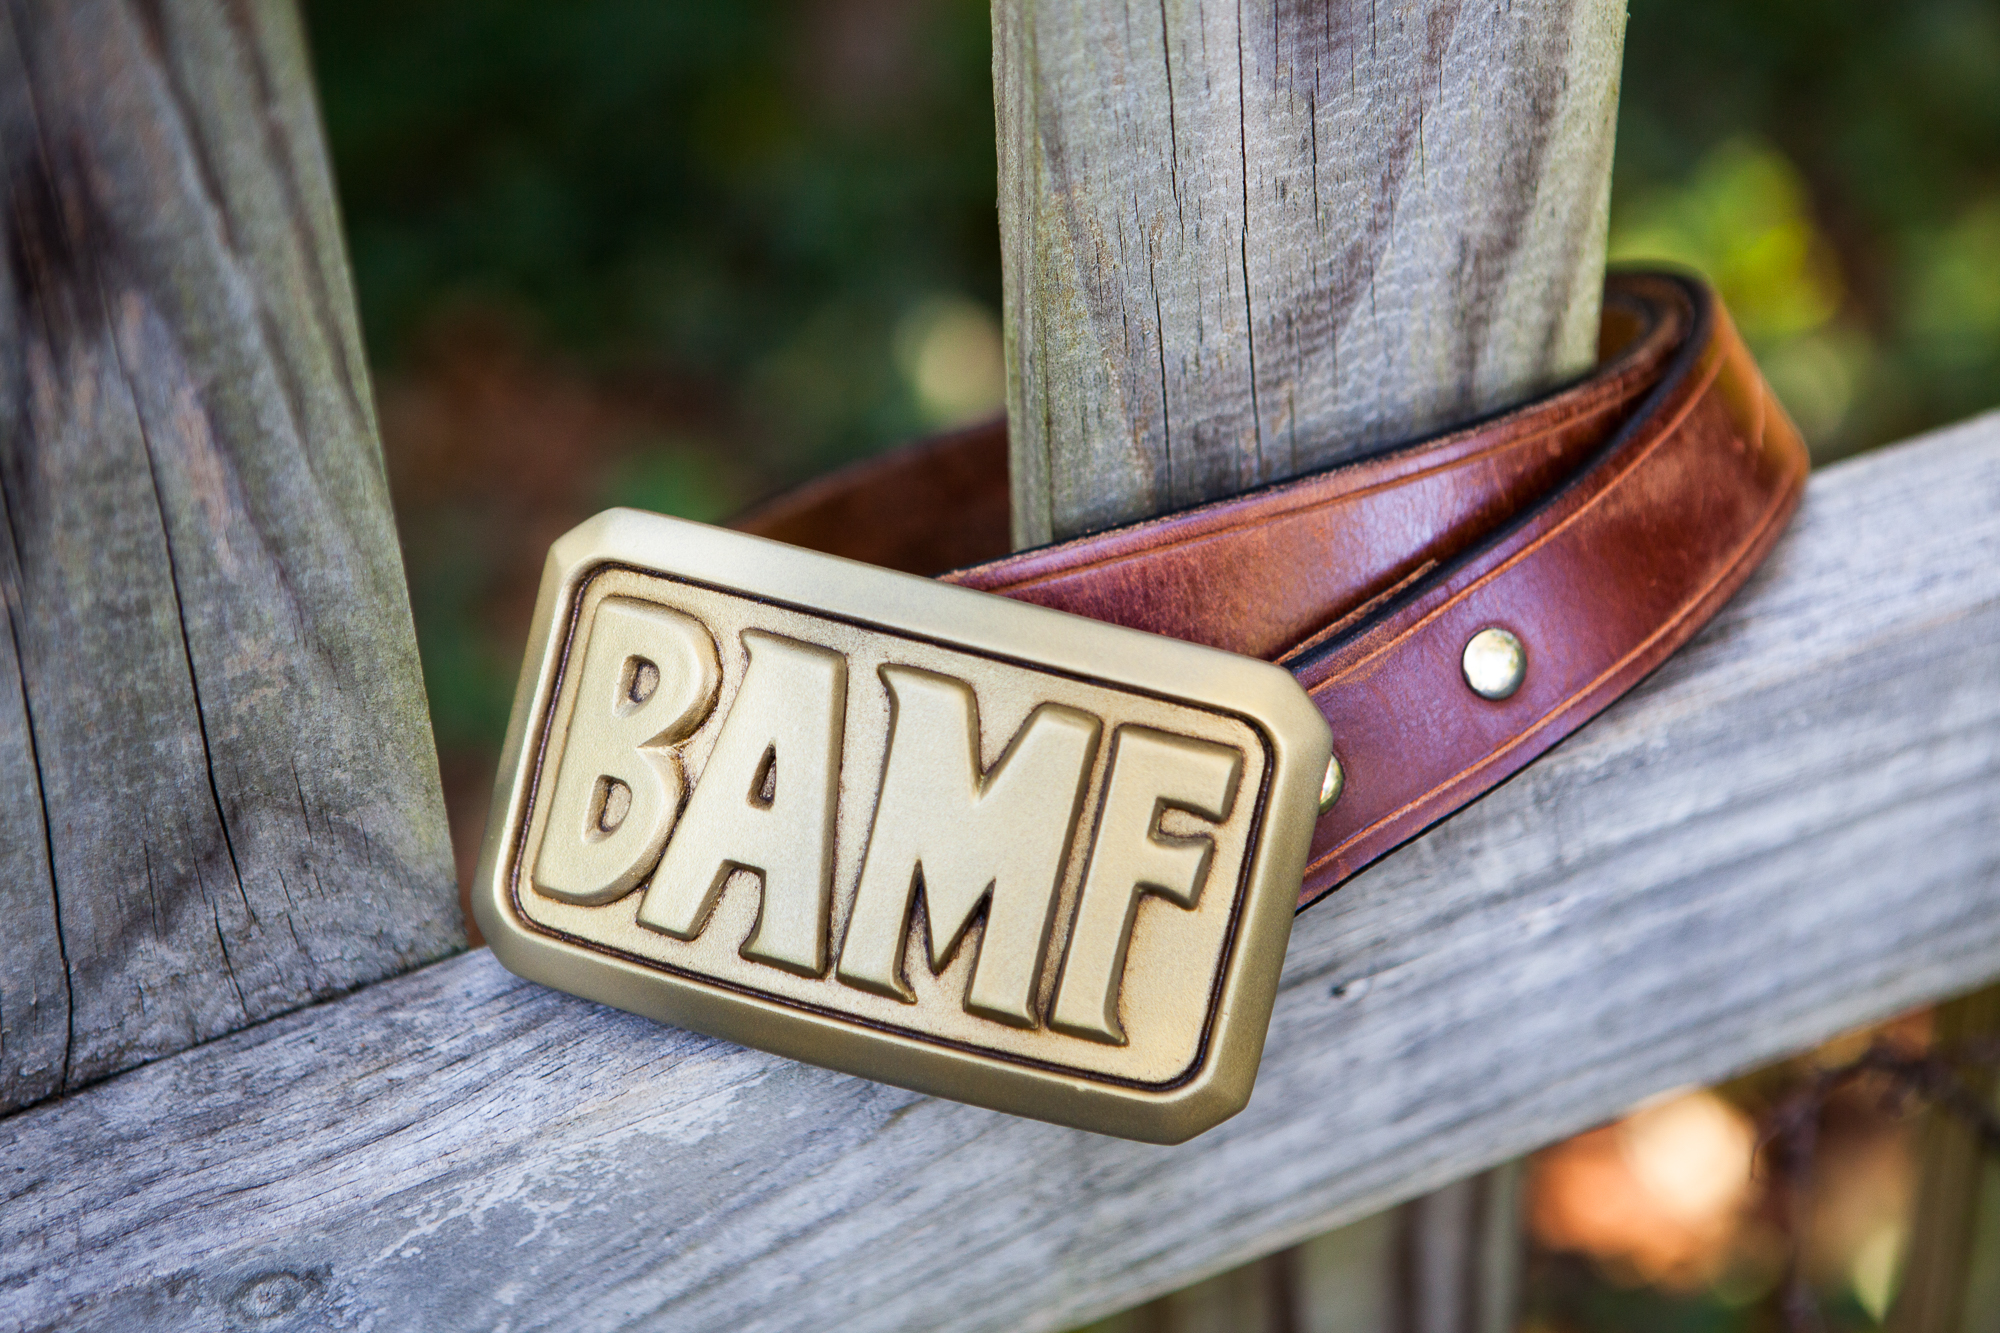
At this point the physical geometry of McCree’s buckle is done! I designed a 3D model based on the in-game buckle, built a physical ‘master’ prop, created a silicone mold, cast a version of the buckle out of solid plastic, and cleaned up the casting to fix the defects from the molding process. The buckle is so close to being complete! But before I can call it “finished, I need to attach a metal mounting plate so I can use it with a real belt and then give the buckle a shiny gold paint job.
Adding the Buckle Mount
The next step is to add a metal “buckle blank” to the back of the buckle so that it can be attached to a belt. I’m doing this before painting because I don’t want the epoxy / clamping to damage the final finish.
For this I’m using a “large rectangular belt buckle blank” from Tandy Leather. This massive steel blank is 4″ by 2 ⅝” in size, and is just small enough to fit on the back face of the cast buckle. It’s perfect!
Bend It Like McCree
Well, almost perfect – the two pieces don’t fit flush together. The cast buckle is “curvier” than the blank (i.e. it has a smaller inside radius).
I had purchased this blank during the early stages of this project and if I was smart and thinking ahead, I would have measured out the radius of this belt blank and used that to influence the design of the model. Instead, it’s two and a half years later and I have a design, a mold, and a finished casting based around an inside radius that doesn’t fit the buckle blank. This means I’m going to have to bend the blank to fit the buckle.
Form Design
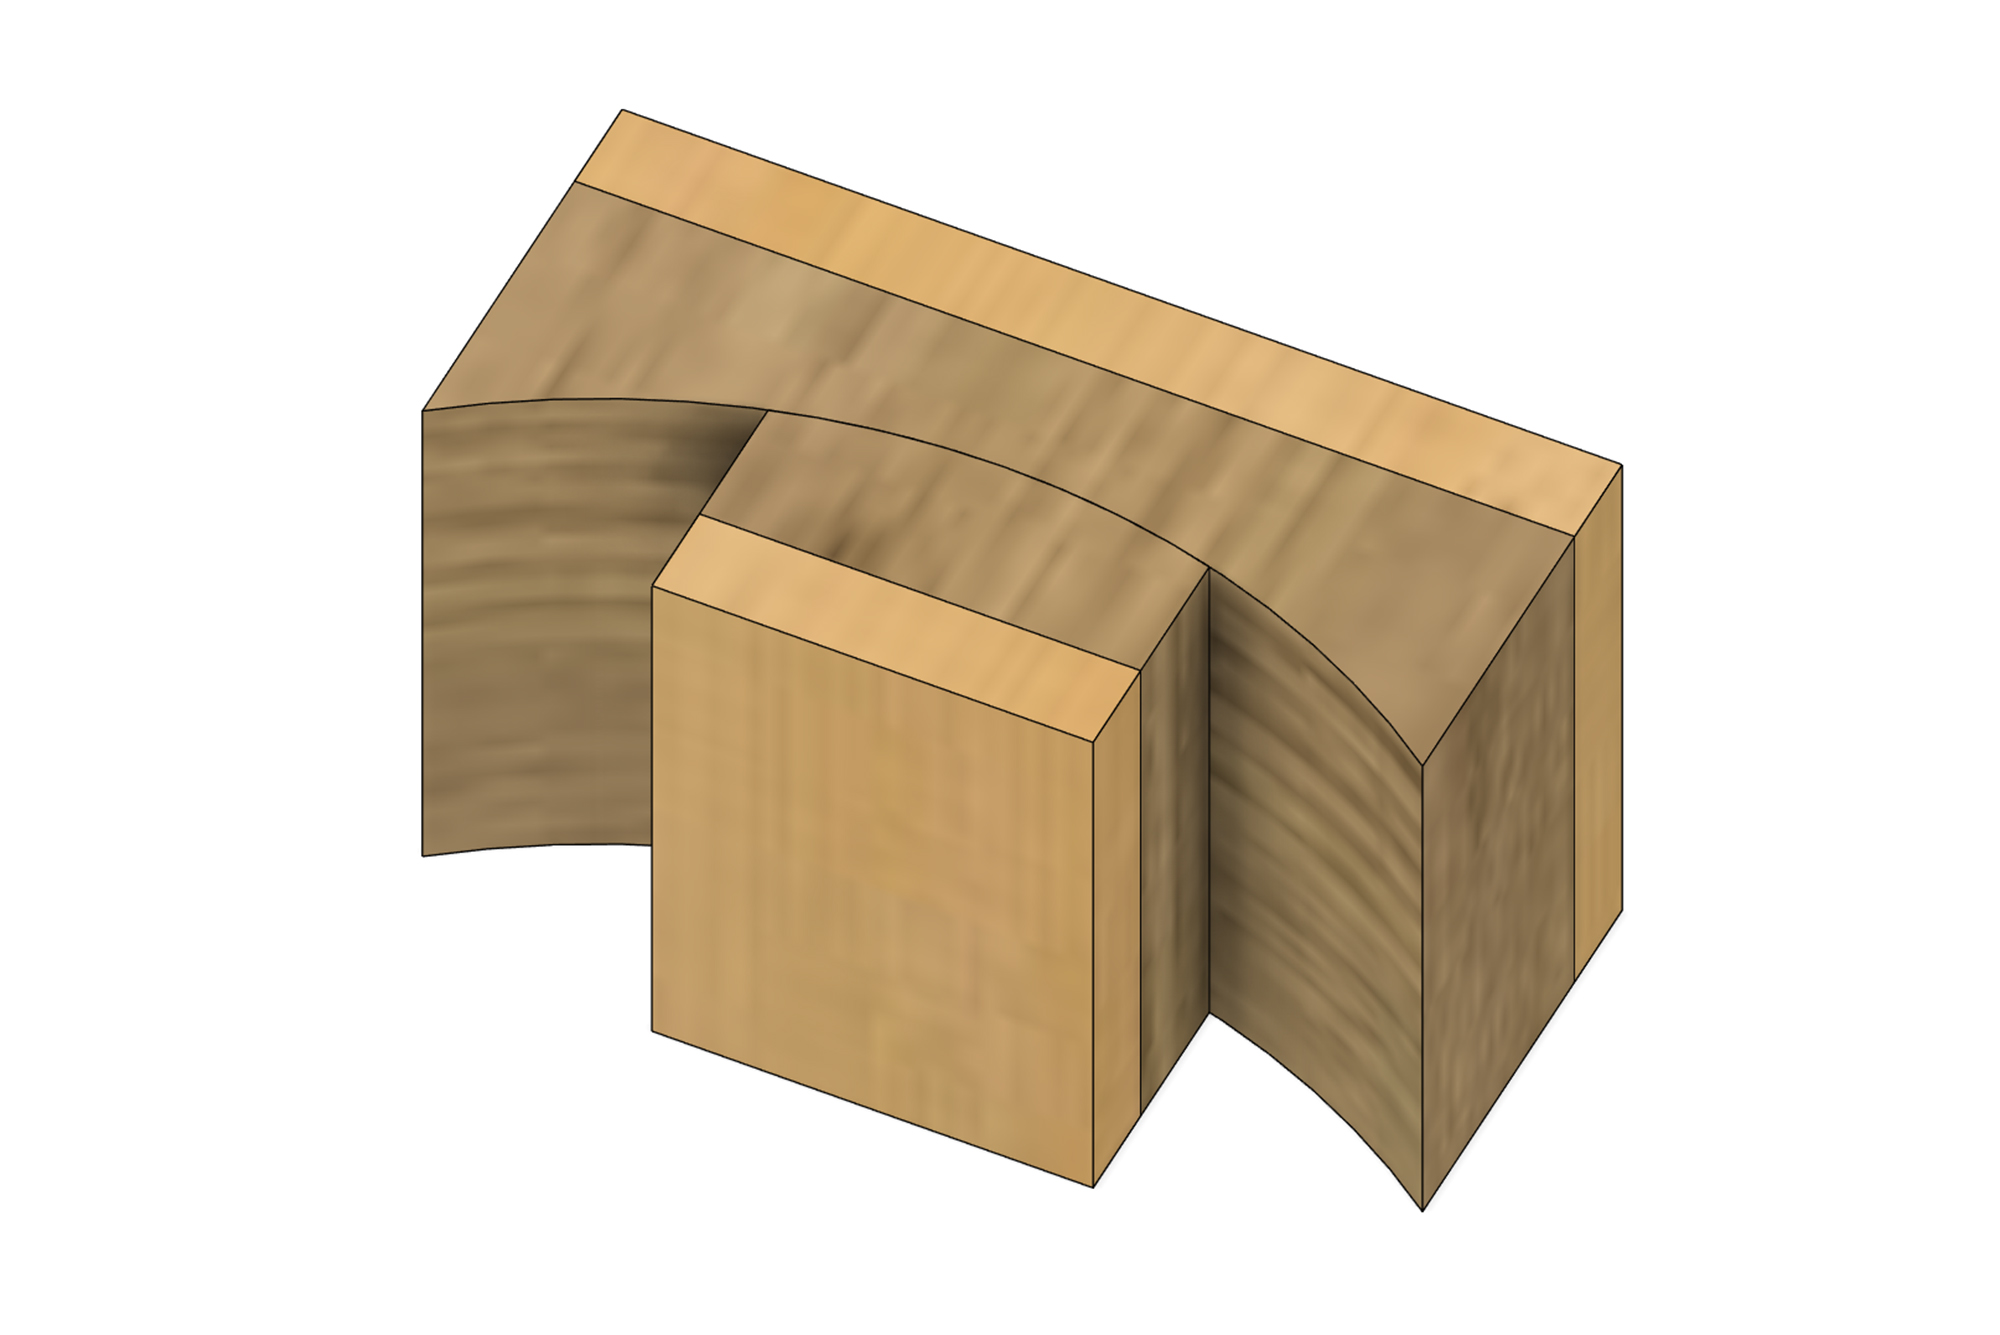
Buckle bending form design CAD
The tool for this is going to be a bending form – two parts, male and female, which will sit on either side of blank and sandwich it until it conforms to the new curve.
The difficulty here is that steel is elastic and has “springback”, meaning that if you want to bend something to a given angle you have to bend it past that angle for it to hold. It’s possible to calculate how much farther you need to bend the part to compensate for springback, but in order to calculate it you need to know the metal alloy and its material properties. This buckle blank is made some sort of mystery meat steel, so instead I just winged it.
The cast belt buckle has an inside radius of 5.640″, so I just went 1″ narrower than that – 4.640″. Using CAD I created a form design that was about 5″ wide for the female form to cover the full face of the buckle, and 2.25″ wide for the male form in order to fit between the mounting points on the back of the blank.
Building the Form
Originally I was going to do a plaster form, but I was concerned that it might crack under the pressure. I also don’t have a band saw, so cutting up a big block of wood was a non-starter. I eventually took a leaf out of my old FSAE days and built both forms out of stacked blocks of ½” MDF.
From the CAD model of the forms, I exported the flat outlines as a DXF into Illustrator and printed out a number of paper templates. I then transferred these templates to a board of ½” MDF and cut them out with a circular saw (straight edges) and a jigsaw (curves). I then attached the pieces together using wood glue and used a belt sander to fix the imperfections and smooth the curved face. Lastly, I drove some nails through the female mold to give it some strength (because why not) and cut ½” plywood backing boards to help apply even pressure between the layers.
The Bending
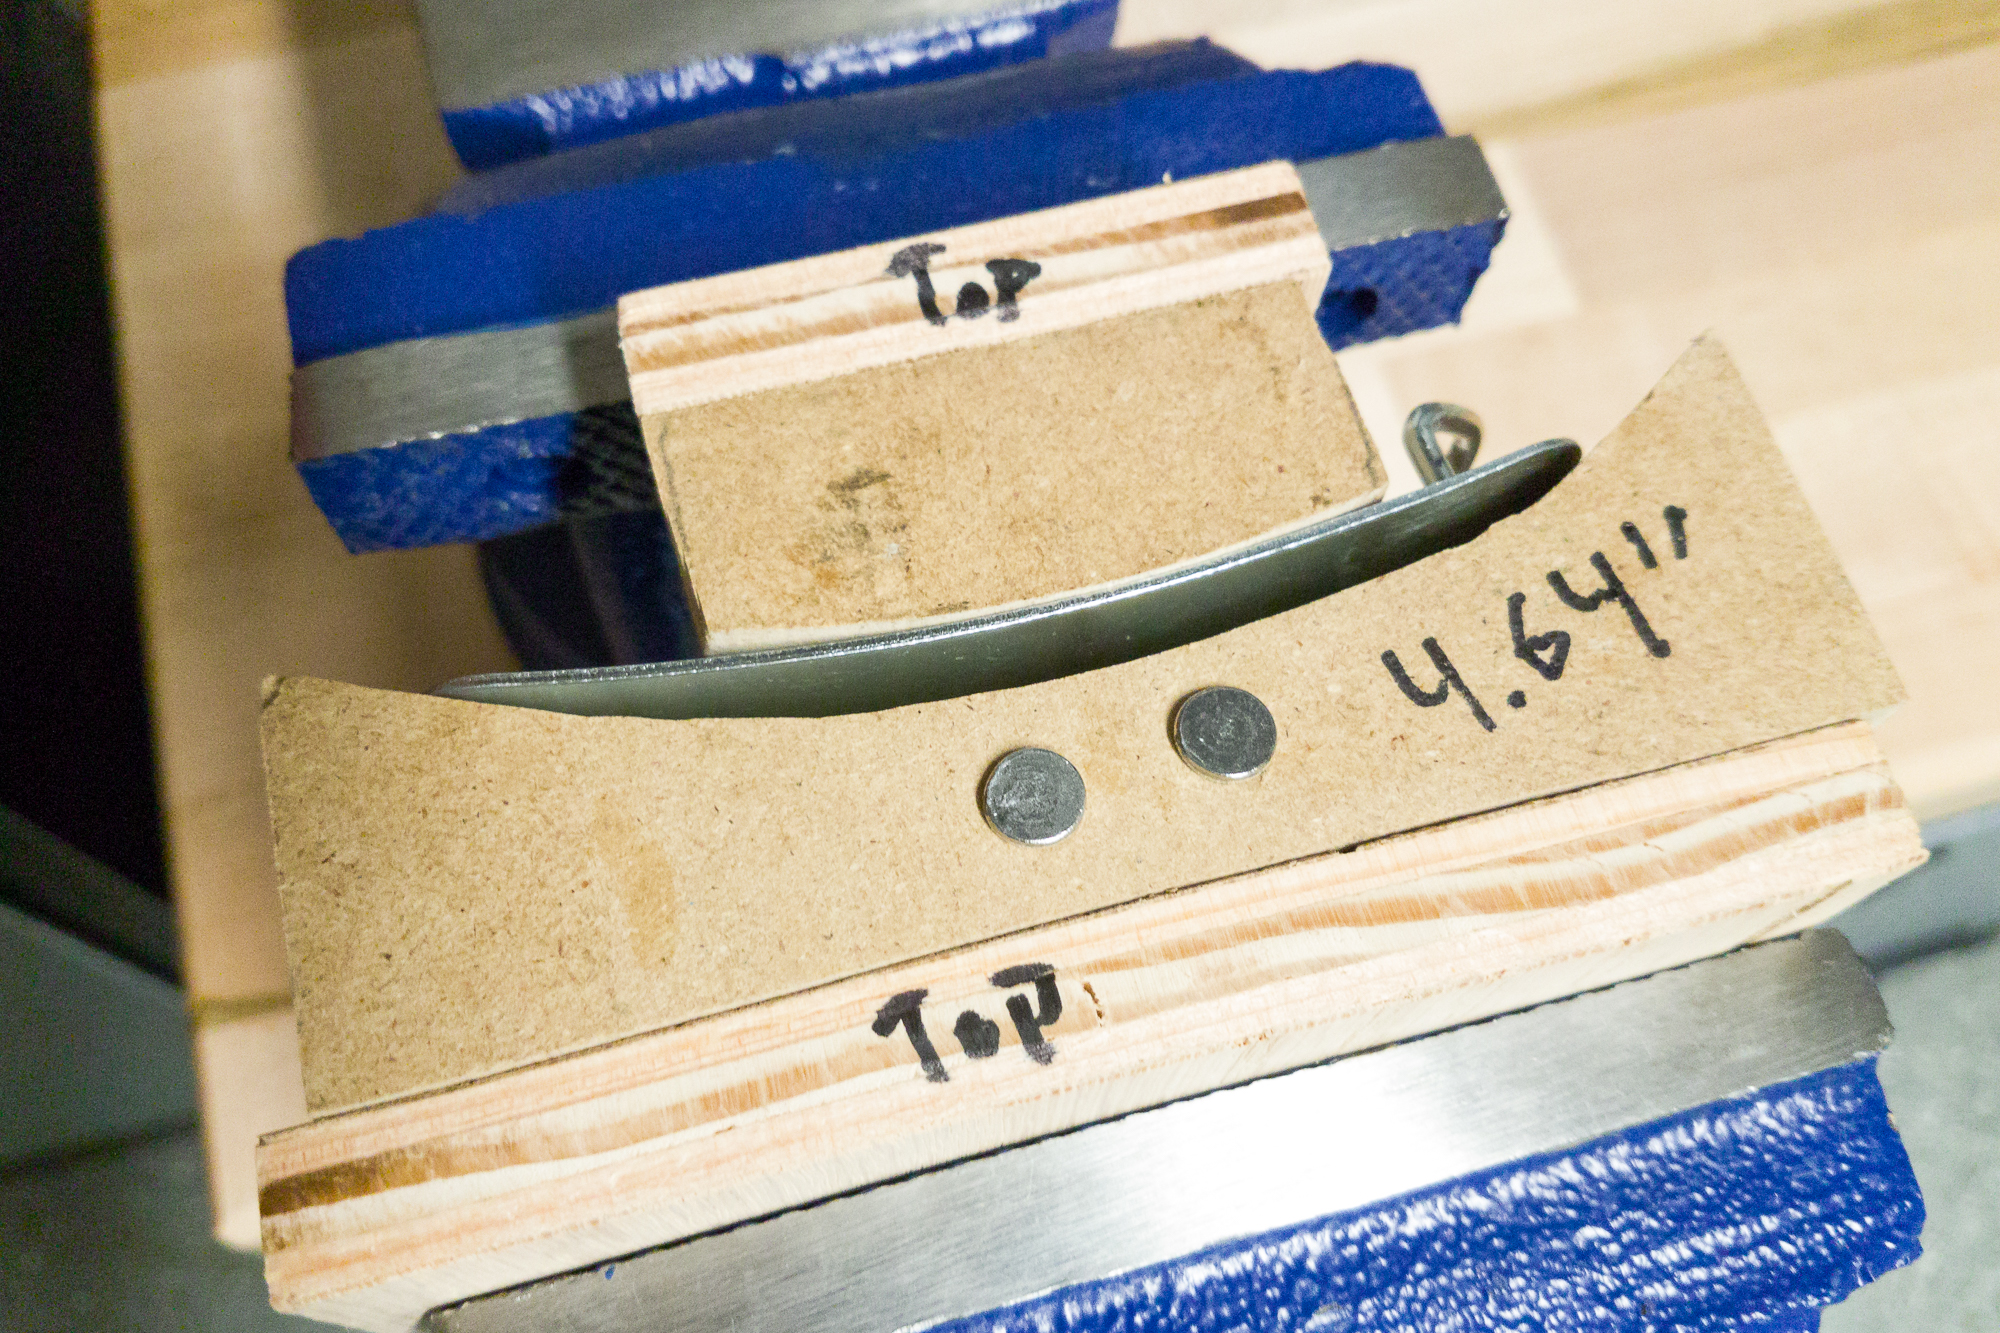
Bending the steel buckle blank in the makeshift form.
I don’t have a press either (man I should really better equip my garage…), so the tool of choice to clamp the blank was my trusty-dusty benchtop vise. I set a piece of scrap wood underneath the bending forms to center them in the vise, then set the blank in place and clamped it tight.
Success! Er, sort-of. The blank is much closer to flush with the buckle, but it’s still not quite there. Wash, rinse, and repeat the entire forming process with a slightly narrower forming tool (4.250″ instead of 4.640″), and the blank needs just a tiny bit of clamping force to conform to the back of the buckle.
Epoxy to Fit
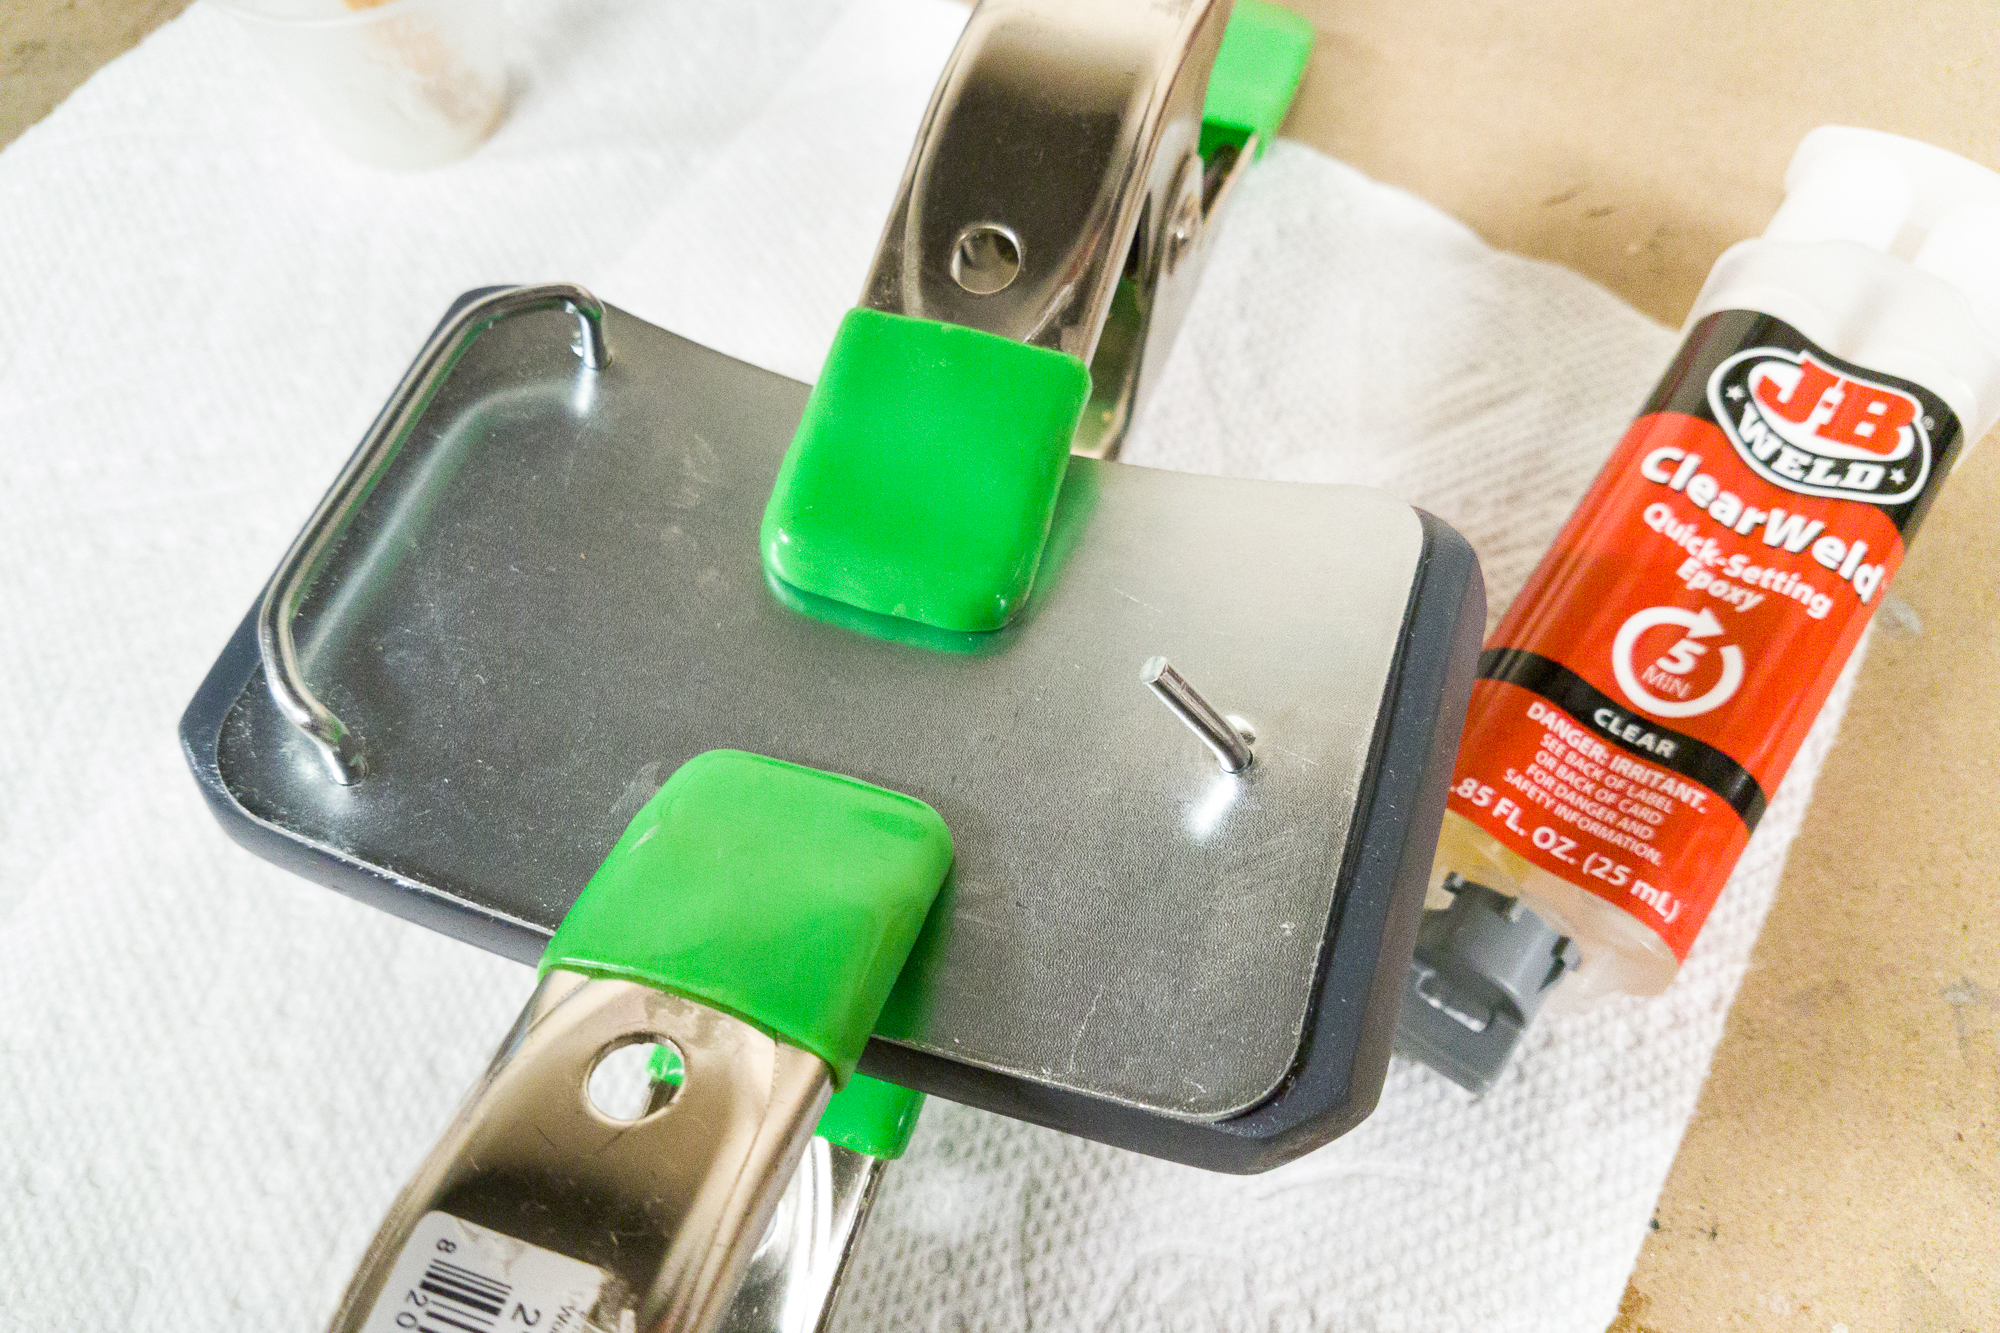
The last step of attaching the blank to the buckle is, well, attaching it! For this I’m using JB Weld 5-minute epoxy. I roughed up both the buckle and the blank with 80 grit sandpaper, then mixed the epoxy in a small medicine cup and applied it with a popsicle stick. I held the blank in place until the epoxy started to firm up, then used a pair of spring clamps to keep the two parts together while it cured.
I wanted to use as much epoxy as possible to guarantee edge-to-edge coverage, and had to wipe the excess off from around the blank. This damaged the finish of the primer slightly (as expected), so once the epoxy had cured I lightly sanded all of the outside edges once again.
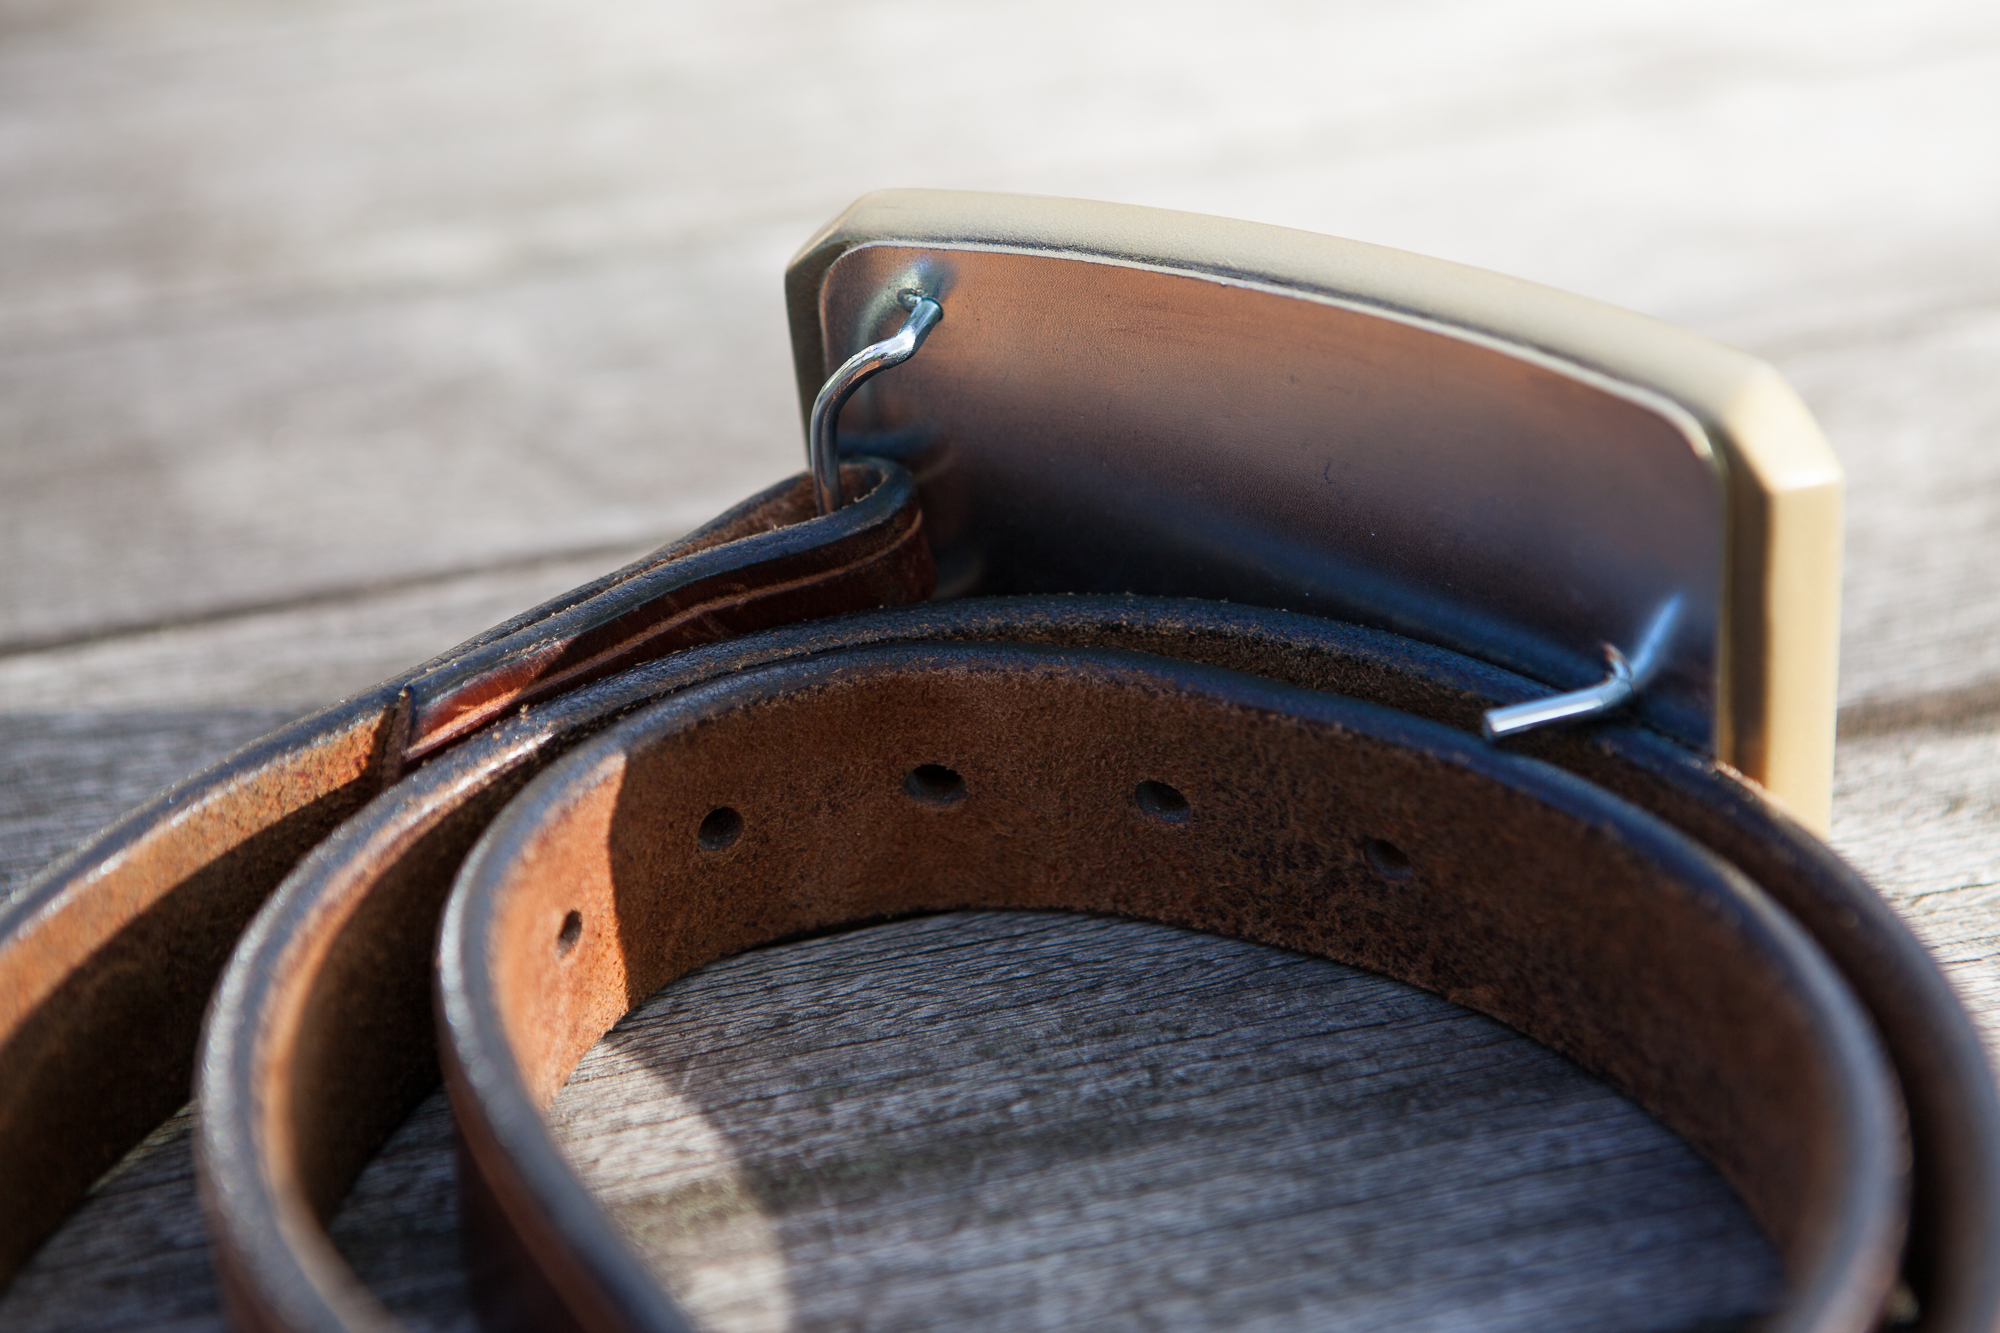
The metal buckle blank epoxied to the back of the finished buckle.
Painting the Buckle
The metal mounting points for the belt are attached and there’s just one final step – painting!
I had originally planned to “cold cast” the gold finish using some metallic powder in the mold, but that idea went out the window with all of the problems with the mold. So airbrushing it is.
I carefully masked off the metal blank with 1″ painter’s tape and a craft knife, then applied some more spot putty to fill the small gap around the edges between the buckle blank and the back face of the casting that the epoxy didn’t cover. Then I hit the buckle with one last coat of gray primer before starting in with the airbrushing.


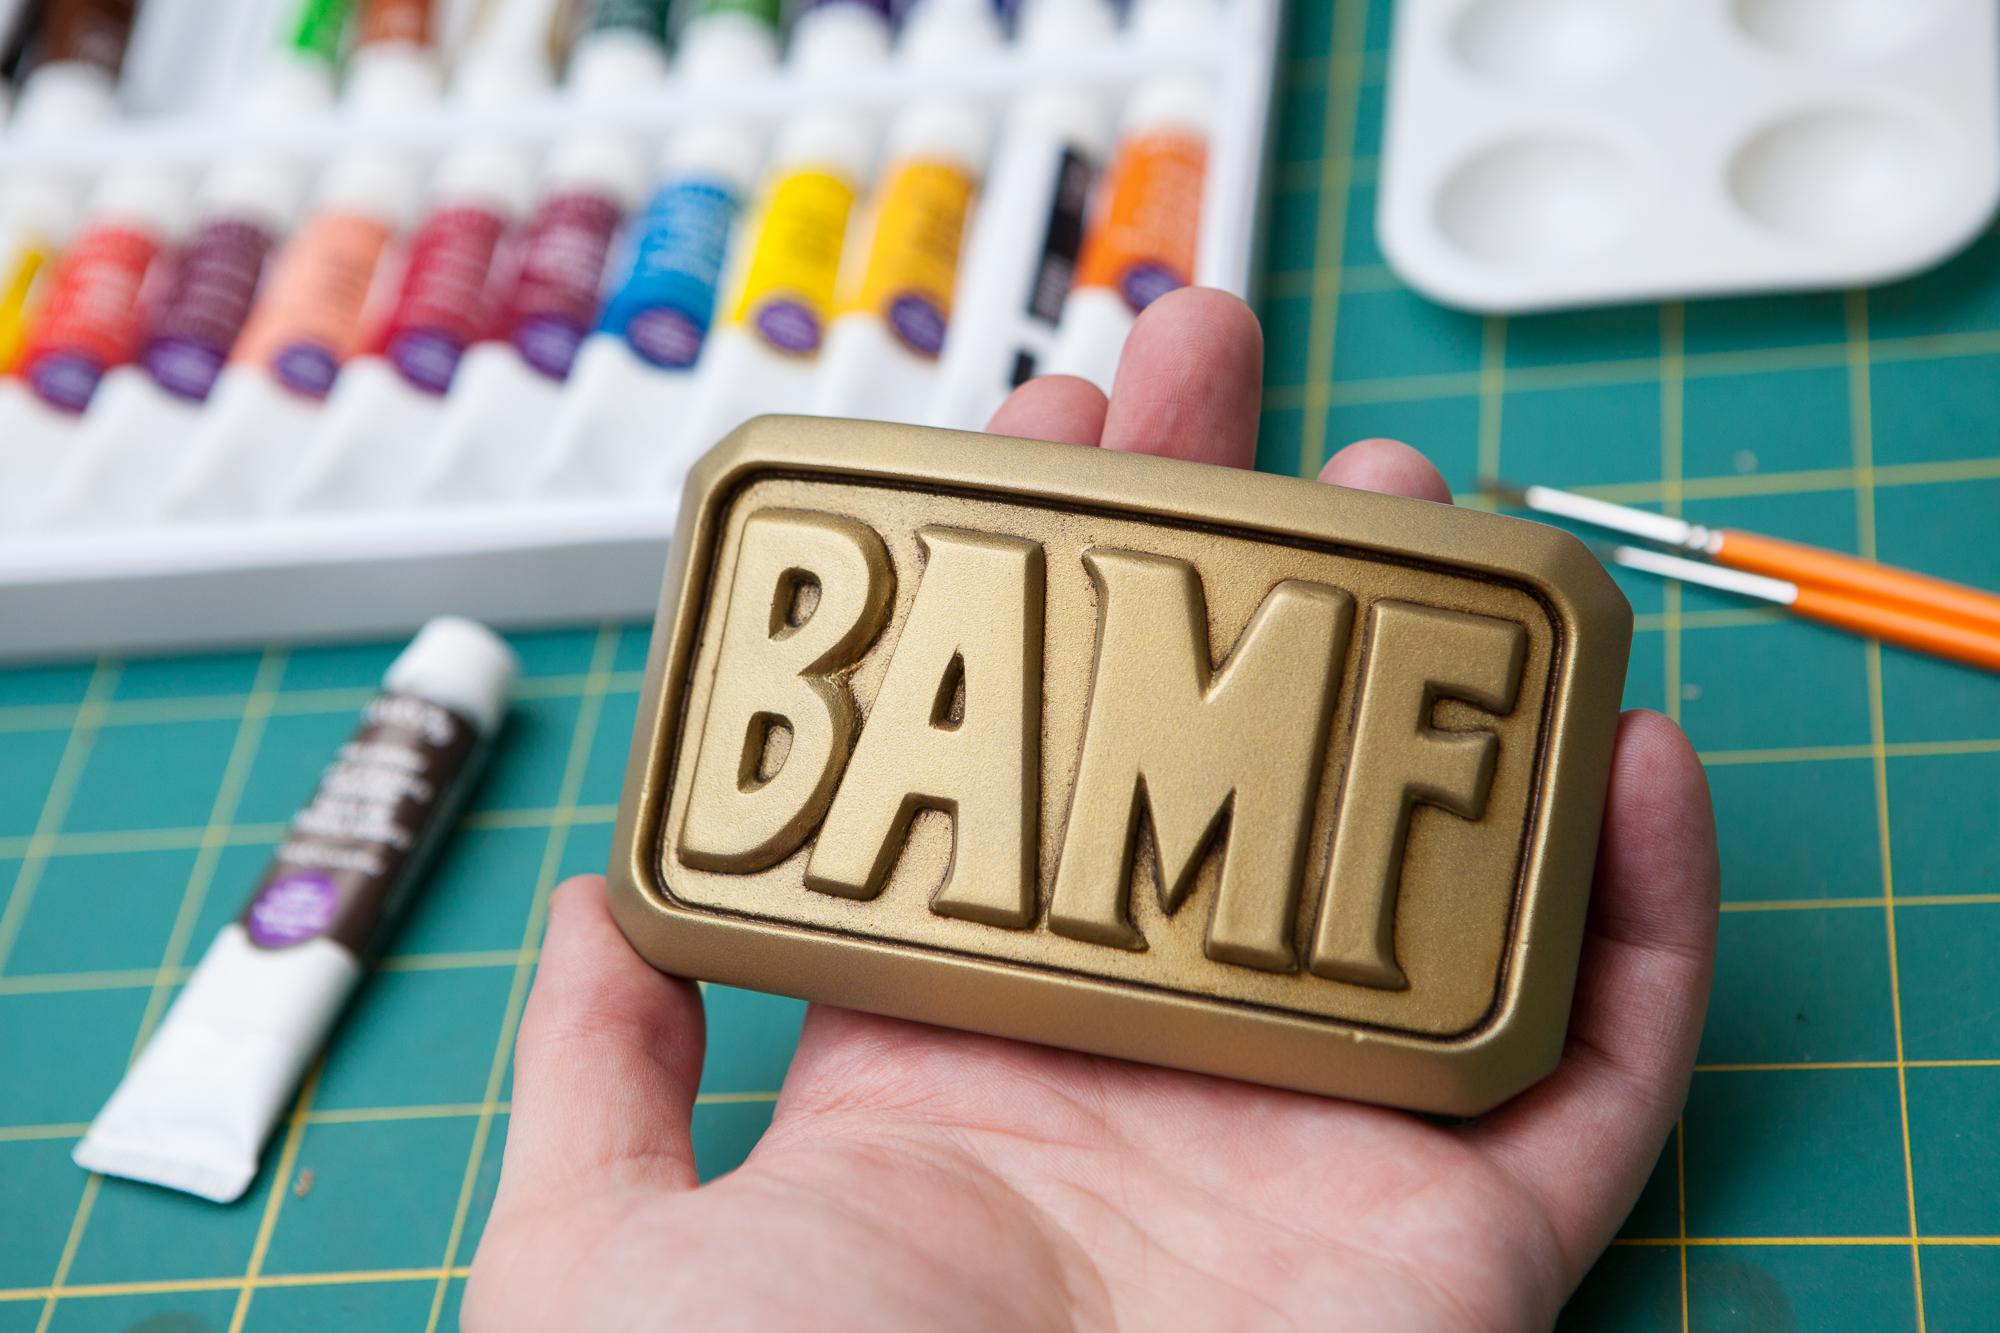
The gold paint for the final finish is Jacquard “True Gold” metallic acrylic paint. This was thinned with a 10:3 ratio of paint to thinner using Vallejo airbrush thinner, and then shot through my Paasche single-action airbrush using about 25 PSI. I didn’t have much of a strategy for how to evenly apply the paint, I just kept kept going around the buckle with light coats until it was thoroughly covered.
After letting the paint dry I applied some weathering detail using a small paintbrush and some Reeves oil paint. I originally tried using a mix of black and dark gray but I didn’t like the look, so I wiped it off and tried again using some unmixed dark brown (“raw umber”). The undercut edges of the letters actually helped out a lot here, since they provided a natural channel for the paint to sit in. I traced all of the letters using the raw umber oil paint and wiped off the excess using slightly moistened cotton swabs. The weathering paint adds a lot to the buckle’s depth compared to the gold paint alone and really makes the letters pop.
Once the weathering paint had plenty of time to dry, I sealed the buckle with two coats of semi-gloss acrylic clear.
At this point the buckle is done! All that’s left is to take some pretty photos, write up the project documentation (cough cough), and take stock of how this project went.
Next Up: Conclusion and Final Thoughts
Disclaimer: This post contains Amazon affiliate links for supplies and tools used in the project. As an Amazon Associate I earn from qualifying purchases, and those earnings help fund projects like this one. Thank you for the support!