With the digital model in hand, the next step in the propmaking process is to bring this digital version of the belt into the physical world. To accomplish this I’m going to use my 3D printer in combination with some epoxy, some body filler, and a lot of painting and sanding.
3D Printing the Buckle
Time for printing! To make printing easier the model was separated into multiple pieces with alignment holes and pins to keep things even while reassembling.


First up on the printing block were the buckle body halves. These were printed at 15% infill with the mating surfaces facing upwards. This was so that even if the bed surface wasn’t completely flat, the buckle halves would mate together easily. Both halves had 5 – 6 layers of support on the bottom for the slight inward slant of the top/bottom edges, but were otherwise self-supporting. (In hindsight I probably could have printed the buckle halves as one solid part, but this is how I chose to do it at the time.)
The locating pins were all printed in one go at 100% infill: five pins to join the two body halves, and fourteen pins to join the letters with the body. A handful of these smaller pins failed to print so I ended up printing this batch twice – after all the smaller pins are only ~ 3 mm in diameter so if nothing else I thought it was wise to keep a few spares on hand.
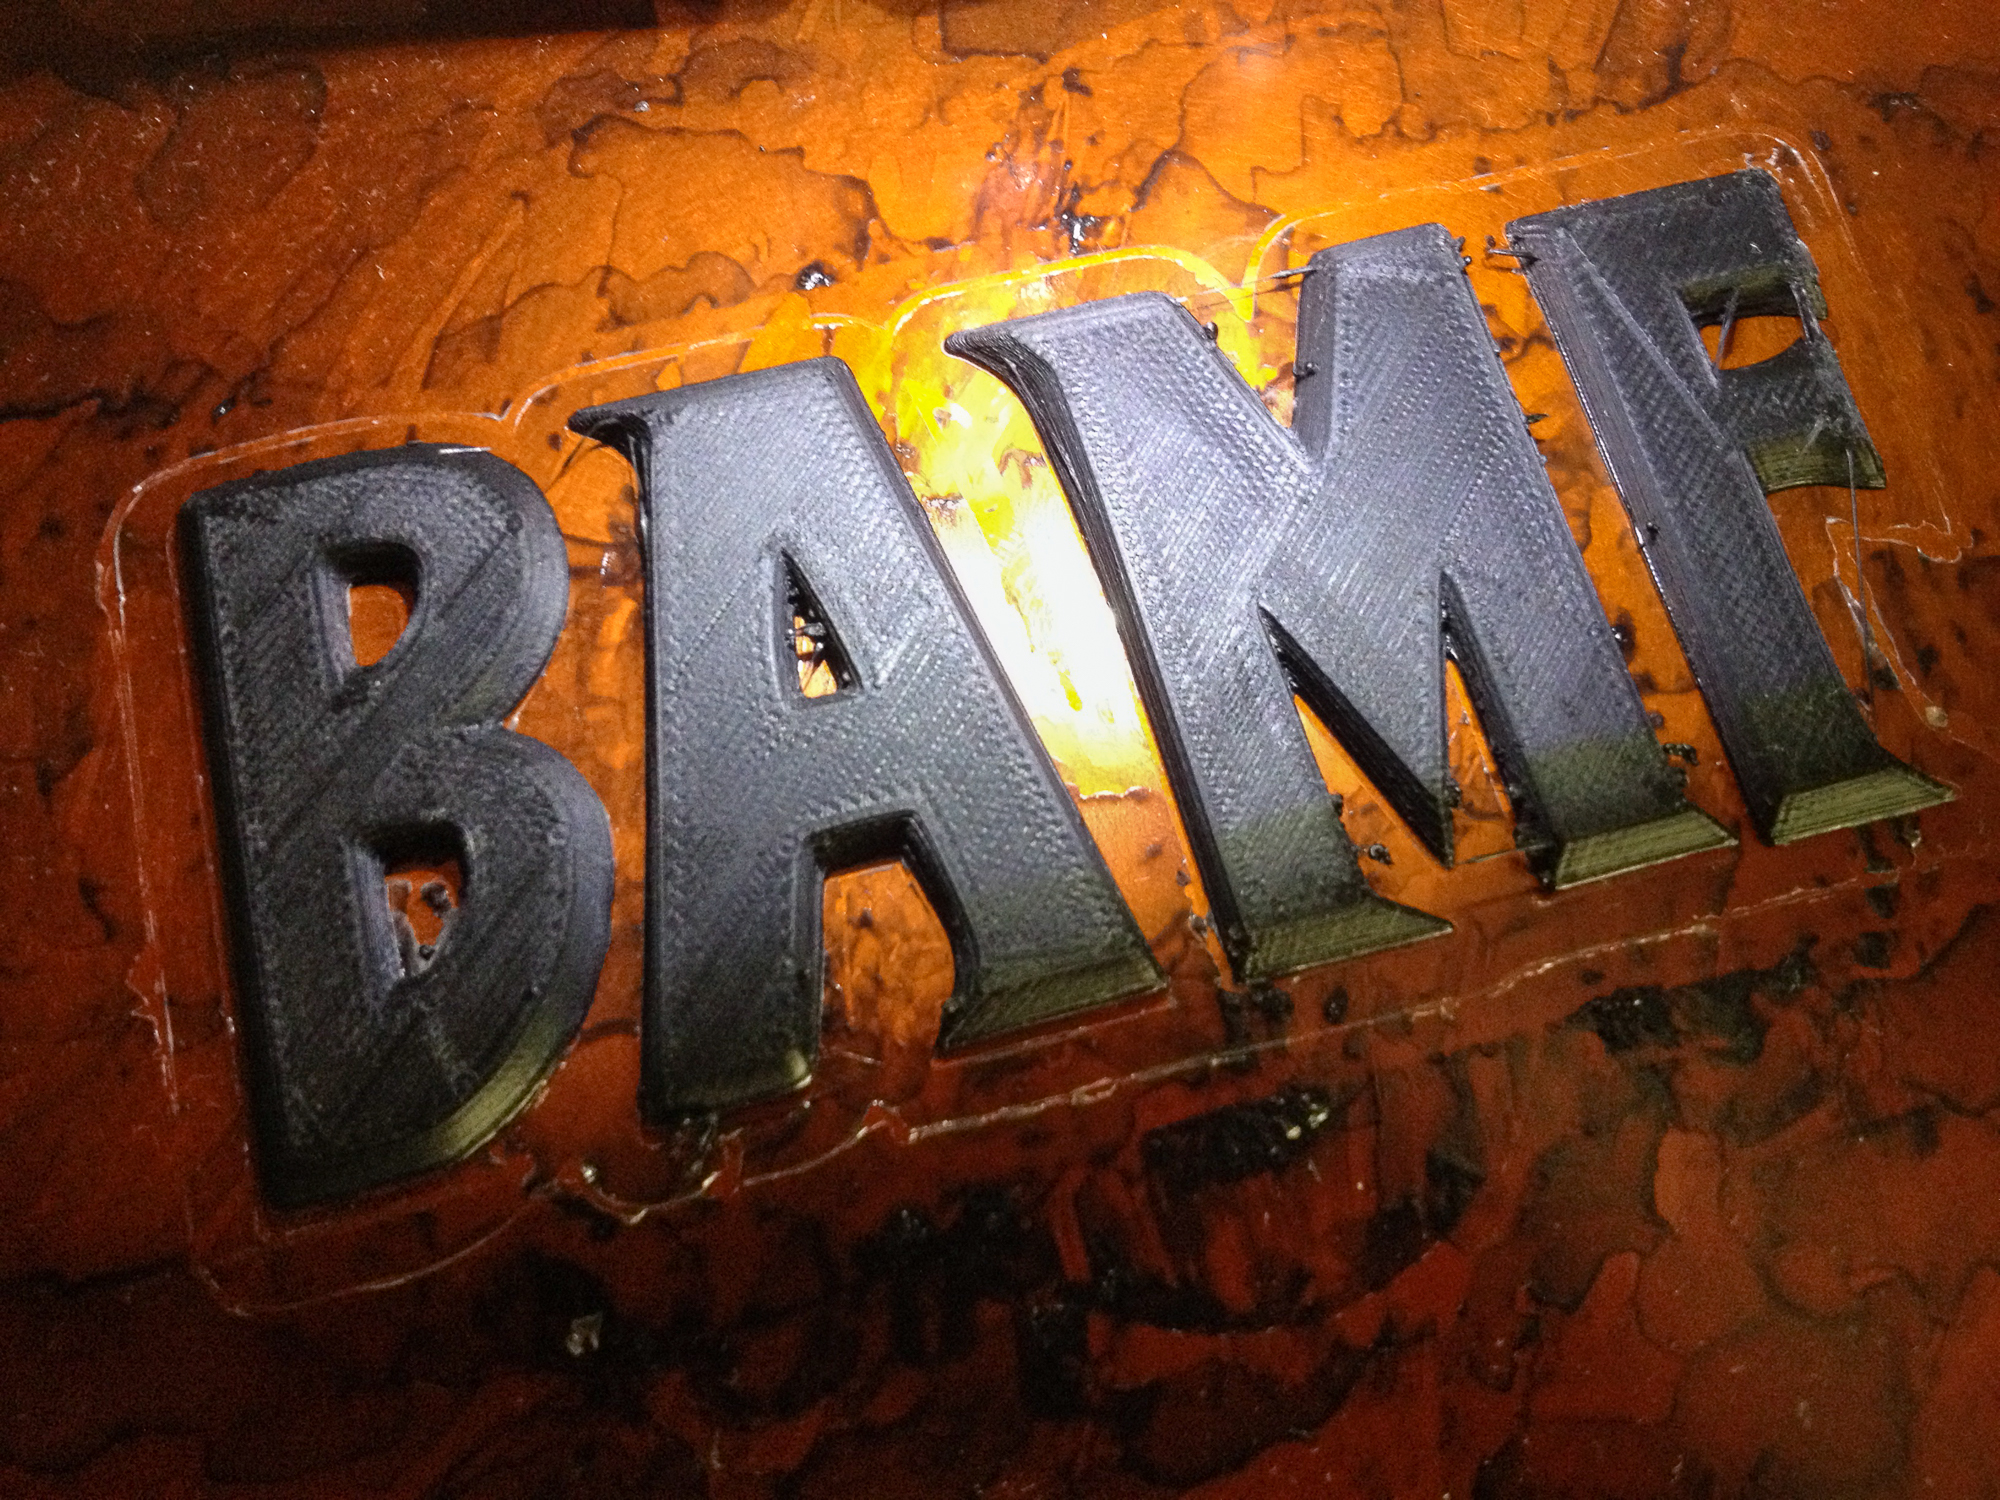
Printed buckle letters, still on the bed
Unfortunately I did have some trouble printing the letters. The slight curve on the back of the letters for mating with the curve of the belt body was enough to cause adhesion issues with the printer bed. Even with support, the back of the letters were rough and stringy, which would have made attaching them to the body much more difficult. Plus the top surface was noticeably ‘stepped’ due to the Z-layers, which would have been a pain to make smooth.
Instead of fighting the printer I went back to the 3D design and created versions of the letters that were flat, using a plane tangent to the center face of each letter and following the same 2D projection -> loft strategy as before. These printed much more cleanly, but will need to be curved before assembly.
The entire model was printed in black ABS on my Printrbot Simple Metal at around 235C, using a 0.1 mm layer height and a 0.4 mm diameter nozzle. The print bed was set to 90C, using kapton tape covered in ABS + acetone slurry for adhesion.
Making the Master
Once all of the parts had been pulled off of the printer, it was time to clean up the 3D printed parts and assemble the prop master.
Belt Body Assembly
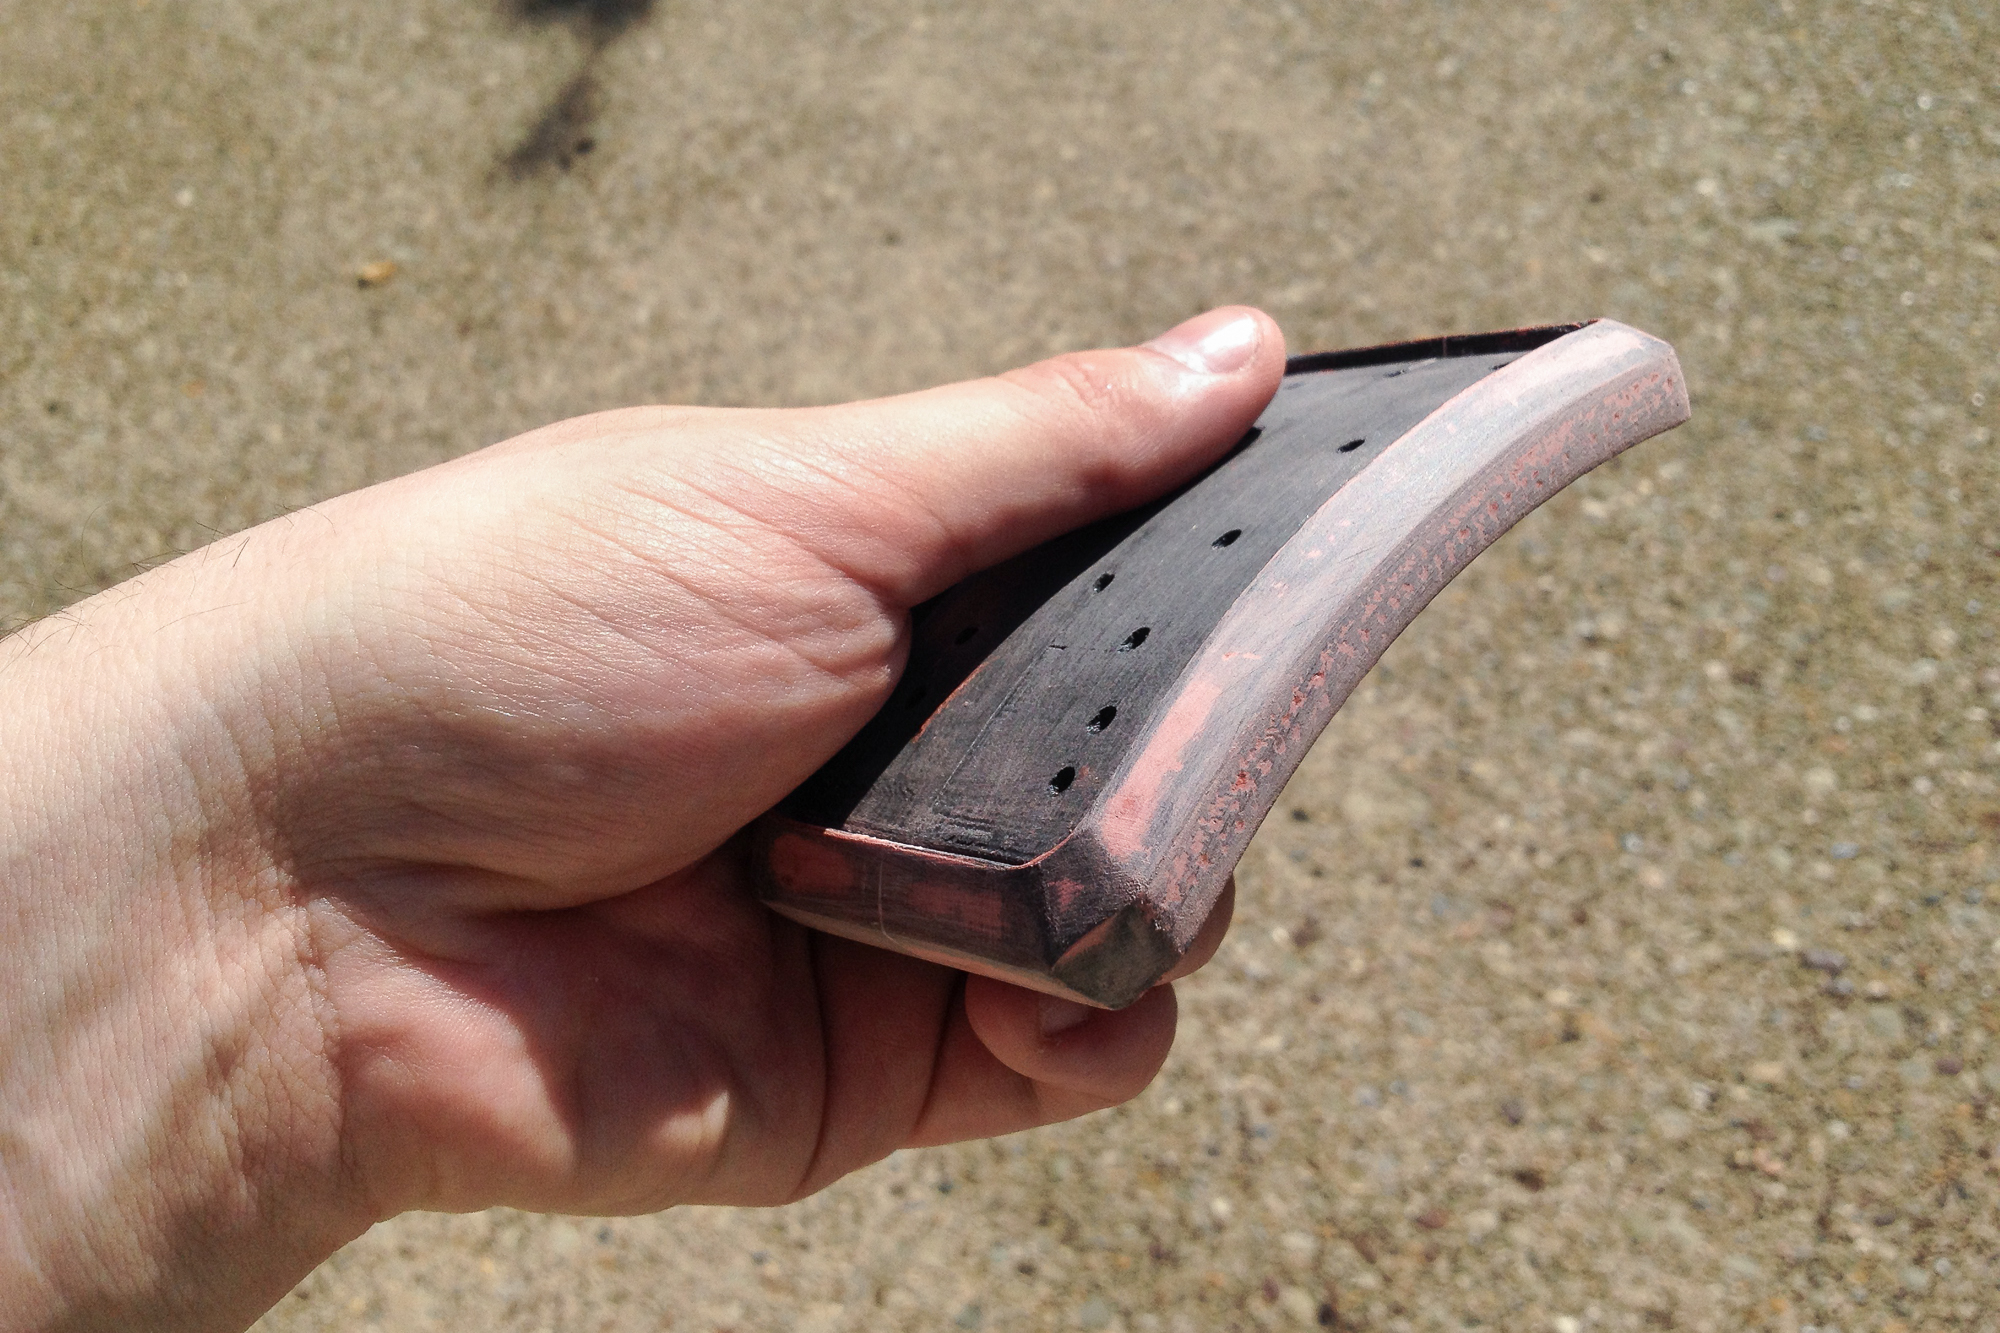
Assembled buckle body being sanded, fall 2016
After printing, I removed the support material for the two pieces of the belt body and then lightly sanded their mating faces with 100 grit sandpaper. I then inserted the five printed locating pins and attached the two pieces together using 5-minute epoxy.
Once the epoxy had cured I used some Bondo body filler to fill the seam on the back and the sides, and then sanded the body filler smooth. At this point the printed buckle was looking ‘buckle-ish’, it just needed to be finely smoothed and have some letters added.
Letter Curving
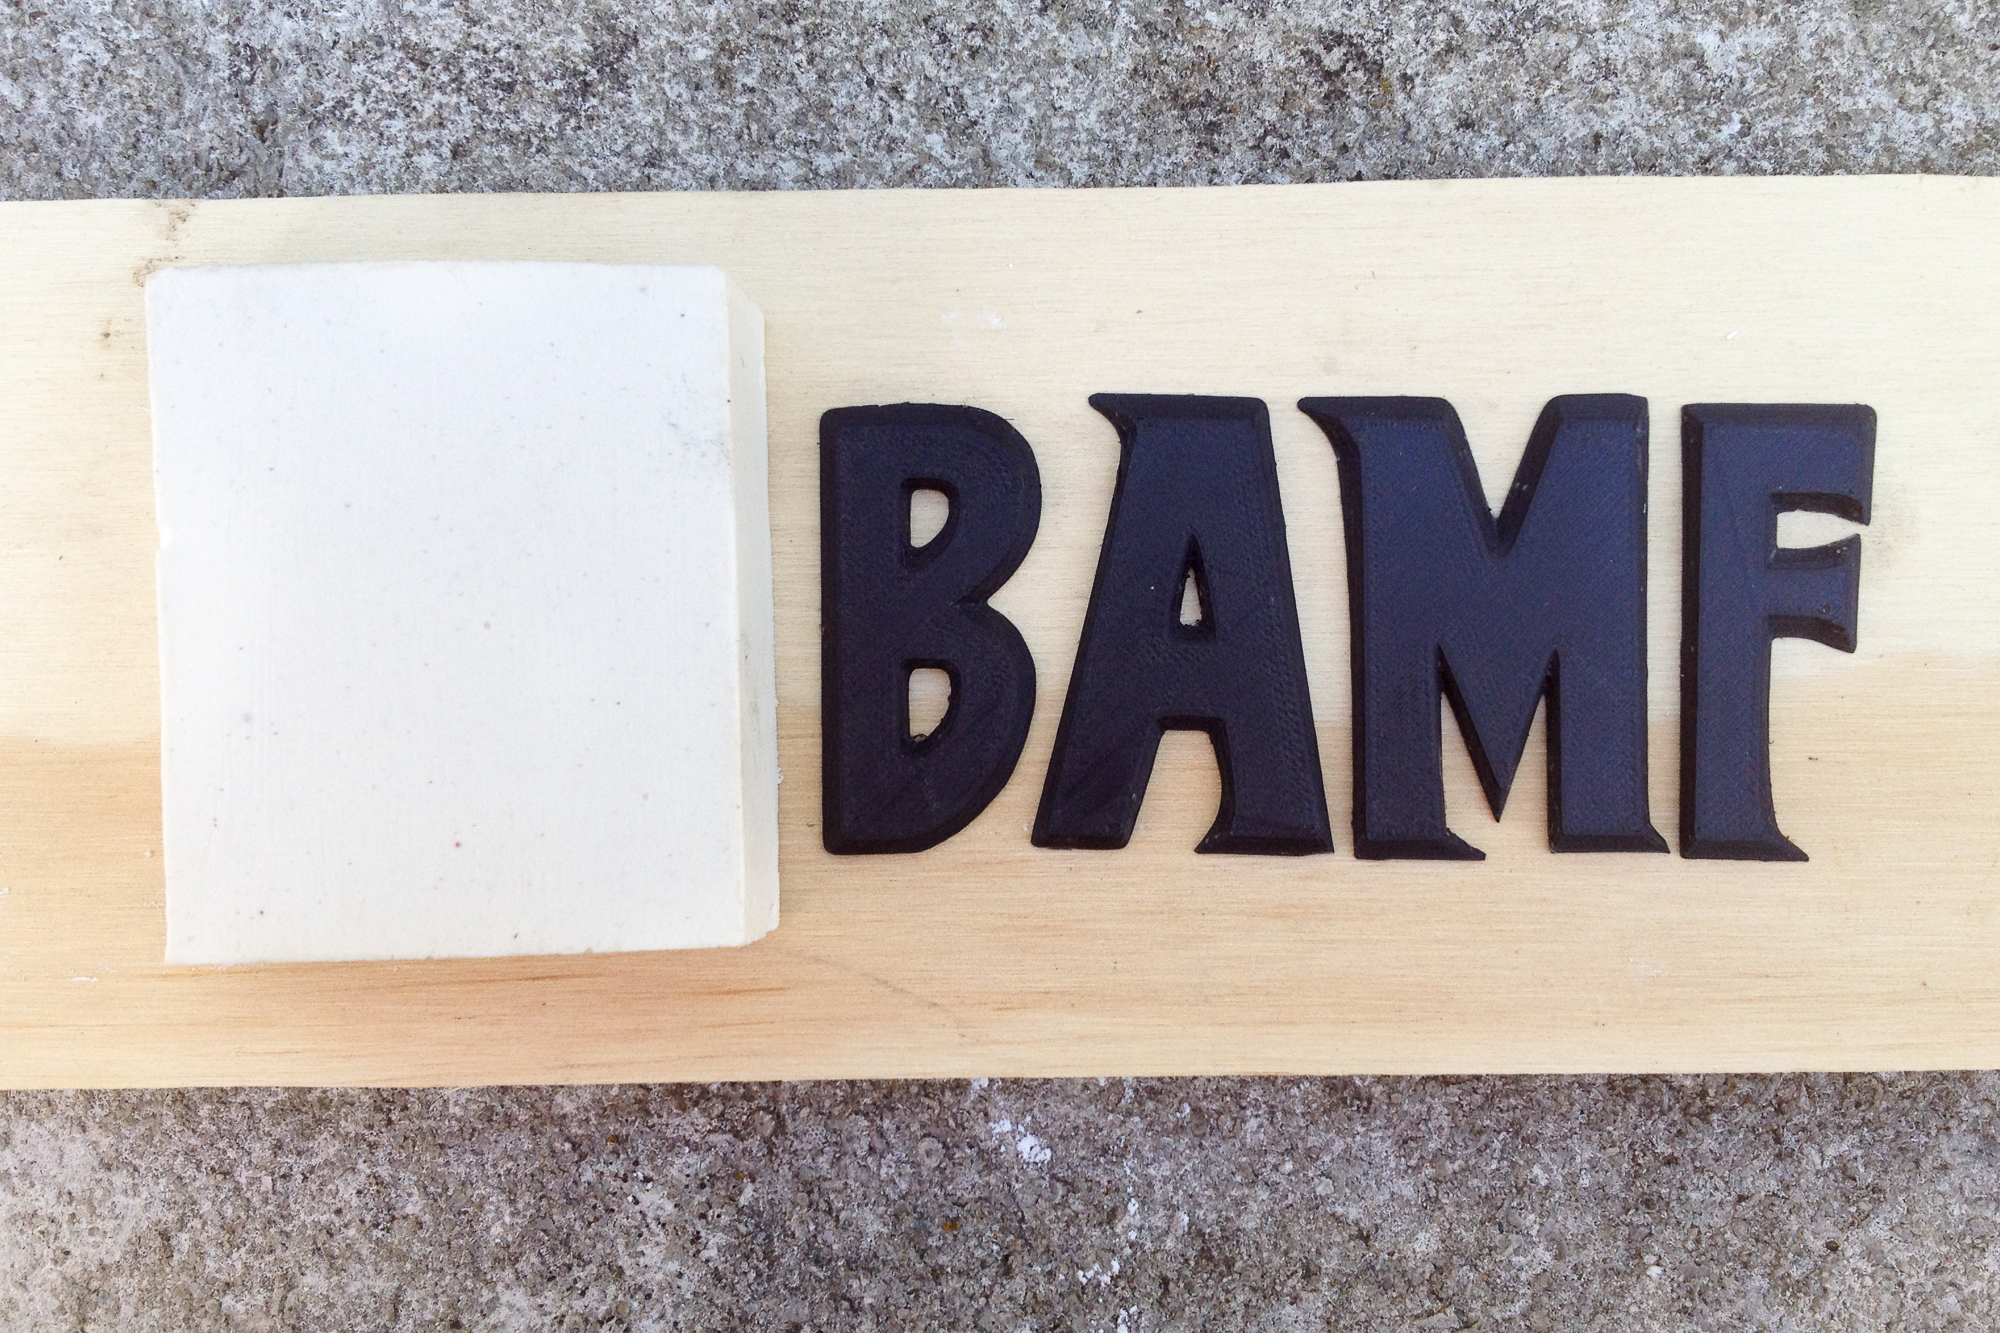
The plaster curving form, the flat 3D printed letters, and the wooden block used to apply pressure. Unfortunately I didn’t take any other photos of this process.
Although the letters didn’t need to be assembled together, they did need to be curved to match the face of the buckle.
To do this I went back into CAD and made a rectangular female form that matched the curvature of the belt face, about 2.5″ by 2″ in size. This was 3D printed out of ABS and then sanded with 100 grit sandpaper until the curved face was mostly smooth. I surrounded this with a foamboard mold box and then made a plaster plug to use as a forming tool.
I placed each flat, 3D printed letter on top of the plaster block and then used a heat gun to curve them until they laid flush against the plaster. I used a piece of wood with some EVA foam wrapped on top to apply pressure, applying progressively more heat after each pass.
This process worked quite well, although the letter serifs curled upwards and lost some of their definition when they were pushed back down. These will be fixed in the next step.
Smoothing the Master
At this point the belt buckle body and the individual letters were the right shape for the final prop, but they were still rough and striated with the 3D printing layer lines. These needed to be smoothed out before the prop was ready for moldmaking.
Thankfully the ABS filament I used for printing the belt parts is quite soft and easy to sand. On the buckle base I started dry sanding with 100 grit sandpaper and worked my way up to 220, and then 600. The top and bottom edges that were pocked by the poorly printed support on the printer were filled in with Bondo spot putty and then sanded smooth.
The individual letters received much more spot putty to smooth them out. Their outside edges were more difficult to sand without losing detail, so it was simpler to add spot putty and just build out a little bit of body. Thankfully due to the flat printing process the faces were already quite smooth. I also added some thicker globs of spot putty to fill in the divots left in the serifs from the curving process.
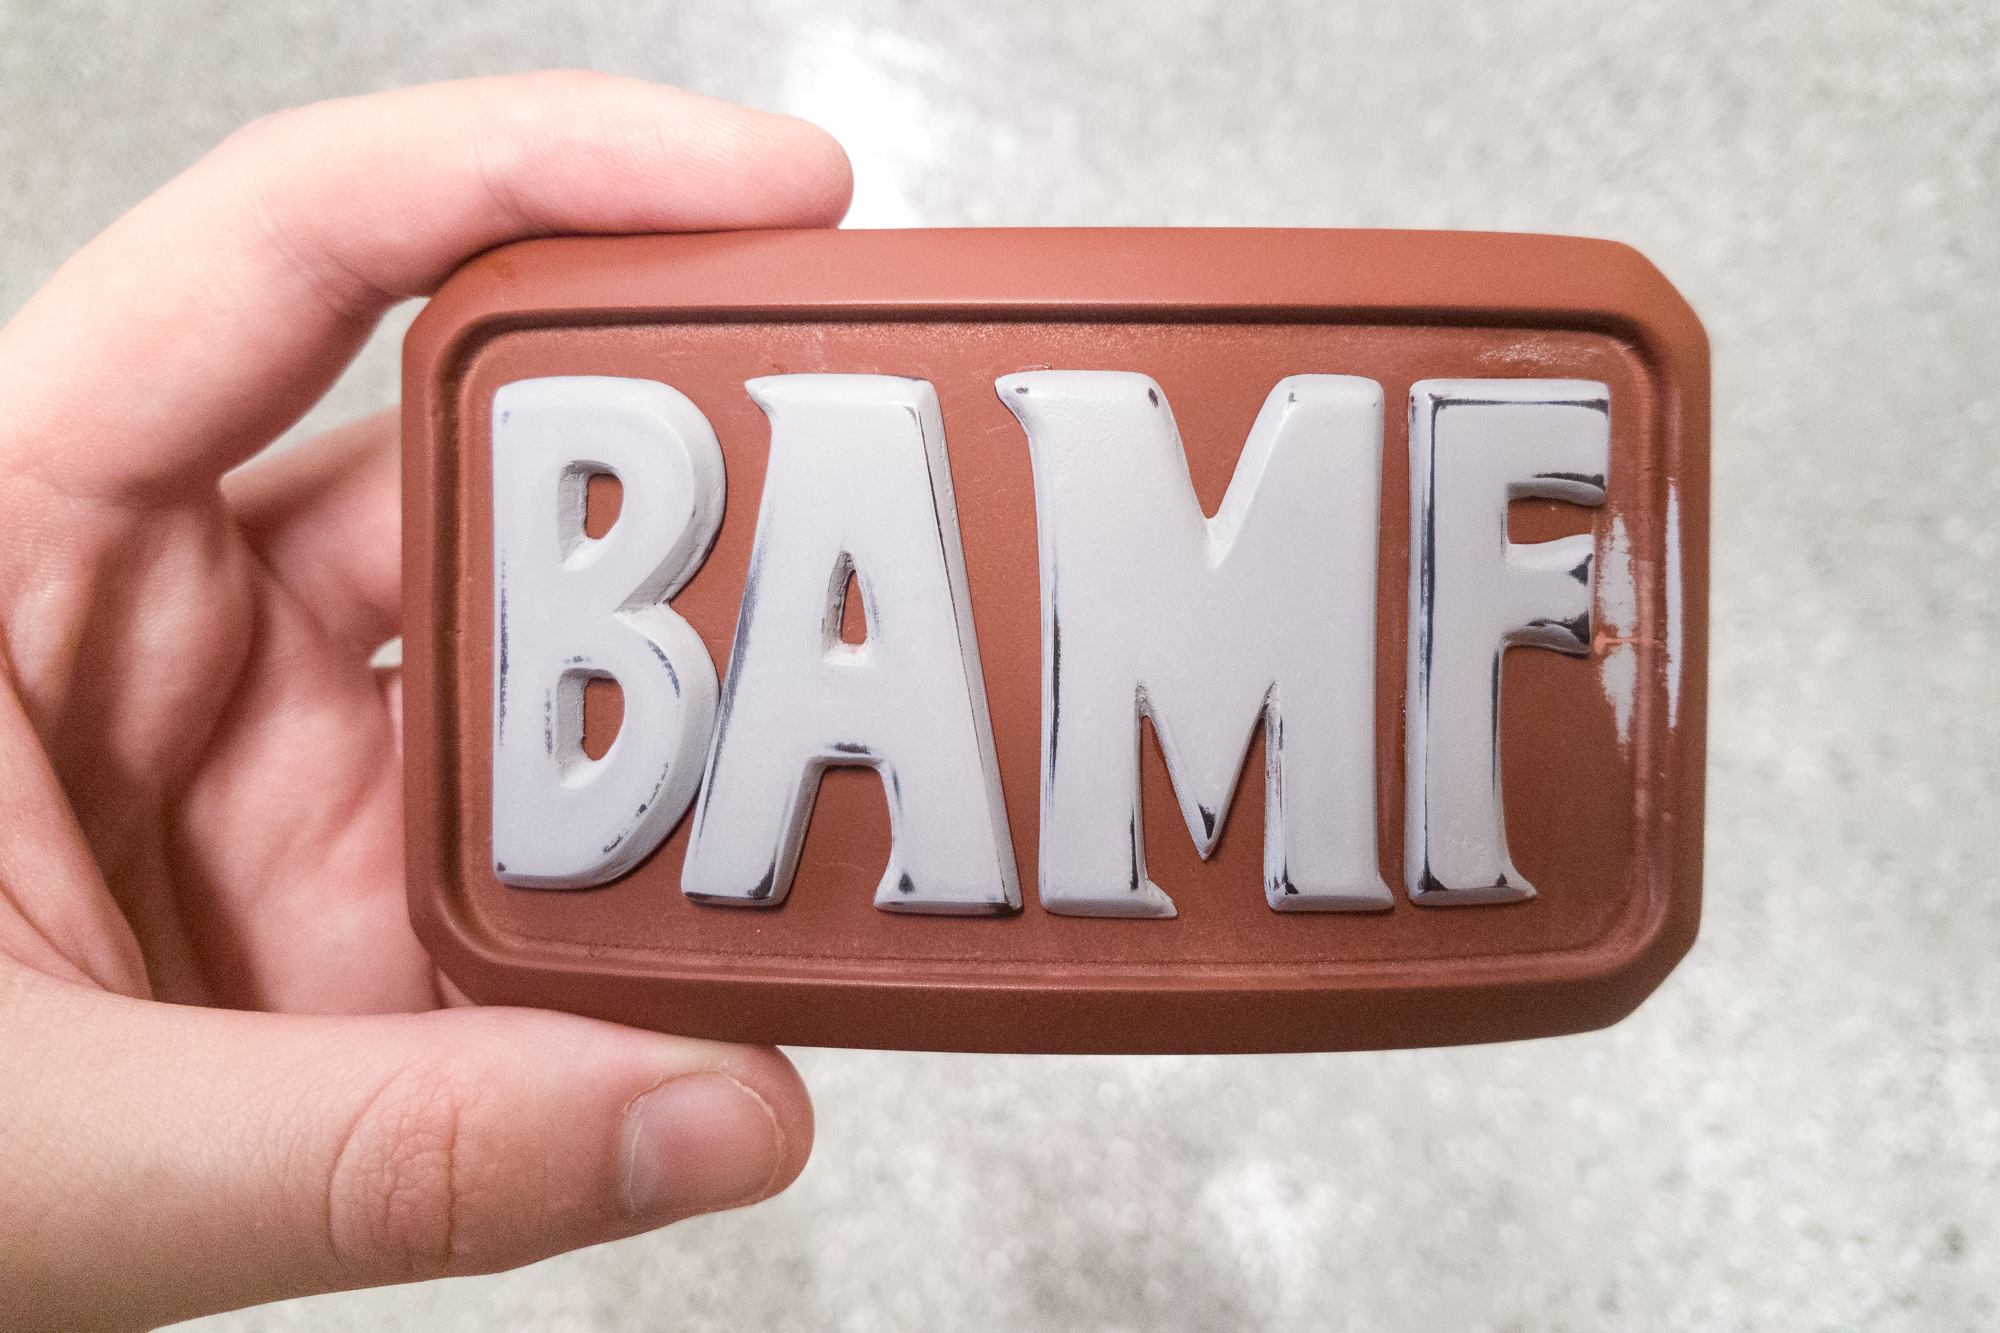
After I was satisfied with the level of smoothing I could achieve with sanding alone, I started in with the paint. All of the parts received the same process: a coat of multipurpose spray primer (gray) as a base, then a coat of filler primer, followed by wet sanding with 600 grit sandpaper. I then repeated the filler primer / sanding process until the parts were adequately smooth. For the base piece I also alternated between gray and red primer to make it easier to see where I was sanding between layers. The goal was to slowly build up material in order to smooth the surface without distorting the original shape of the prop.
I didn’t have a dedicated workspace at this point, so I spent a lot of time procrastinating on this project between coats.
Final Assembly

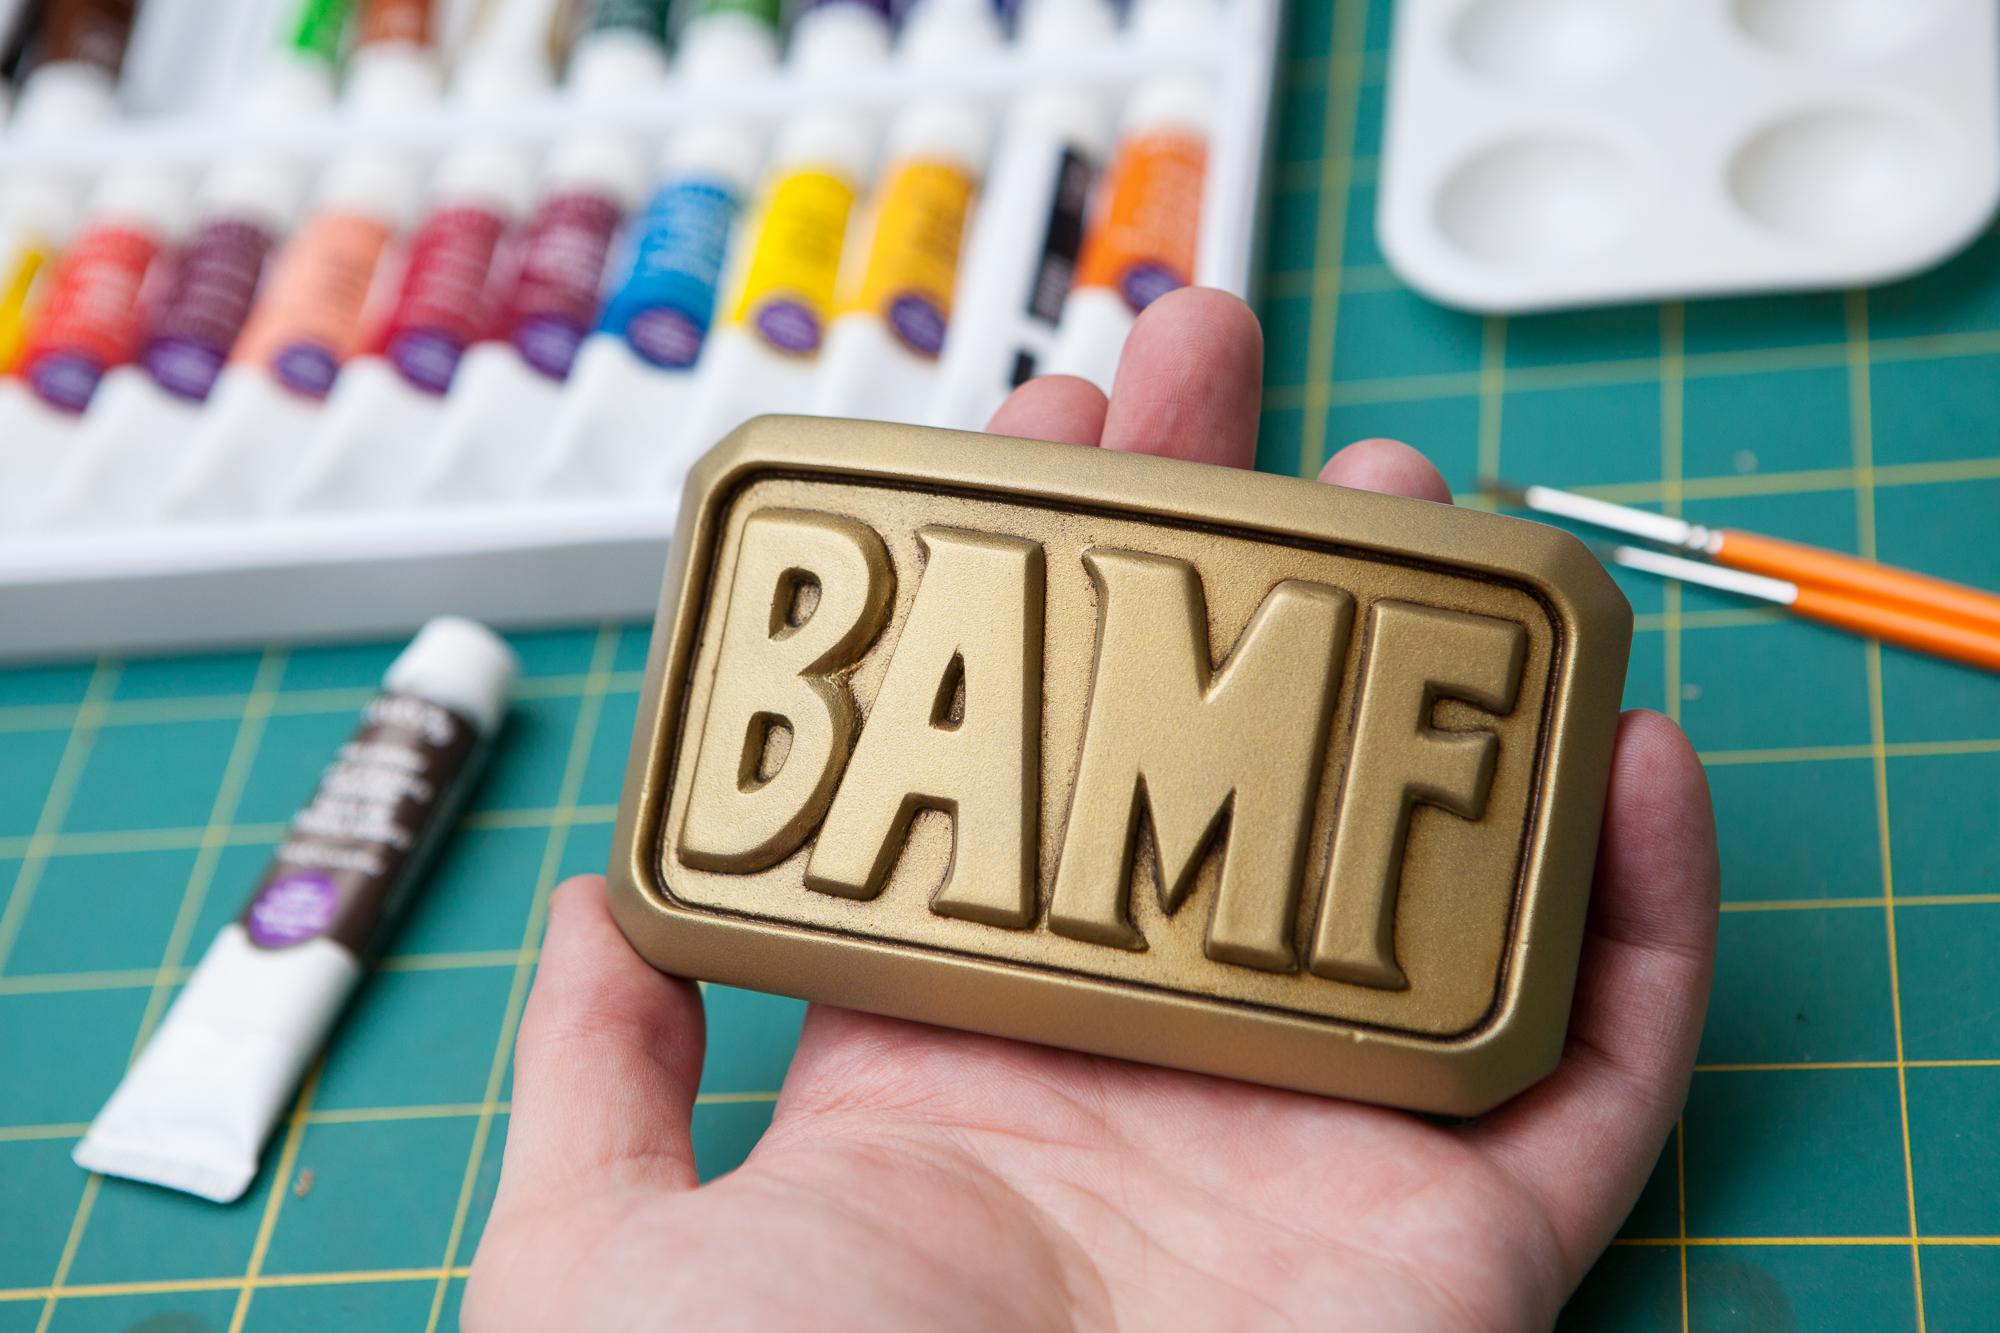
Initial assembly of the (mostly) smooth belt buckle master, summer 2017
I kept the letters separate from the body until the last possible moment, because it was much easier to smooth the curved face of the buckle without the letters interfering. Likewise for the awkward geometry of the letter side walls. But all tedious things must come to an end, and it was finally time to merge the letters with the body of the buckle.
Assembly actually went more smoothly than I imagined it would. The alignment holes for both the buckle body and the letters were a little snug due to the added paint, so I used a handheld 1/8″ drill bit to clean them up. I then glued the alignment pins into the body, added a small amount of superglue to the back of the letters, and then placed them into position. I had to be a little careful with the amount of glue to avoid excess spilling out the sides and ruining the face of the buckle. Of course this also meant that there’s a very slight gap between each letter and the face of the buckle which is not sealed. This will come back to haunt me… but more on that in the next part.
If you pay close attention to the letters in the render vs. the letters on the assembled master, you can see that the letters as-assembled are slightly smaller than their digital counterparts – their edges aren’t running into each-other. This was a consequence of doing flat prints with the same outlines I used for the curved designs. I should have enlarged the letters ever-so-slightly horizontally to make up for the difference in the flat width vs the arc width. On the plus side, I only needed to shave the side of one letter (‘B’) to get it to fit properly on the buckle’s face rather than all four. And the buckle still looks the part.
The fully assembled buckle master was then hit with one more layer of red primer, and then a gloss clearcoat to seal everything together in preparation for moldmaking.
Disclaimer: This post contains Amazon affiliate links for supplies and tools used in the project. As an Amazon Associate I earn from qualifying purchases, and those earnings help fund projects like this one. Thank you for the support!