The first step in creating a real-life version of McCree’s belt buckle from Overwatch is to find references that tells us what we’re aiming for and how the final version should look. From these I’m going to build a detailed digital model that will serve as the basis for building the “master” version of the prop. Let’s get to it!
Gathering Reference Material
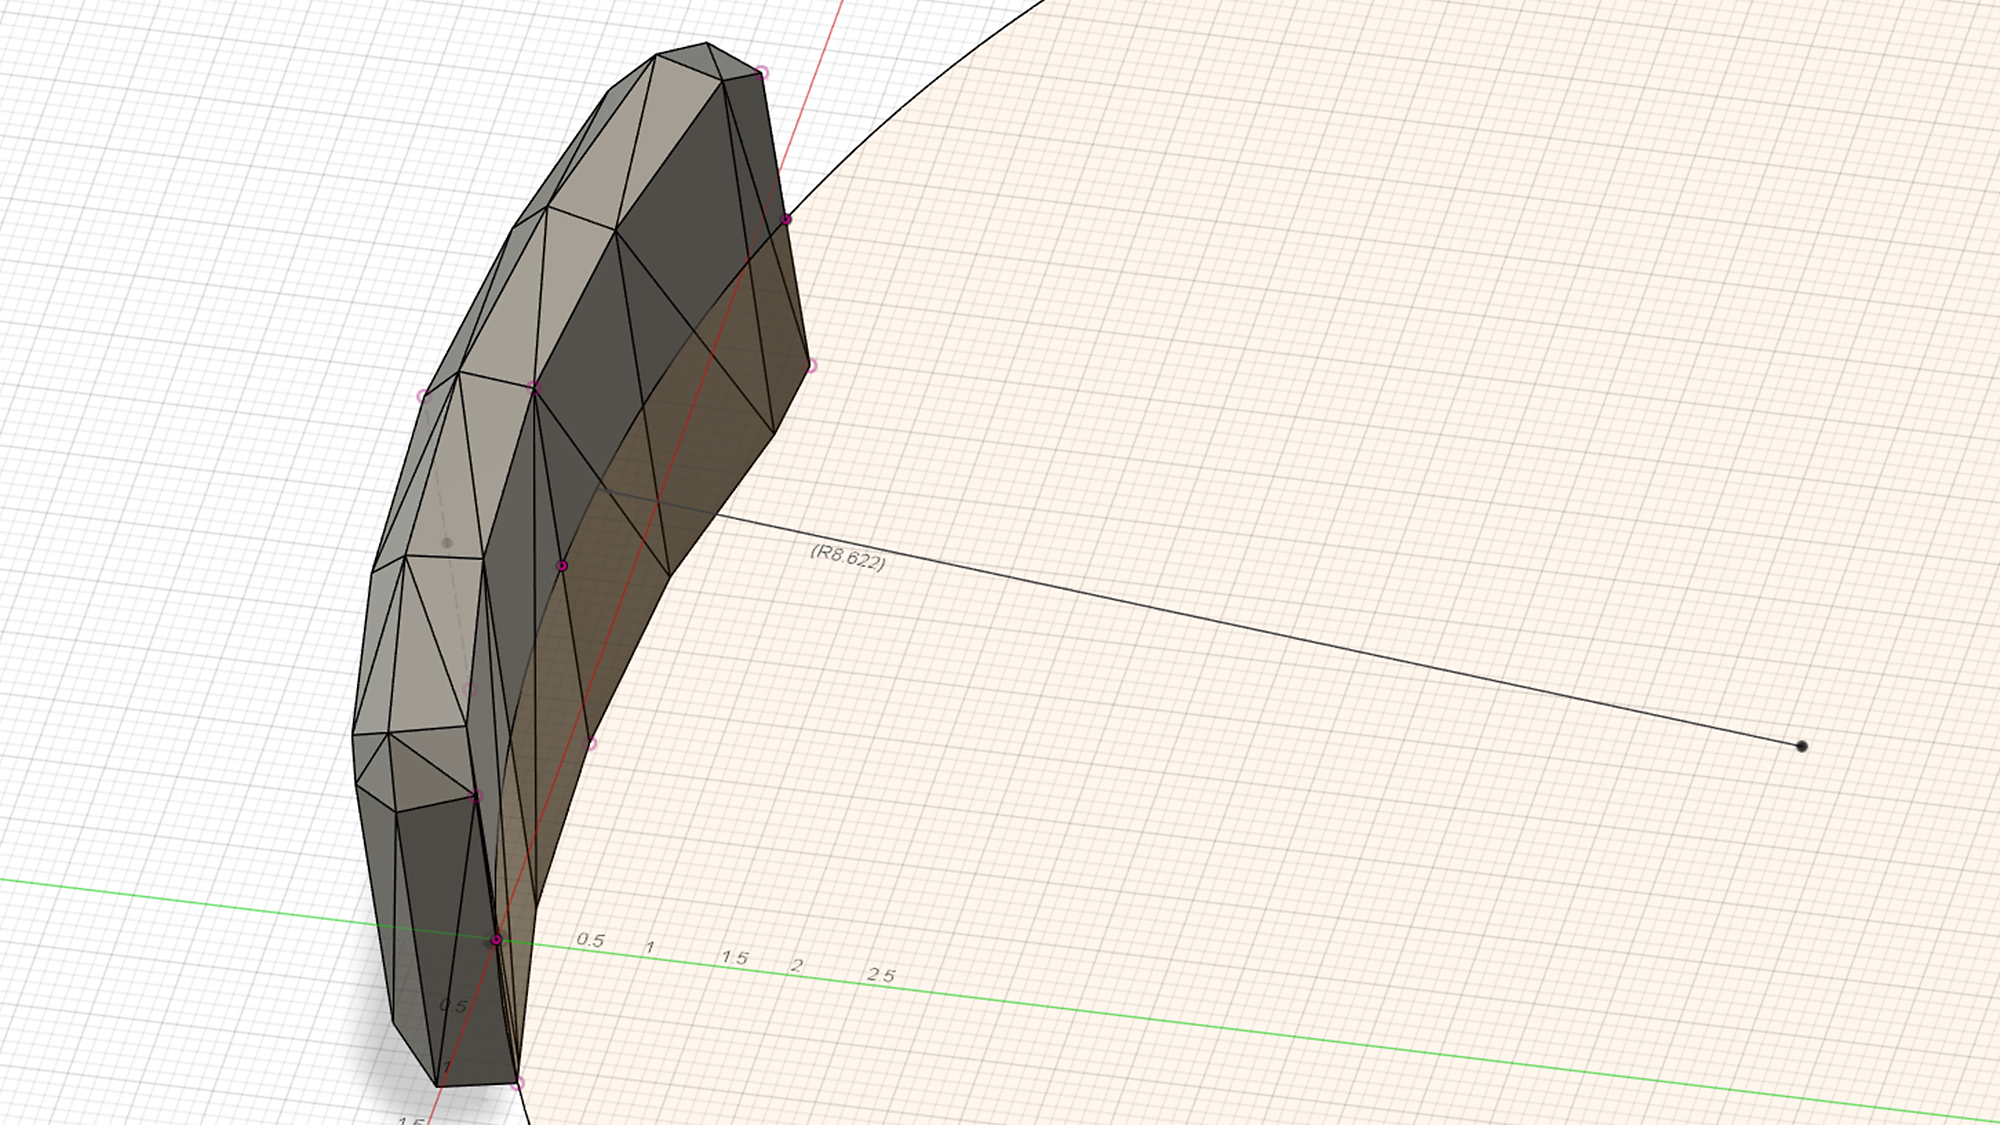
The process for building the buckle model starts with the reference material, in this case the game itself. From the Overwatch main menu you can open up the “Hero Gallery”, which allows you to view different skins, emotes, and sprays for the roster of heroes. I selected “McCree” and then spun his model around for a clear view of the belt buckle. Within the game options I bumped up the “screenshot quality” setting to 9x and took a screenshot. Cropping this in Photoshop gives me a close-up view of how the buckle looks in game:
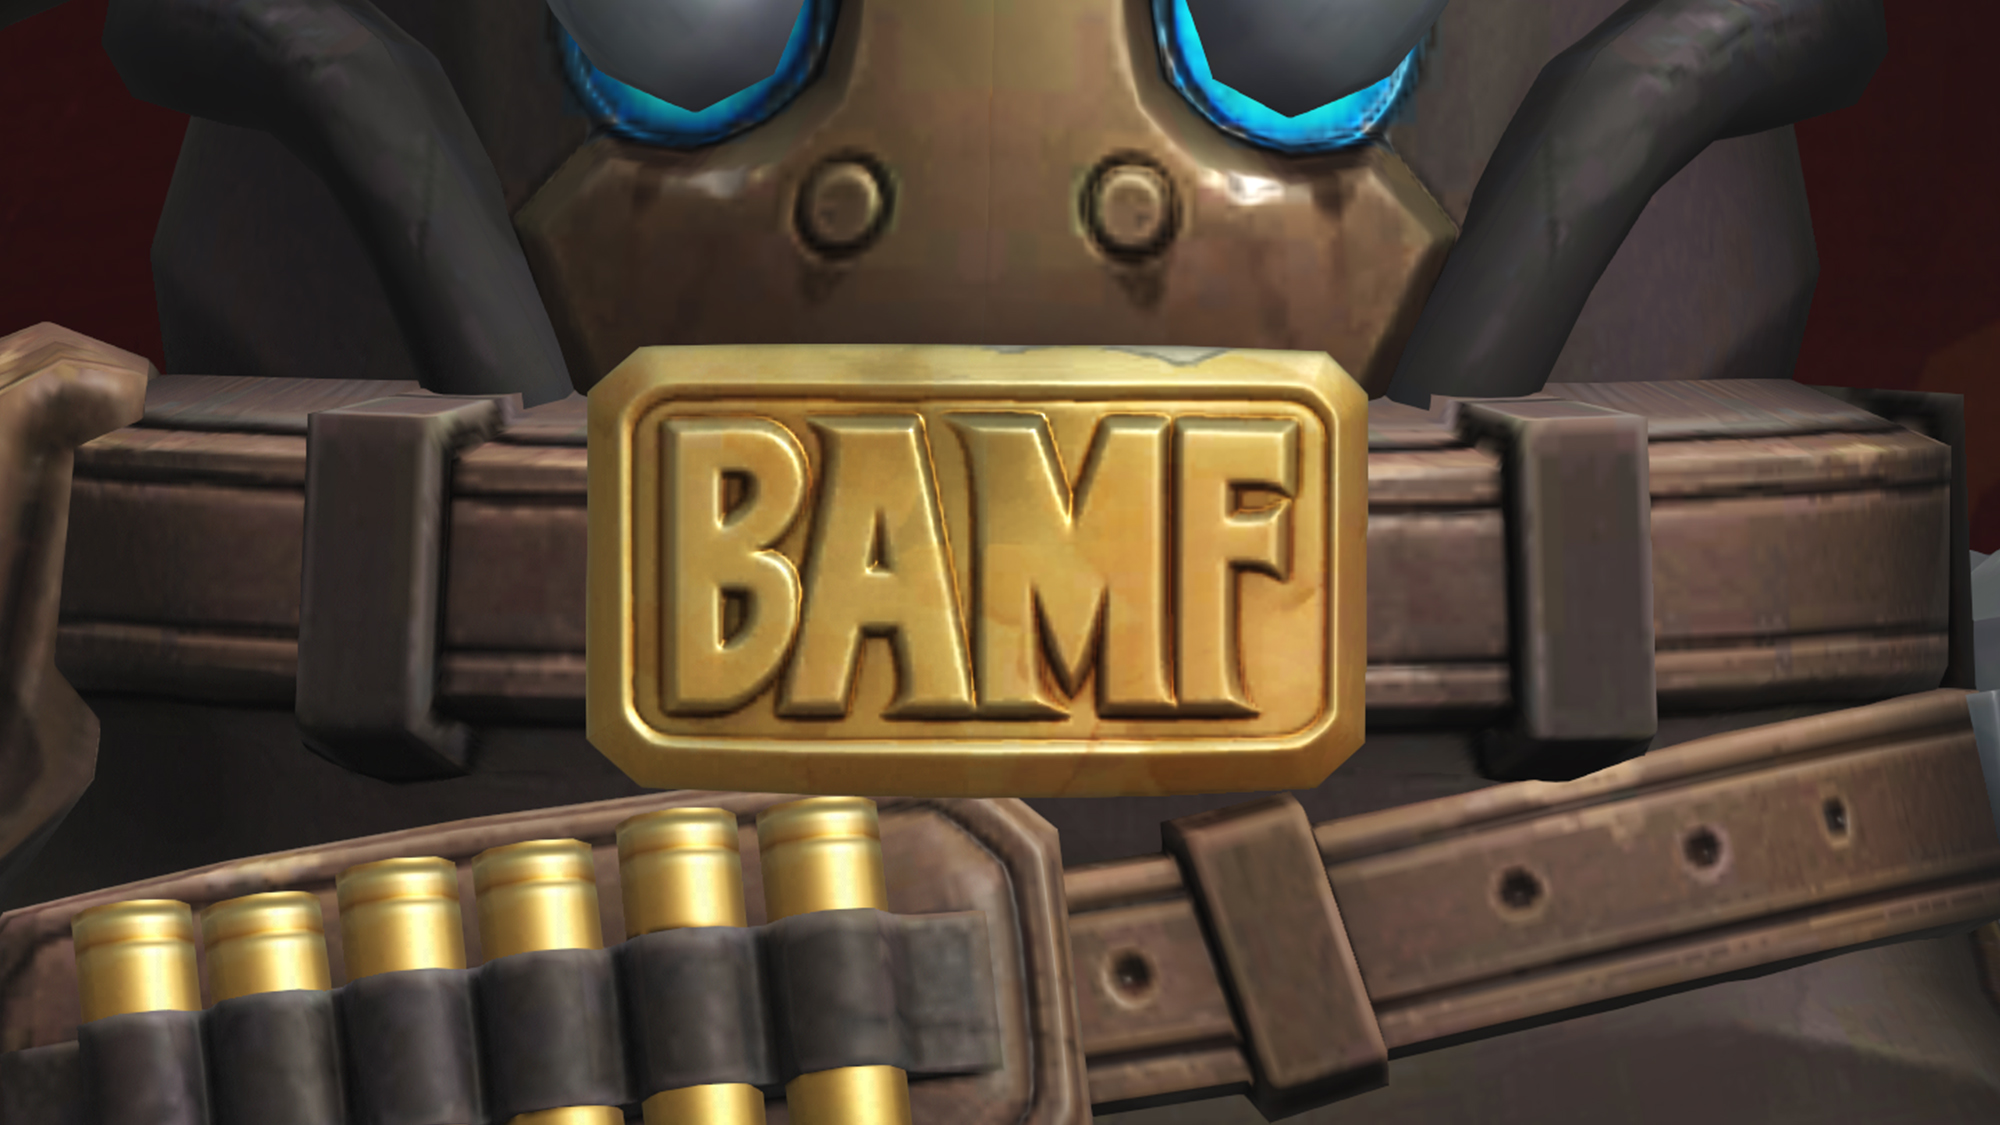
McCree’s belt buckle, as seen in Overwatch’s in-game “Hero Gallery”
The game is obviously the primary source, but Blizzard also made a handy “reference guide” for McCree when the game was released. This guide also has a good close-up image of the buckle’s detail, although it’s not very high resolution.
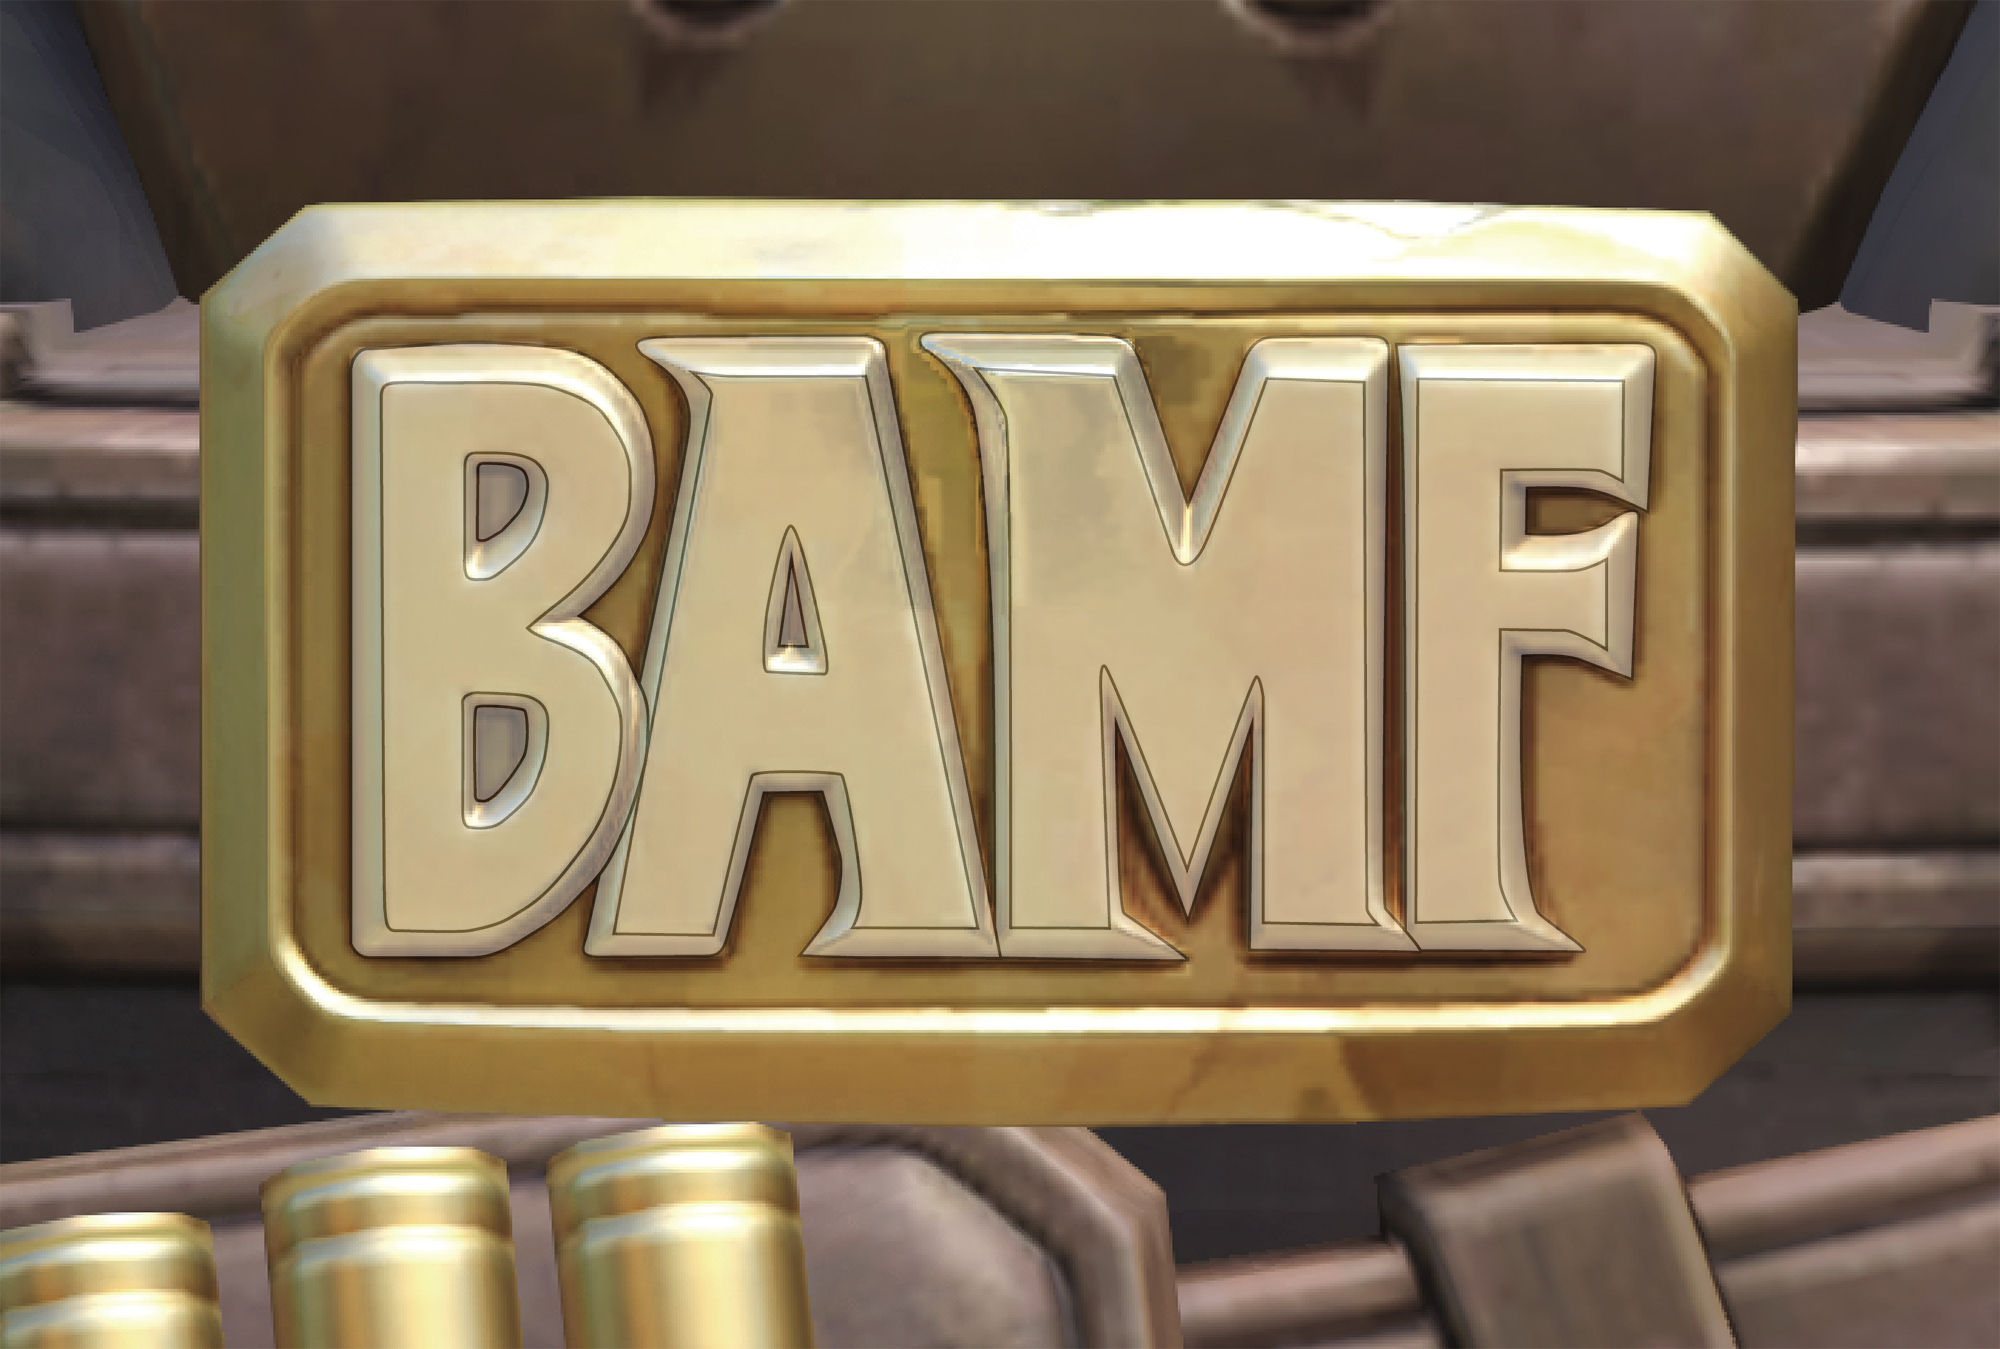
In addition to this, McCree has a spray named “Buckle” which is a close-up, cartoon-ish version of the front face of the buckle. He also has a spray called “BAMF”, which is a stylized depiction of the letters on the front. I saved high resolution screenshots of both of these.
Extracting Reference Geometry
These reference images are a great place to start for determining the layout and letter design. To figure out the overall geometry and curvature, I decided to try and use the in-game 3D model as a reference as well. Thankfully I knew that some enterprising people had already extracted the model for use with Source Filmmaker animations, so I figured that would be a good place to start.
(Note that I built this model only a few months after the game’s release, a little over three years ago in the fall of 2016. As such, the process I used to get the belt geometry into CAD may very well be out of date.)
Source Filmmaker (SFM) Extraction
I downloaded the model along with the latest version of Crowbar (version 0.34.0.0, at the time) to extract the models. Crowbar allows you to break apart the fully compiled model for use in the Source Engine into its component pieces. The McCree model, sans textures, is provided as three files:
mccree.mdlmccree.vvdmccree.dx90.vtx
According to the developer documentation, the mdl (“model”) file contains “a range of key/index information” including every linked material, sound, and animation file. The vvd (“Valve Vertex Data”) file contains position data for all of the renderable mesh geometry. And the dx90.vtx (“DirectX 9.0 / Valve Vertex”) stores rendering data optimized for the DirectX 9 pipeline.
Feeding the mdl file into Crowbar with the default ‘decompile’ options produces a folder full of .smd files. These are “Studiomdl Data” files, an ASCII-based file format used for storing 3D models (apparently named after 3DS Studio Max, which was used by Valve during the development of Half-Life 1. Fun fact!). There are 11 files in total, each of which contains a piece of McCree’s 3D geometry.
Importing to Blender
Of course, .smd is still a proprietary file format used almost exclusively by Valve for their own software. The next step is to take these .smd files and convert them into a more universal format. The tool of choice for this conversion is Blender.
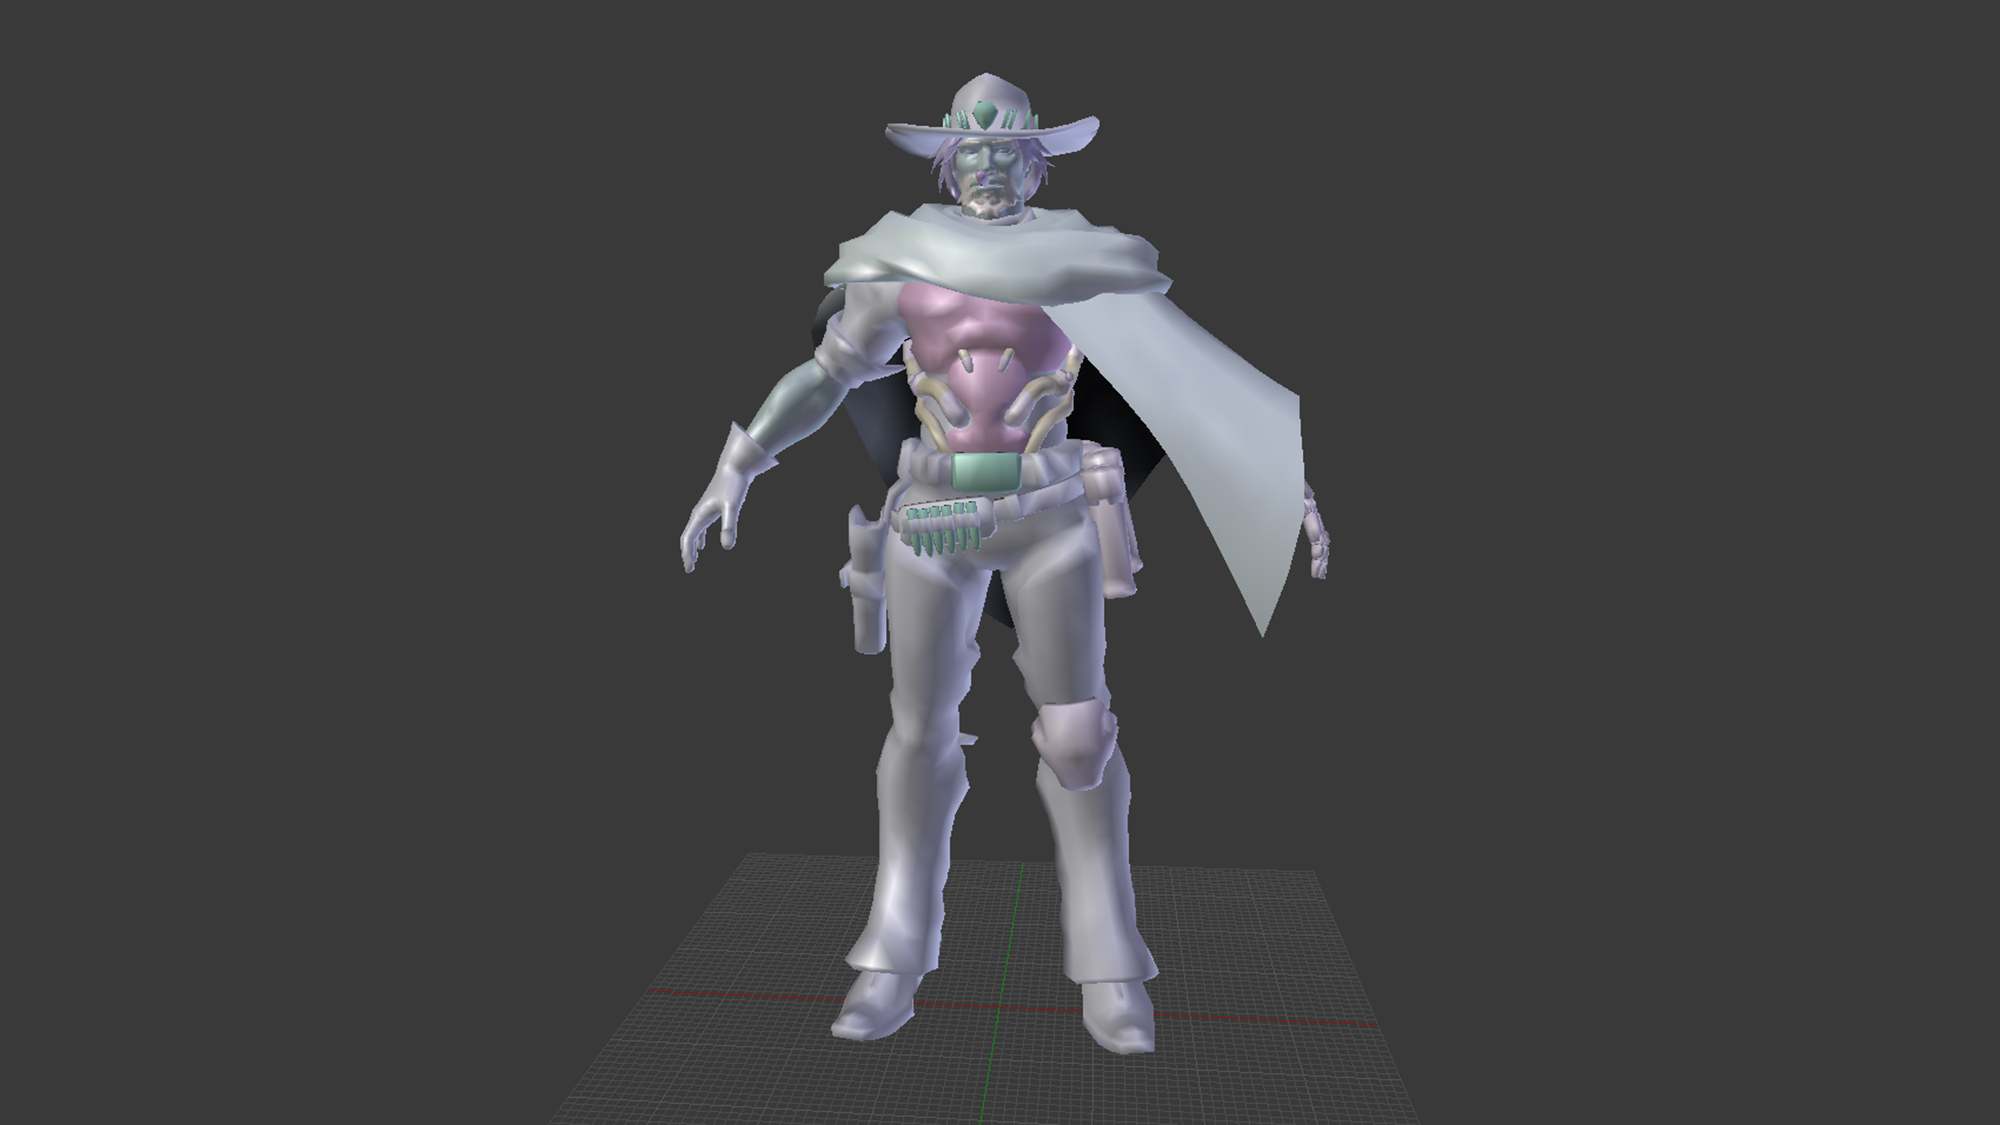
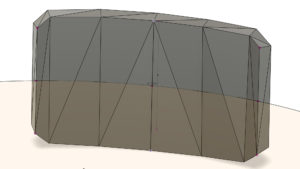
The belt buckle geometry in Blender, separated from the rest of the model
Blender is an open source 3D graphics software used for making 3D models, animations, and visual effects. Its free and open source nature has made it popular for hobbyists working with 3D character models (among other things), and thankfully some clever users have built a set of plugins for Blender to support Valve’s smd filetype. The Blender Source Tools plugin allows the software to seamlessly import and export smd files, which is exactly what I needed. I downloaded the latest version of Blender (v2.77, circa fall 2016) and the latest version of the Source Tools plugin (2.7.1 ibid) and started importing models.
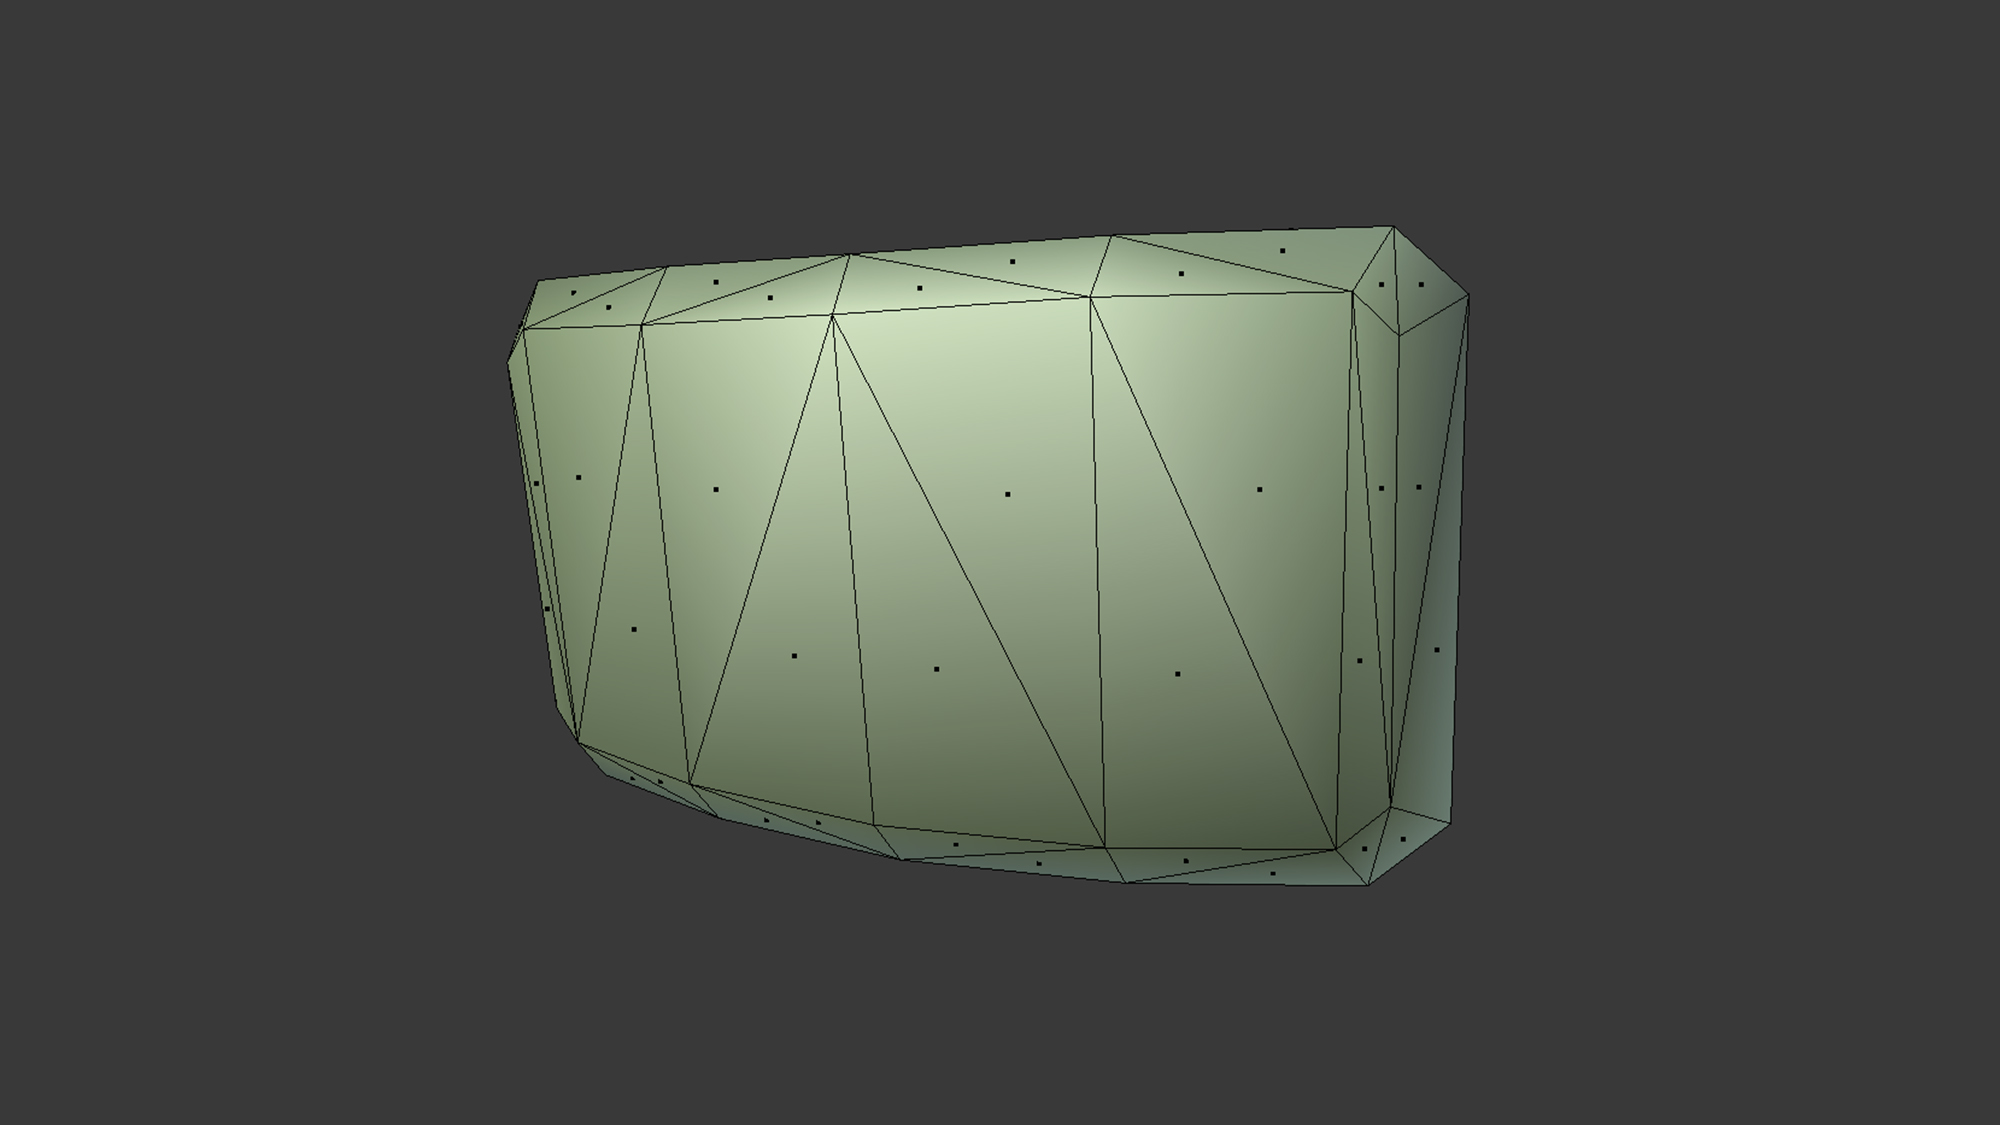
The key model here is mccree_outfit.smd, which contains most of the core geometry including his belt and buckle. Now, I was a complete novice with Blender then and I only know marginally more now, so the next part was a little rough. I had to select the mccree_outfit object and switch to ‘Edit’ mode (Tab). and then work my way around the buckle selecting all of the faces (Shift + Right click). From there I used the ‘P’ shortcut (SeParate) to separate the selected faces into a new object. Hiding all of the other objects left me with the belt buckle on its own, ready for exporting to STL.
Scaling to Size
While incredibly useful, the geometry on its own only tells me relative relations: the angles between faces and distances between vertices. In order to make the most out of the extracted model, I need to rescale it to a real-world size.
Within Blender, I started a new scene and imported mccree.smd, mccree_outfit.smd, and mccree_hair.smd. After switching to “Edit” mode, I then selected the top-most vertex of his hair (the top of his head isn’t modeled) and wrote down the coordinates:
X: 1.59031
Y: 0.06012
Z: 93.40860
Now according to the official reference kit, McCree is approximately 6’1″, or 73 inches tall. From the unit-less model in Blender to the real world, that gives us a scale factor of 0.78 assuming that his height, provided by Blizzard, does not include his hat.
As an aside: whether to include the hat in the measurement was always a toss-up for me, since in games you would refer to the height of the “complete” character but in the real world you always refer to people’s height without accessories. In the end I settled on using the non-hat height, although it’s a moot point since I eventually and arbitrarily scaled everything to a more reasonable size.
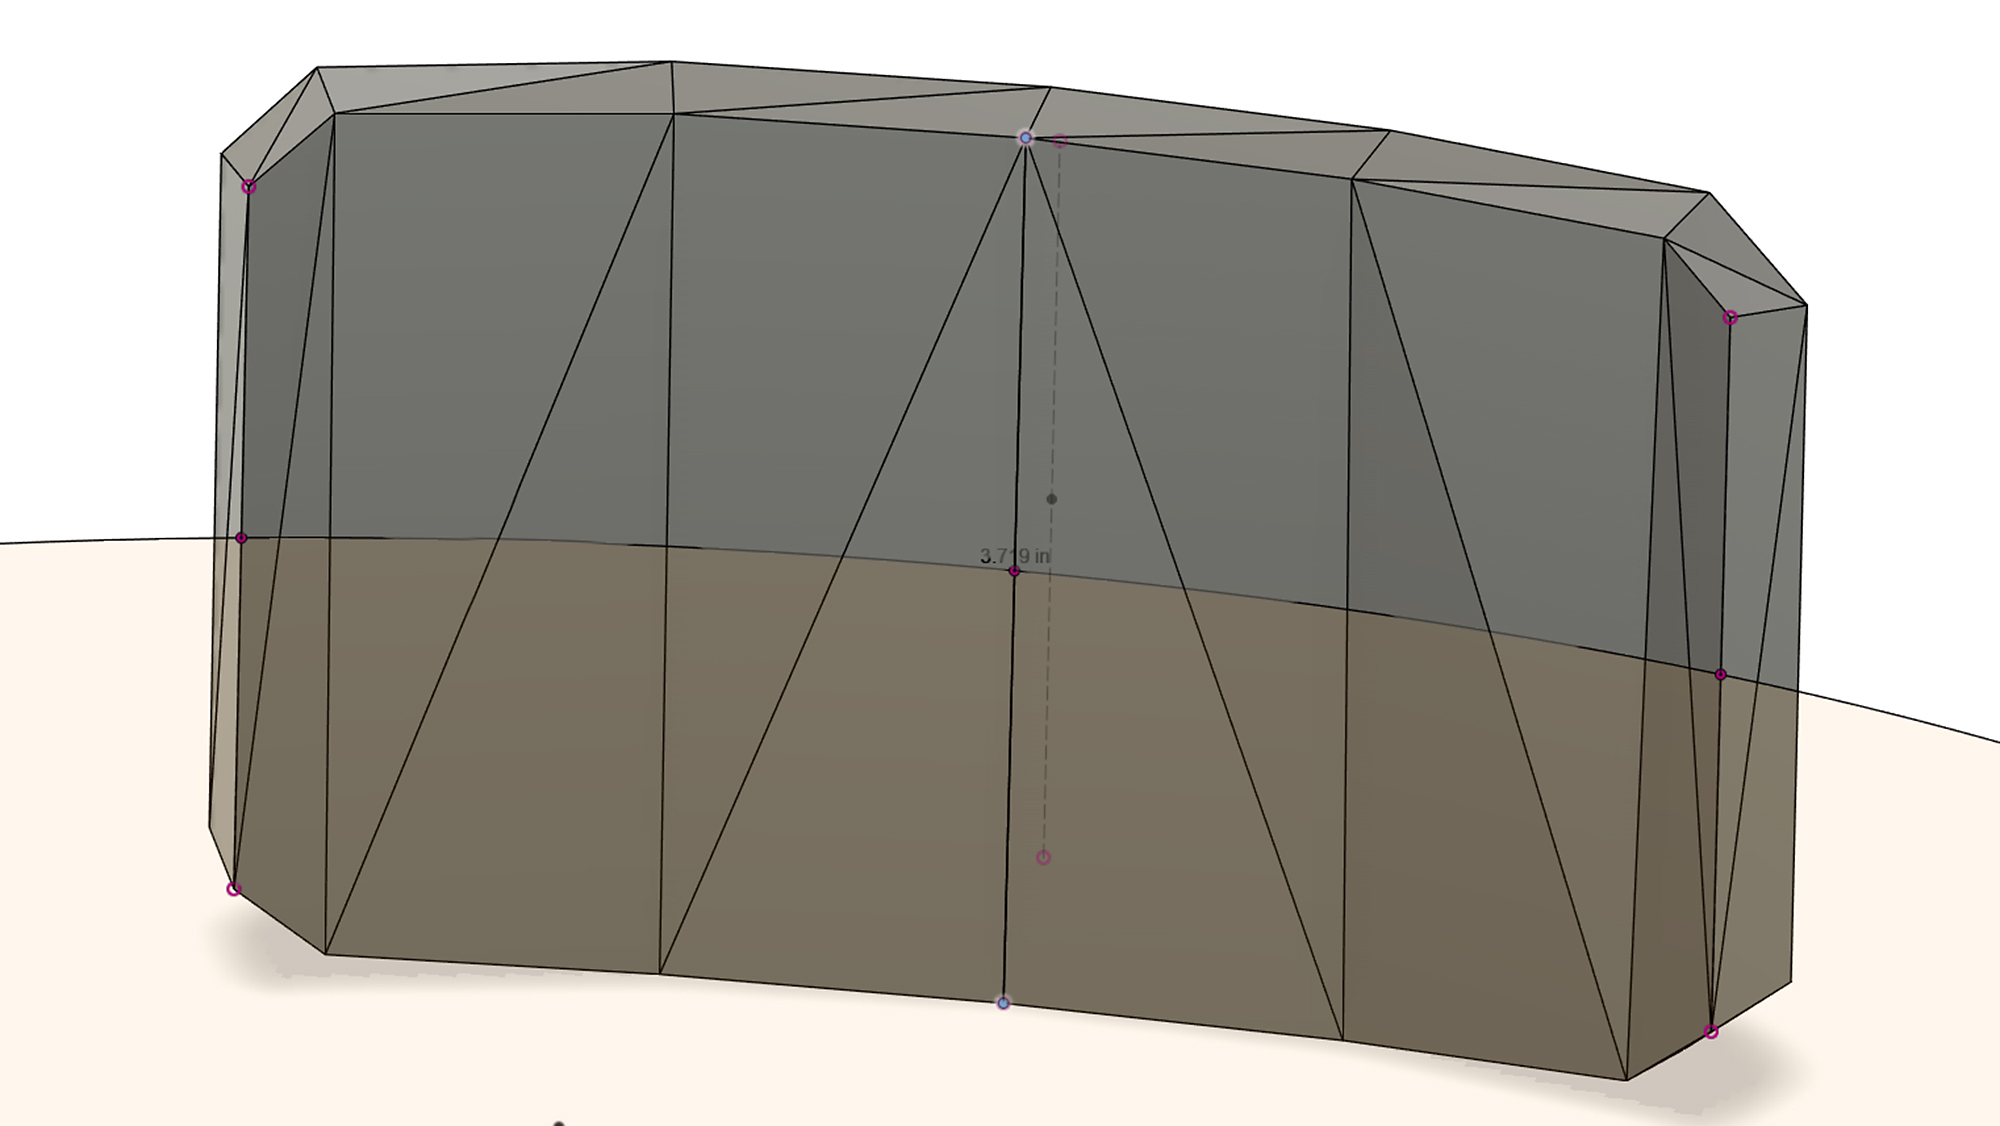
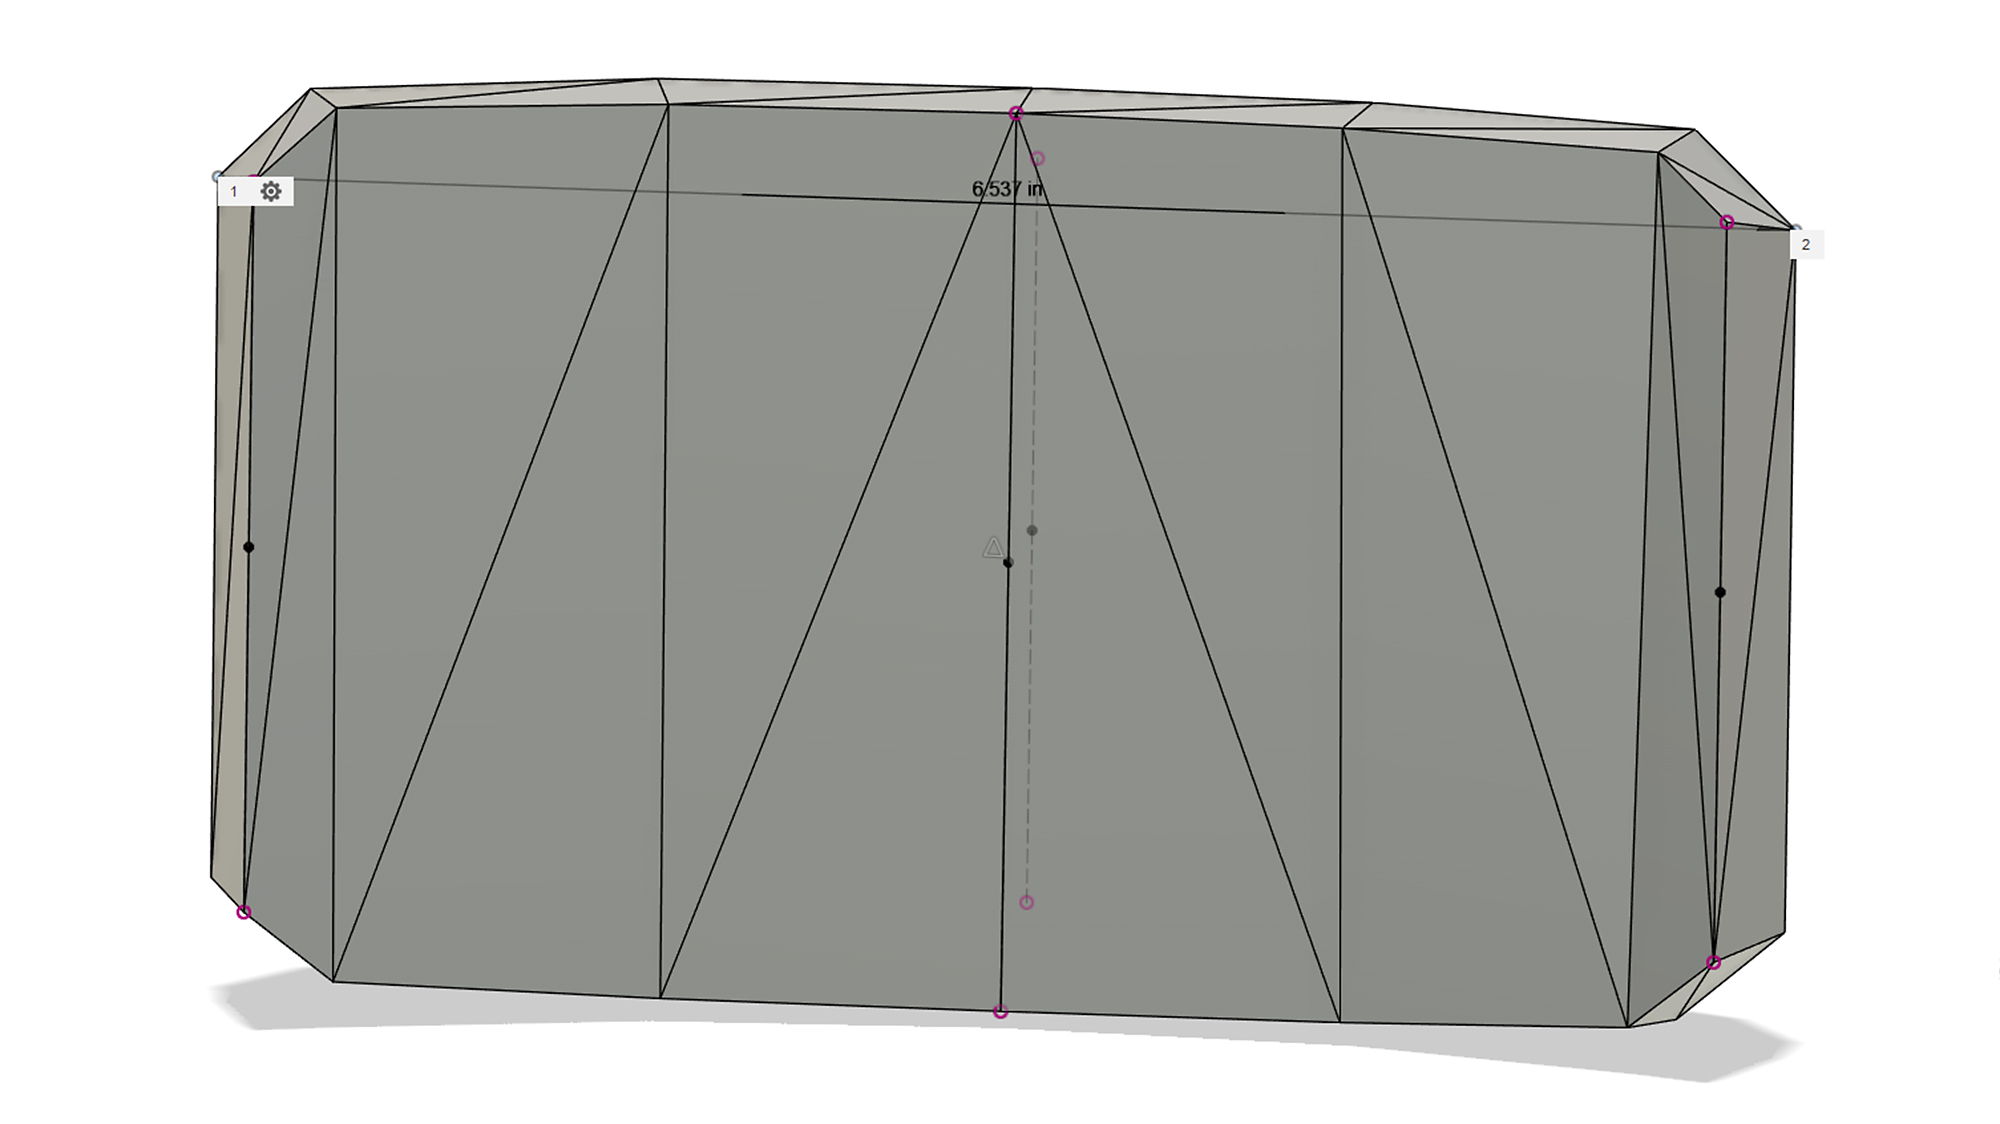
After applying this scale factor, I imported the previously exported buckle geometry into Autodesk Fusion 360 and started taking measurements of the geometry. Here are the results:
-
- Height
-
- Width
-
- Thickness
-

- Inside Radius
| Measurement | Raw Value | Scaled (in) |
|---|---|---|
| Height | 3.719 | 2.906 |
| Width | 6.537 | 5.109 |
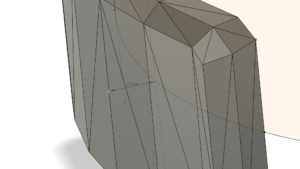
| Thickness | 0.779 | 0.609 |
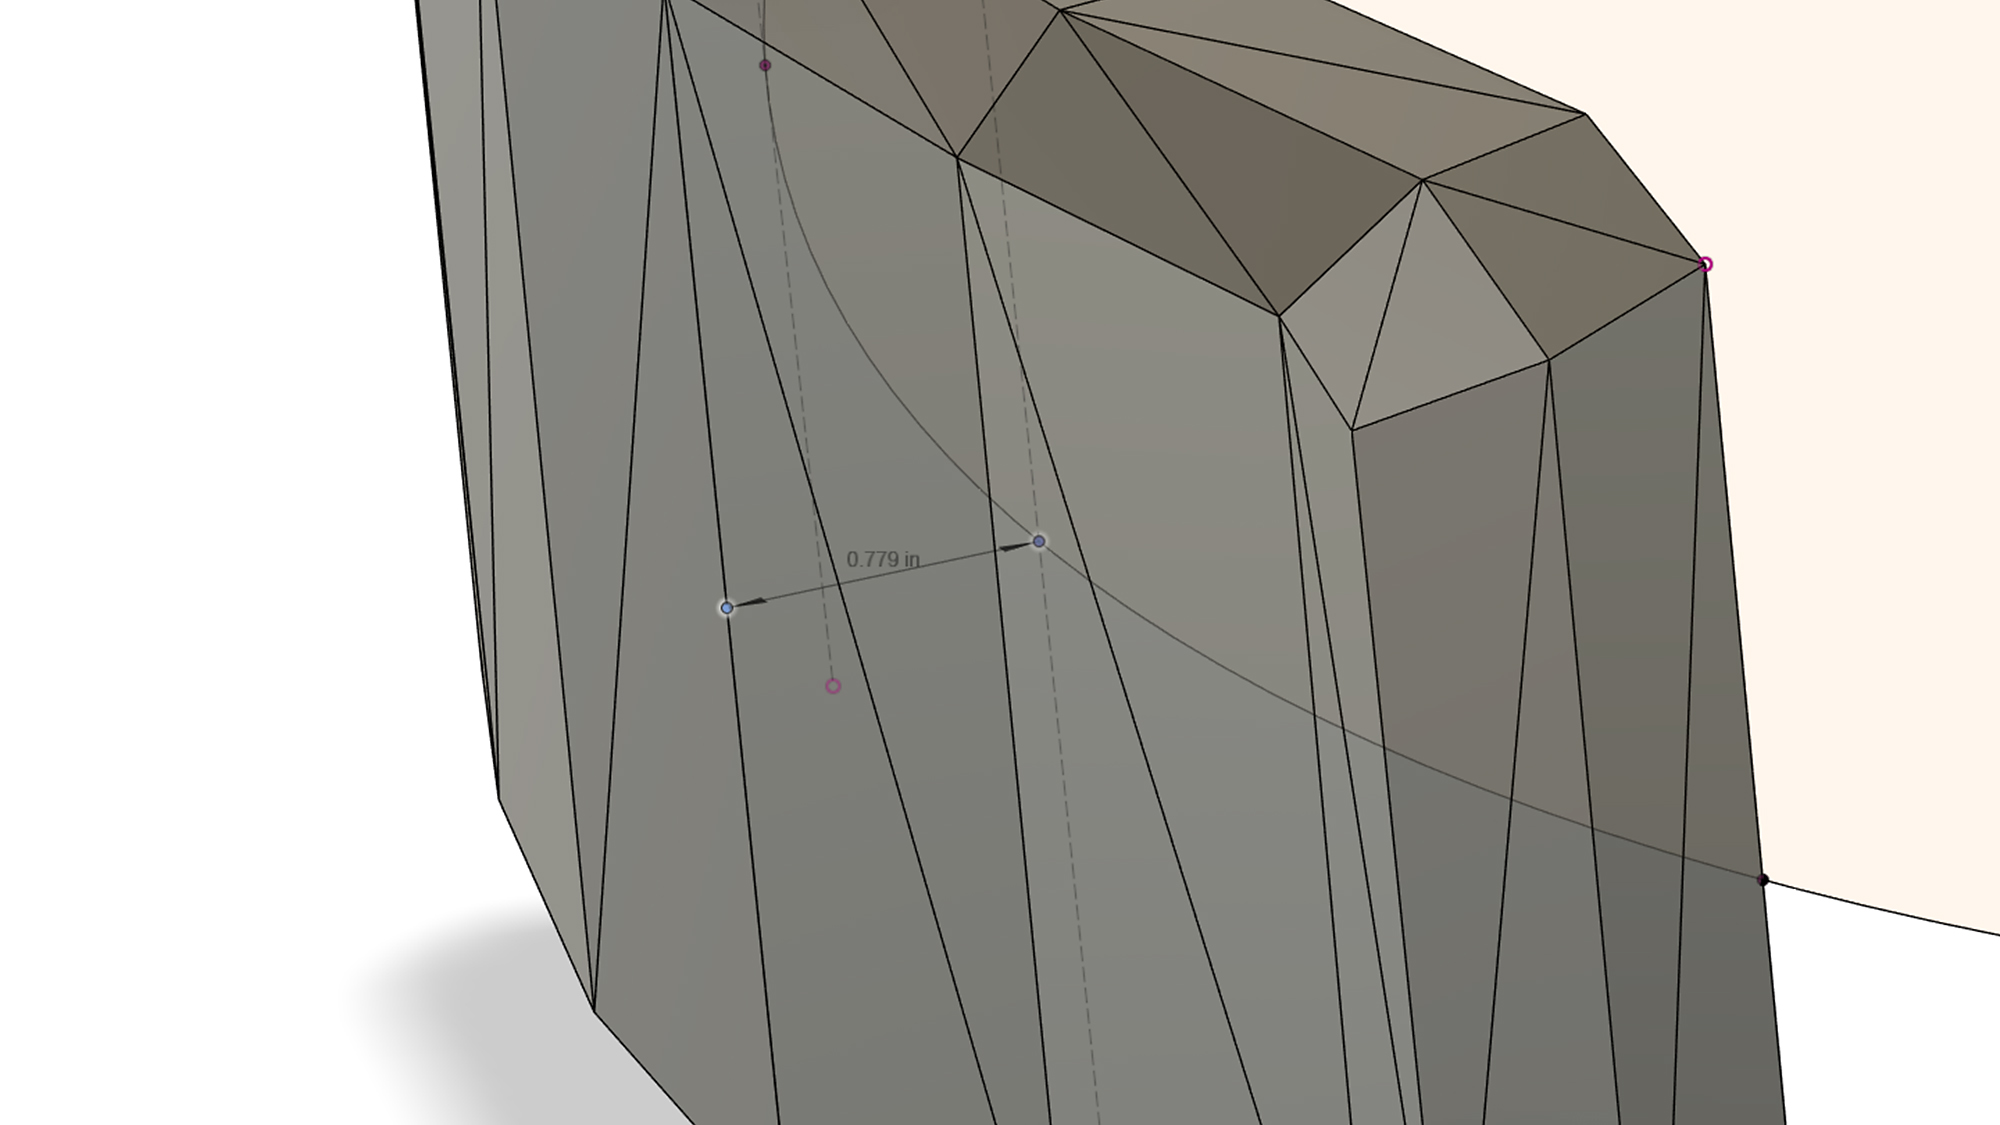
| Inside Radius | 8.622 | 6.738 |
I followed these scaled measurements pretty closely when I made my own model, although I did make a mistake and made the buckle’s inside radius a little narrower than it should have been (6.20″ instead of 6.74″). It’ll still work fine, it’s just a little extra-curvy.
Building the Model

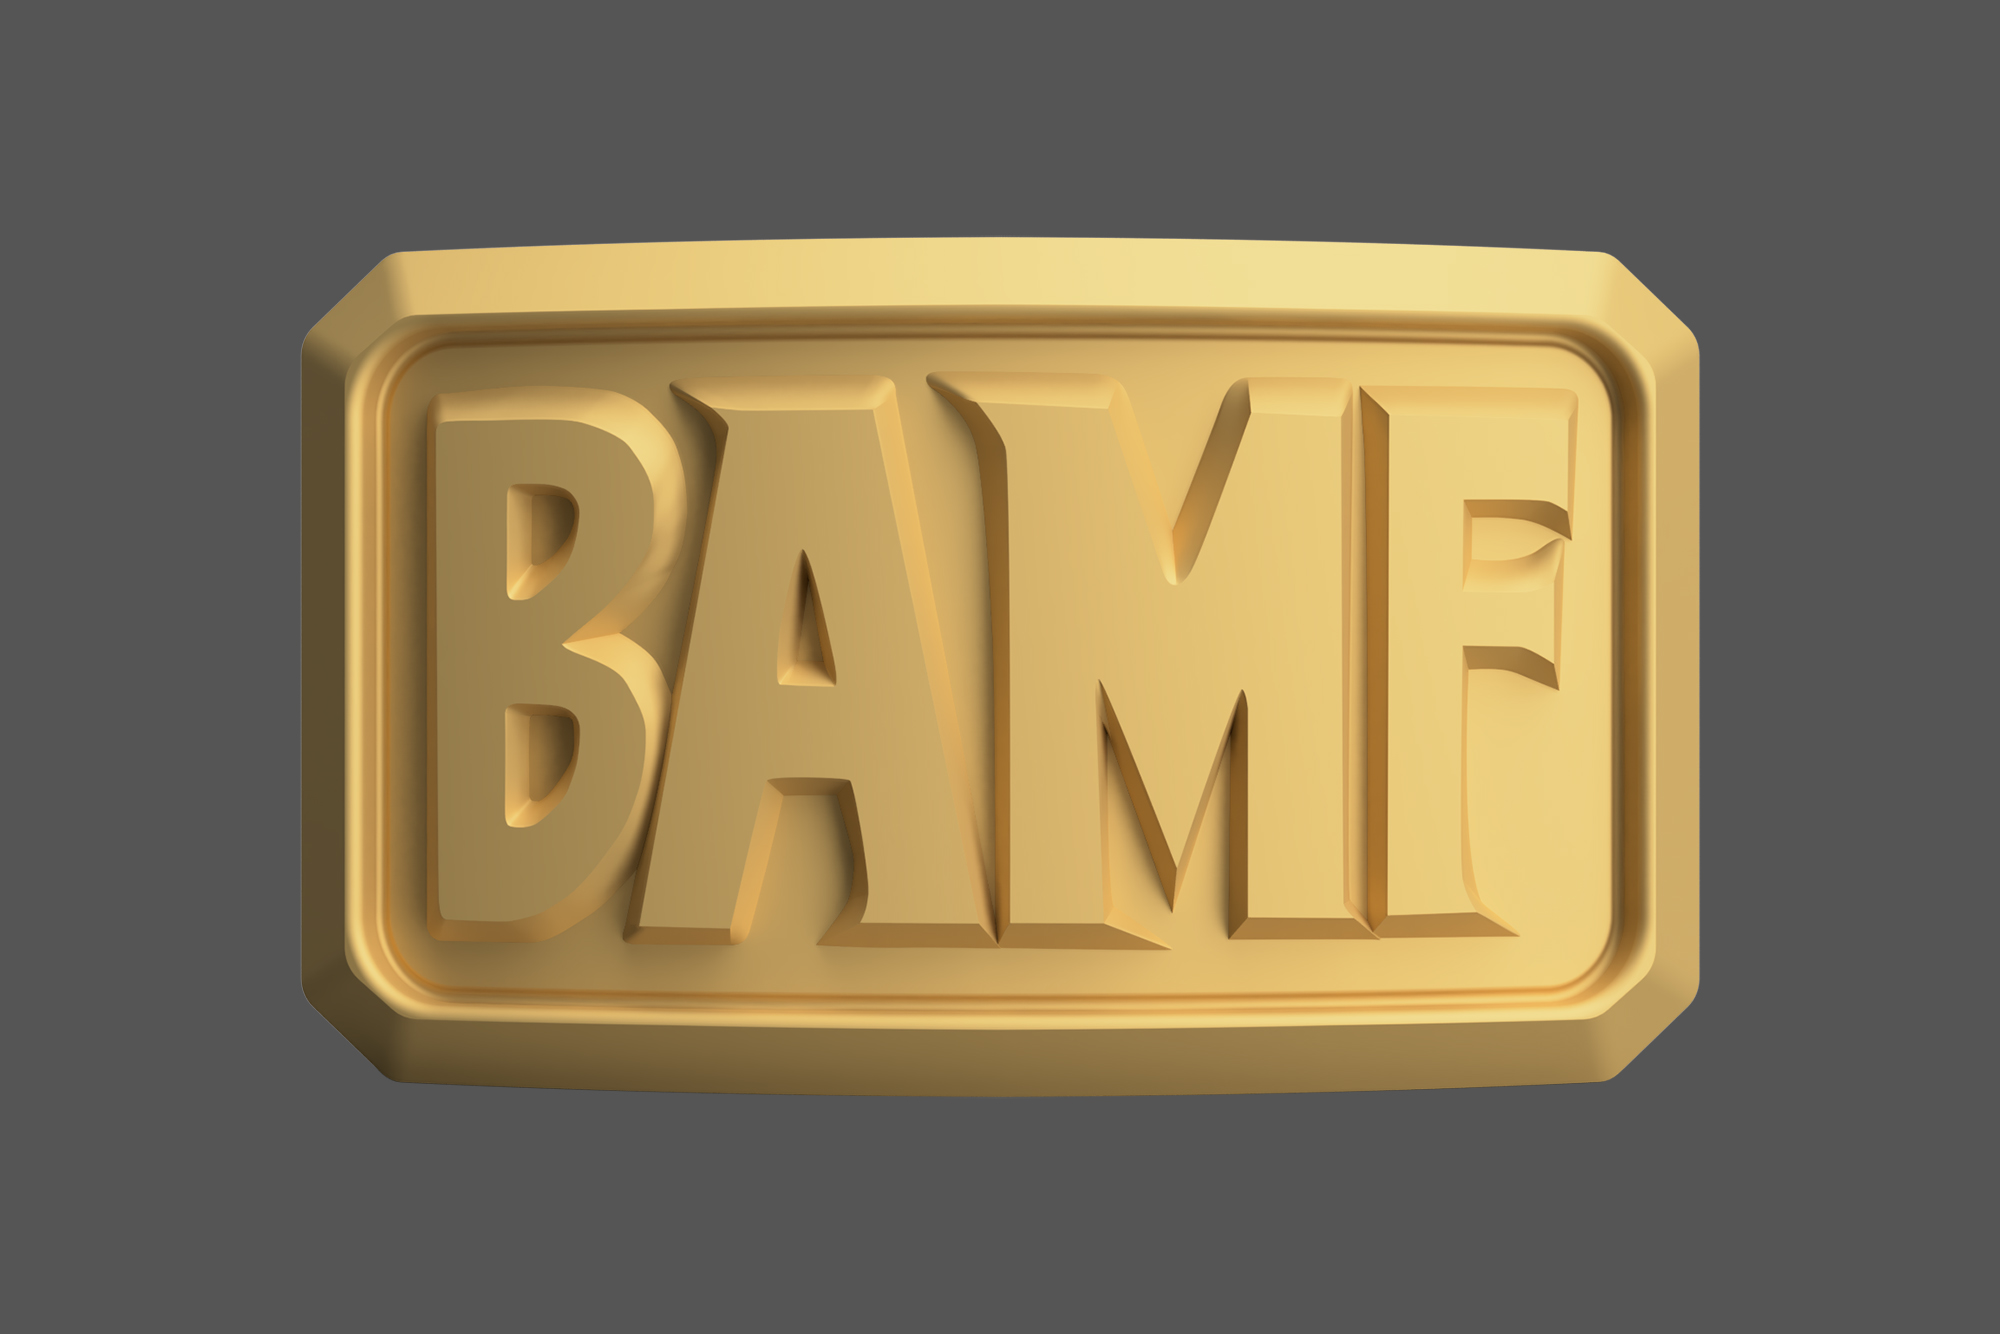
The completed digital model, rendered in Fusion 360
With reference images and geometry in hand, it was time to sit down and try my hand at building my own digital model of McCree’s buckle. This is going to be the ‘digital master’ of what is eventually going to be a physical prop.
Since I didn’t know Blender or any other sort of mesh-based modeling program, I did this model entirely using parametric modeling in CAD, of all things. This took significantly longer than it would have with any mesh-based program, but the end result is more flexible and easier to manipulate for use with 3D printing.


I started with the measurements taken from the in-game model and created a replica of the geometry using sketch-based modeling and NURBS. This produced a model that was similar in shape to the in-game version, but completely smooth with no harsh transitions between adjacent faces. After that I created a pocket for the lettering (1/8″ deep) and then switched gears to work on the lettering.
Letter Design
For the lettering I used Adobe Illustrator, which provides better tools for working with 2D vector paths.
Each letter is made up of two different outlines: an inner outline forming the letter shape that is seen on the face of the buckle, and an outer, offset outline that expands to merge with the buckle’s body. These two outlines are connected with a large draft angle along the depth of the letter to make each solid piece. Although it’s just a texture in a video game, the letters design mimics what you would do if you were making a metal buckle like this in real life; that is to say, each letter is drafted outwards to facilitate separation from the mold.
Reference image with overlaid text paths in Adobe Illustrator
Using my reference image from the game as a guide, I created inner and outer paths for each letter. These are intentionally a little rough around the edges because the letters on the buckle are a little billowy and rough themselves. Once I was satisfied with the letter shapes, I exported the resulting paths to DXF and then imported them into the 3D model.
Back in CAD, I created two cylindrical faces: one for the outer face of the lettering, and one for the inner face where the letters meets the buckle body. The 2D letter outlines were then projected onto these curved surfaces, and the surface edges were joined using lofts. The separate “face” and “edge” surfaces were finally joined to create the solid letters.
(Re) Sizing to Fit
After I had completed the model, I created a paper mockup of the final version and realized it was big. Too big. I’m not a small guy and this belt buckle is already a bit comically oversized, but there’s a point of overkill and I was past it.
Rather than going back and updating all of the dimensions throughout the model, I just did a global scale with the end result – bumping everything down by a scale factor of 0.91. This made the final size much more reasonable for a practical belt buckle.
And with that the “digital master” of the belt buckle is done! Now it’s time to take this digital model and build it in the real world.
Next Up: Building the Master Prop
Disclaimer: This post contains Amazon affiliate links for supplies and tools used in the project. As an Amazon Associate I earn from qualifying purchases, and those earnings help fund projects like this one. Thank you for the support!